Category Archives: Food Art

Texas Style Ham Rolls

A unique and simple appetizer that is also perfect for your
Ketogenic and Paleo guests.

Only Three Ingredients:
Cream cheese
Ham slices
Texas style okra pickles

Directions:

1.  Spread cream cheese onto a slice of ham.

2.  Cut okra pickles to fit the width of the ham slice.

3.  Roll up the ham around the pickles.

4.  Slice into 1/4″ rounds.  The slices don’t need to be identical, but the more consistent the size, the prettier they are on the platter.

That’s all there is to it.  Enjoy!

Fabulous Fruit Tart

Heart Fruit Tart

This Fabulous Fruit Tart looks and tastes anything but simple, yet it is so easy to make that it has become my new go-to dessert when company is coming.

If you’re like me, the thought of pie crust that doesn’t come out of a package is daunting.  But this is the simplest crust I have ever made, and it has a yummy, buttery cookie flavor.  I got the crust recipe from chowhound.com.

The filling is a light, sweet pastry cream like used in cream puffs, yet thanks to Thomas Joseph of Kitchen Conundrums on the Martha Stewart channel, I now know how simple it can be.  Below are my directions, but I recommend you watch his video:  http://www.marthastewart.com/1084932/no-fuss-pastry-cream

CRUST:

  • 1 stick butter, melted
  • 3 tablespoons granulated sugar
  • 1/4 teaspoon fine salt
  • 1 1/4 cups all-purpose flour
  1. Stir together melted butter, sugar, and salt.  Add the flour and stir just until combined into a soft dough.
  2. Put the dough in a 9-inch tart pan with a removable bottom. Press the dough evenly across the bottom and up the sides of the pan (I think fingers work best, but you could use a measuring cup).
  3. Cover the tart shell with plastic wrap and chill in the refrigerator for 30 minutes.
  4. Once chilled, use a fork to prick the bottom of the crust and bake at 350°F until golden brown, about 20 to 25 minutes.
    Tart Crust
  5. Cool completely and fill with cream before removing from the pan.

PASTRY CREAM:

  • 1/2 cup sugar
  • 1/4 cup cornstarch
  • Pinch of salt
  • 2 cups whole milk
  • 4 large egg yolks
  • 2 Tablespoons butter
  • 1 teaspoon vanilla
  1. Whisk sugar, cornstarch and salt in saucepan to be sure there are no lumps.
    Sugar & Cornstarch
  2. Whisk together milk and egg yolks in large measuring cup or pour-spout bowl.
    Whisk egg yolks and milk
  3. Add milk/egg mixture and butter to saucepan and cook over medium heat, whisking constantly.  Cook until it comes to a rolling boil and let cook 1 minute more.
    Cooking pastry cream
  4. Remove from heat and stir in vanilla.
    Vanilla
  5. Pour pastry cream into a sieve over a large bowl, scraping the sieve with a spatula.  (This just catches any little bits of egg that might have congealed.)
    Sieve 1  Sieve 2
  6. Cover with plastic wrap being sure to press it directly onto the surface of the cream to prevent a skin from forming as it cools.  Refrigerate at least two hours, and up to two days.
    Pastry Cream

MAKING THE TART:

  • Fresh fruit, sliced
  • Powdered sugar
  1. Whisk the chilled pastry cream and pour it into the baked tart crust, spreading it smoothly to the edges.
  2. Lay out fruit slices randomly or in a pattern.
  3. Dust with powdered sugar.
    Fruit Tarts for Peace

Chile Relleno Casserole

chile-relleno-casserole.jpg.jpg

This Chile Relleno Casserole is delicious and so simple with only five ingredients.  Great for breakfast, brunch or any meal, and leftovers are yummy, too.

Ingredients:
1 lb shredded cheese (Mexican cheese blend or cheddar)
5 eggs
1½ cups milk
½ cup flour
8 oz can of whole green chiles

crc-ingredients.jpg

  1. Preheat oven to 350 degrees.  Coat 9″x13″ baking dish with nonstick spray.
  2. Whisk together eggs, milk and flour.
  3. Slice chiles open and rinse away seeds.  Pat dry.  Arrange half the chiles to cover the bottom of the dish.
    crc-layer-chiles.jpg.jpg
  4.  Pour half of the egg mixture over the chiles.
    crc-layer-milk-mixture.jpg.jpg
  5. Cover with cheese.
    crc-layer-cheese.jpg.jpg
  6. Repeat layers of chiles, then egg mixture, then cheese.
  7. Cut a chili to create a design on top if you wish.
  8. Bake about 50 minutes until toothpick inserted in the middle comes out clean.
  9. Let rest for 5 minutes before cutting.

For a creamier dish, substitute half of the milk with cream.  You could also add any number of ingredients to this dish, such as bacon, red bell peppers, onions, etc.  This Chili Relleno Casserole has become a breakfast regular in my house.

Fudge Brownie Hearts with Fresh Raspberry Cream

Brownies - Final 2

These brownies were a hit at my Valentine’s brunch and are so
simple to make.

You can make brownies from scratch if you like, but I think some of the box mixes out there are as good as any brownies I’ve tasted and certainly a lot simpler to make.  And you can make your own icing from scratch, too, but I chose the simpler path of using canned
frosting.  Below I’ll explain how I used fresh raspberries in the creamy frosting and share with you some tips for creating these special Valentine’s brownies.

Ingredients:
Fudgy brownies (from the bakery, box mix or from scratch)
Buttercream frosting (canned or freshly made)
1 cup of fresh raspberries

Directions:

  1.  Line a 13″x9″ pan with foil so the edges hang over the sides.  Spray with cooking spray.

2.  Bake the brownies, following the box instructions or your own recipe.

3.  Let them cool completely. Lift the brownies out of the pan using the excess foil.
20160202_200639-1

4.  Use heart-shaped cookie cutters to cut out the brownies.
Brownies - foil 3

5.  Slice each brownie in half horizontally and lay the bottom half on the serving tray.
Brownies - 5

6.  In a small saucepan, add the raspberries and cook over medium heat until the raspberries begin to break down, about 5 minutes.
Brownies 6

7.  Put the raspberries into a strainer and press out the juice.  Let the juice cool.
brownies - 7

8.  Stir the raspberry juice into the buttercream frosting, and put into a pastry bag with a small tip.  Pipe the frosting onto the bottom half of each heart brownie.
brownies - 10

9.  Put the top half of each brownie on top of the corresponding iced bottom half.
Brownies 9

10.  Sprinkle with powdered sugar.
Brownies - Final

Baked Apple Roses

20151118_212714-1
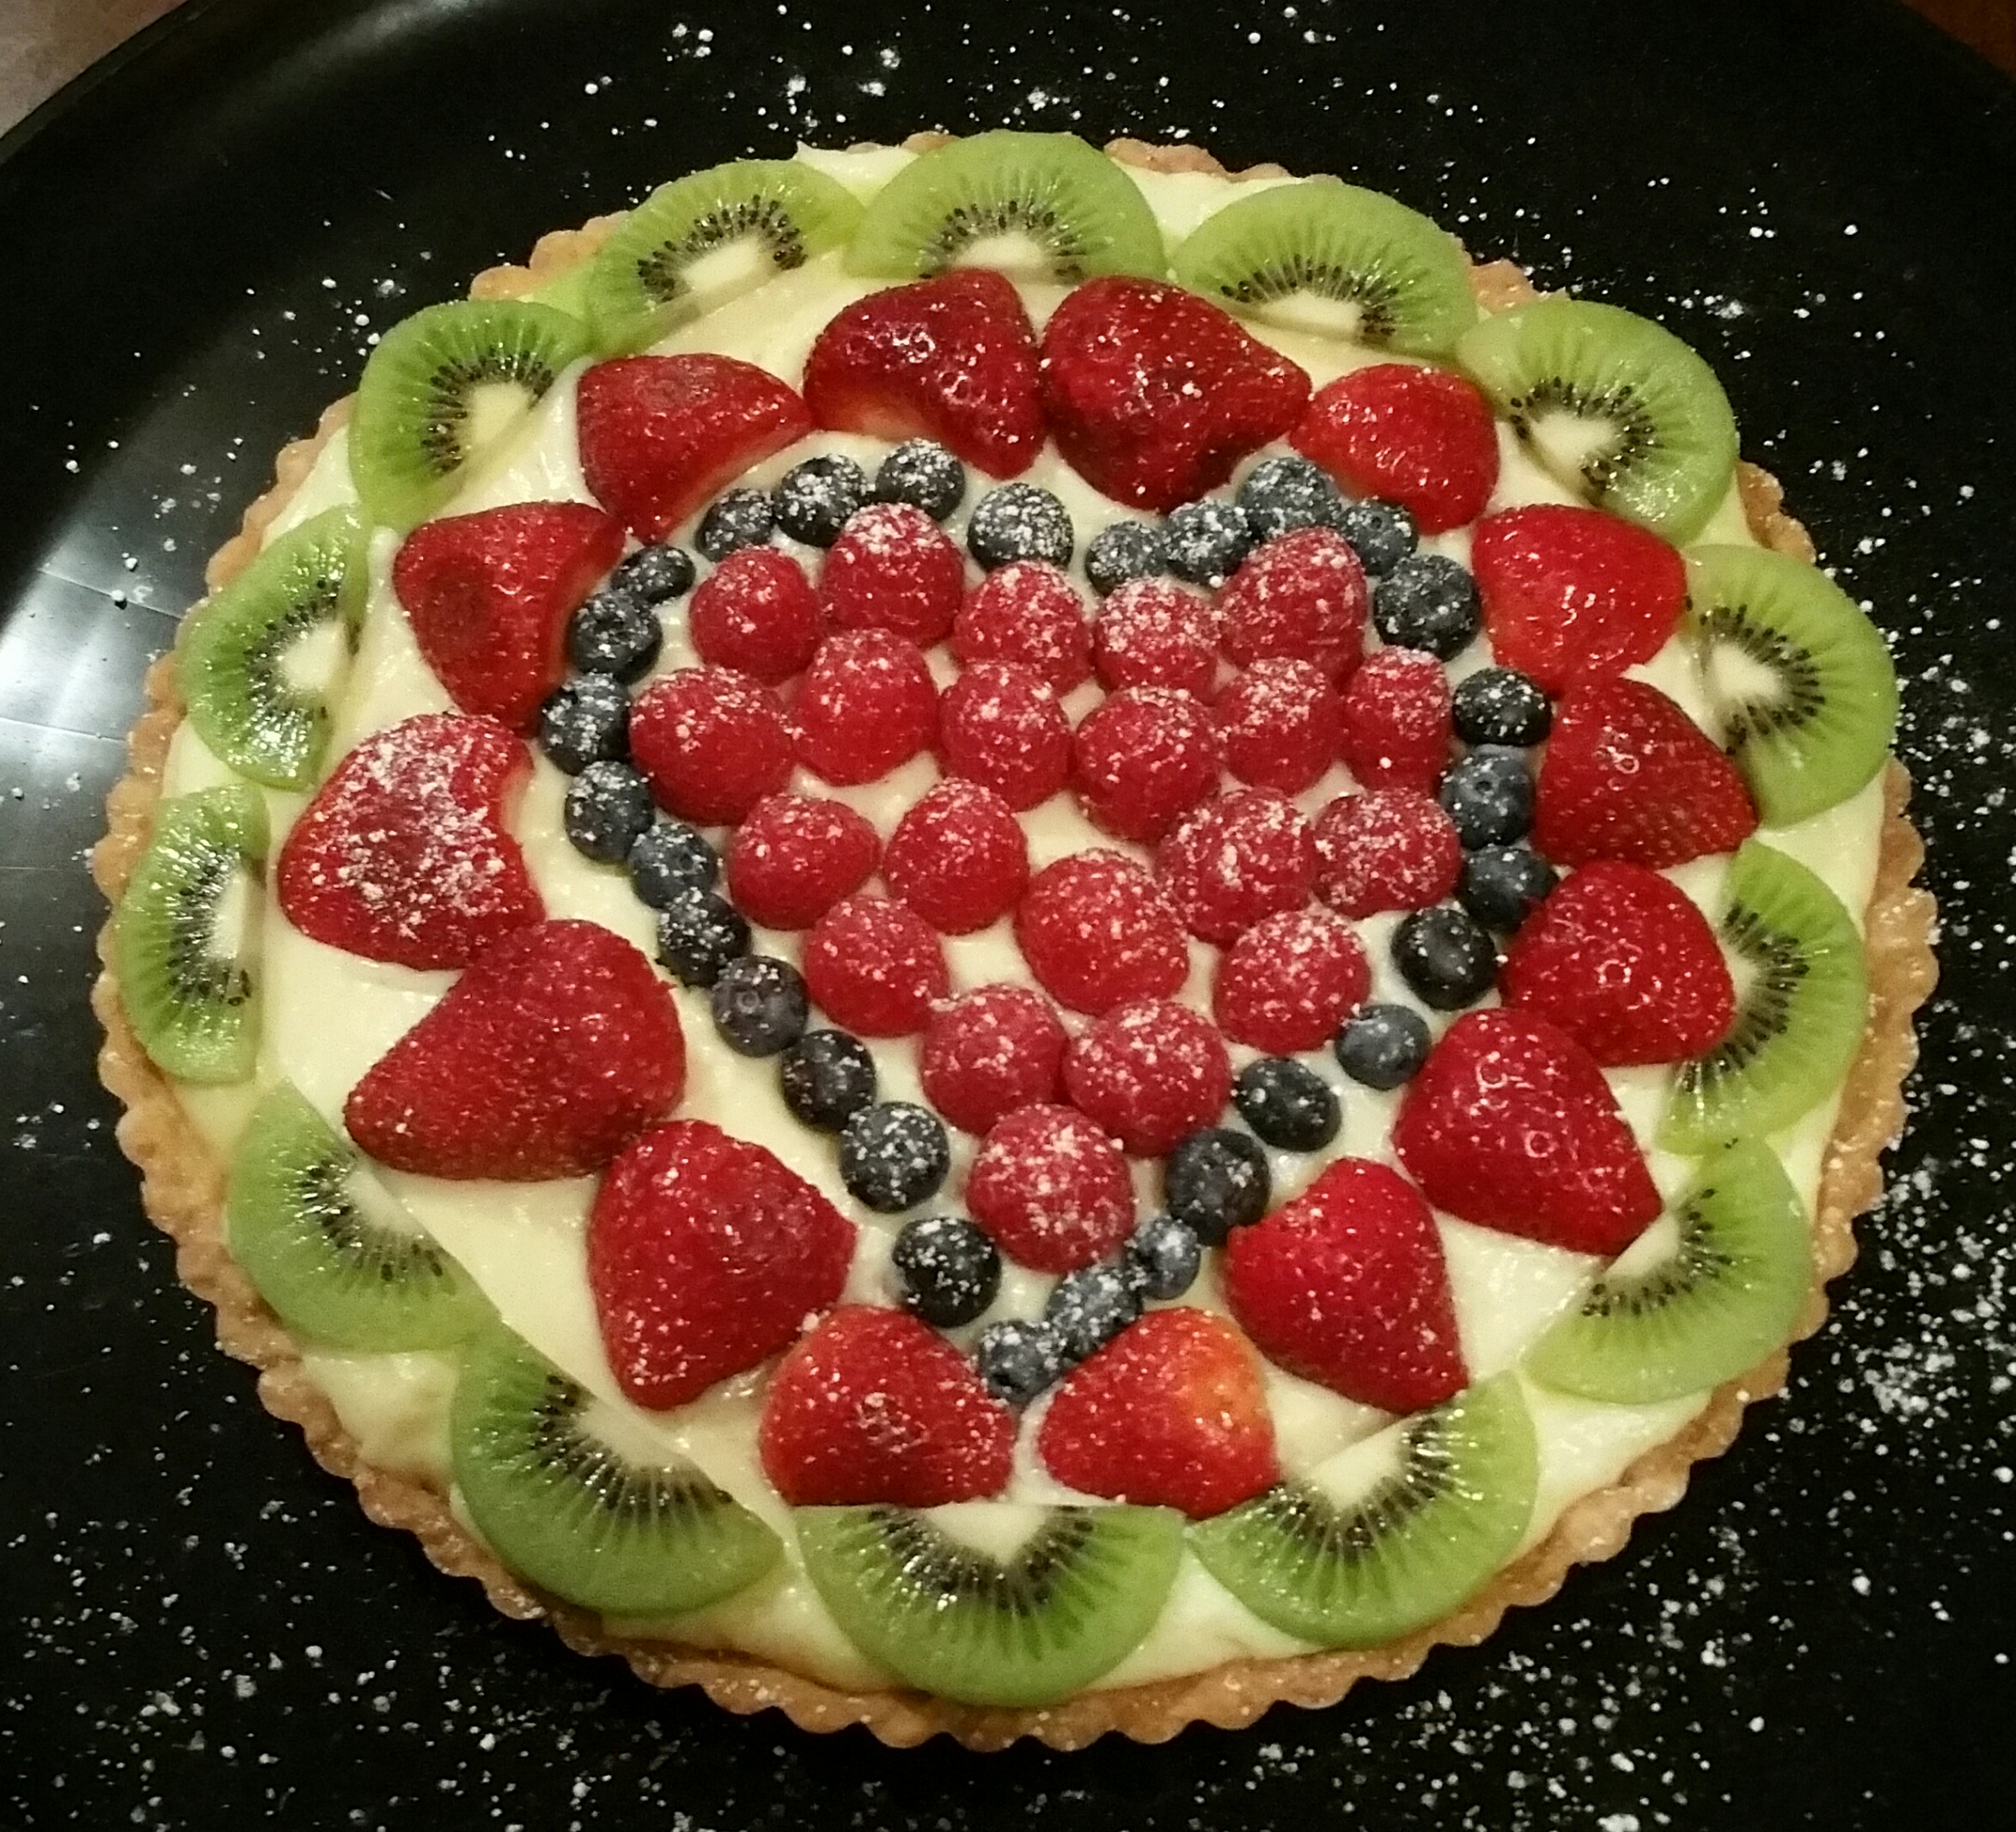
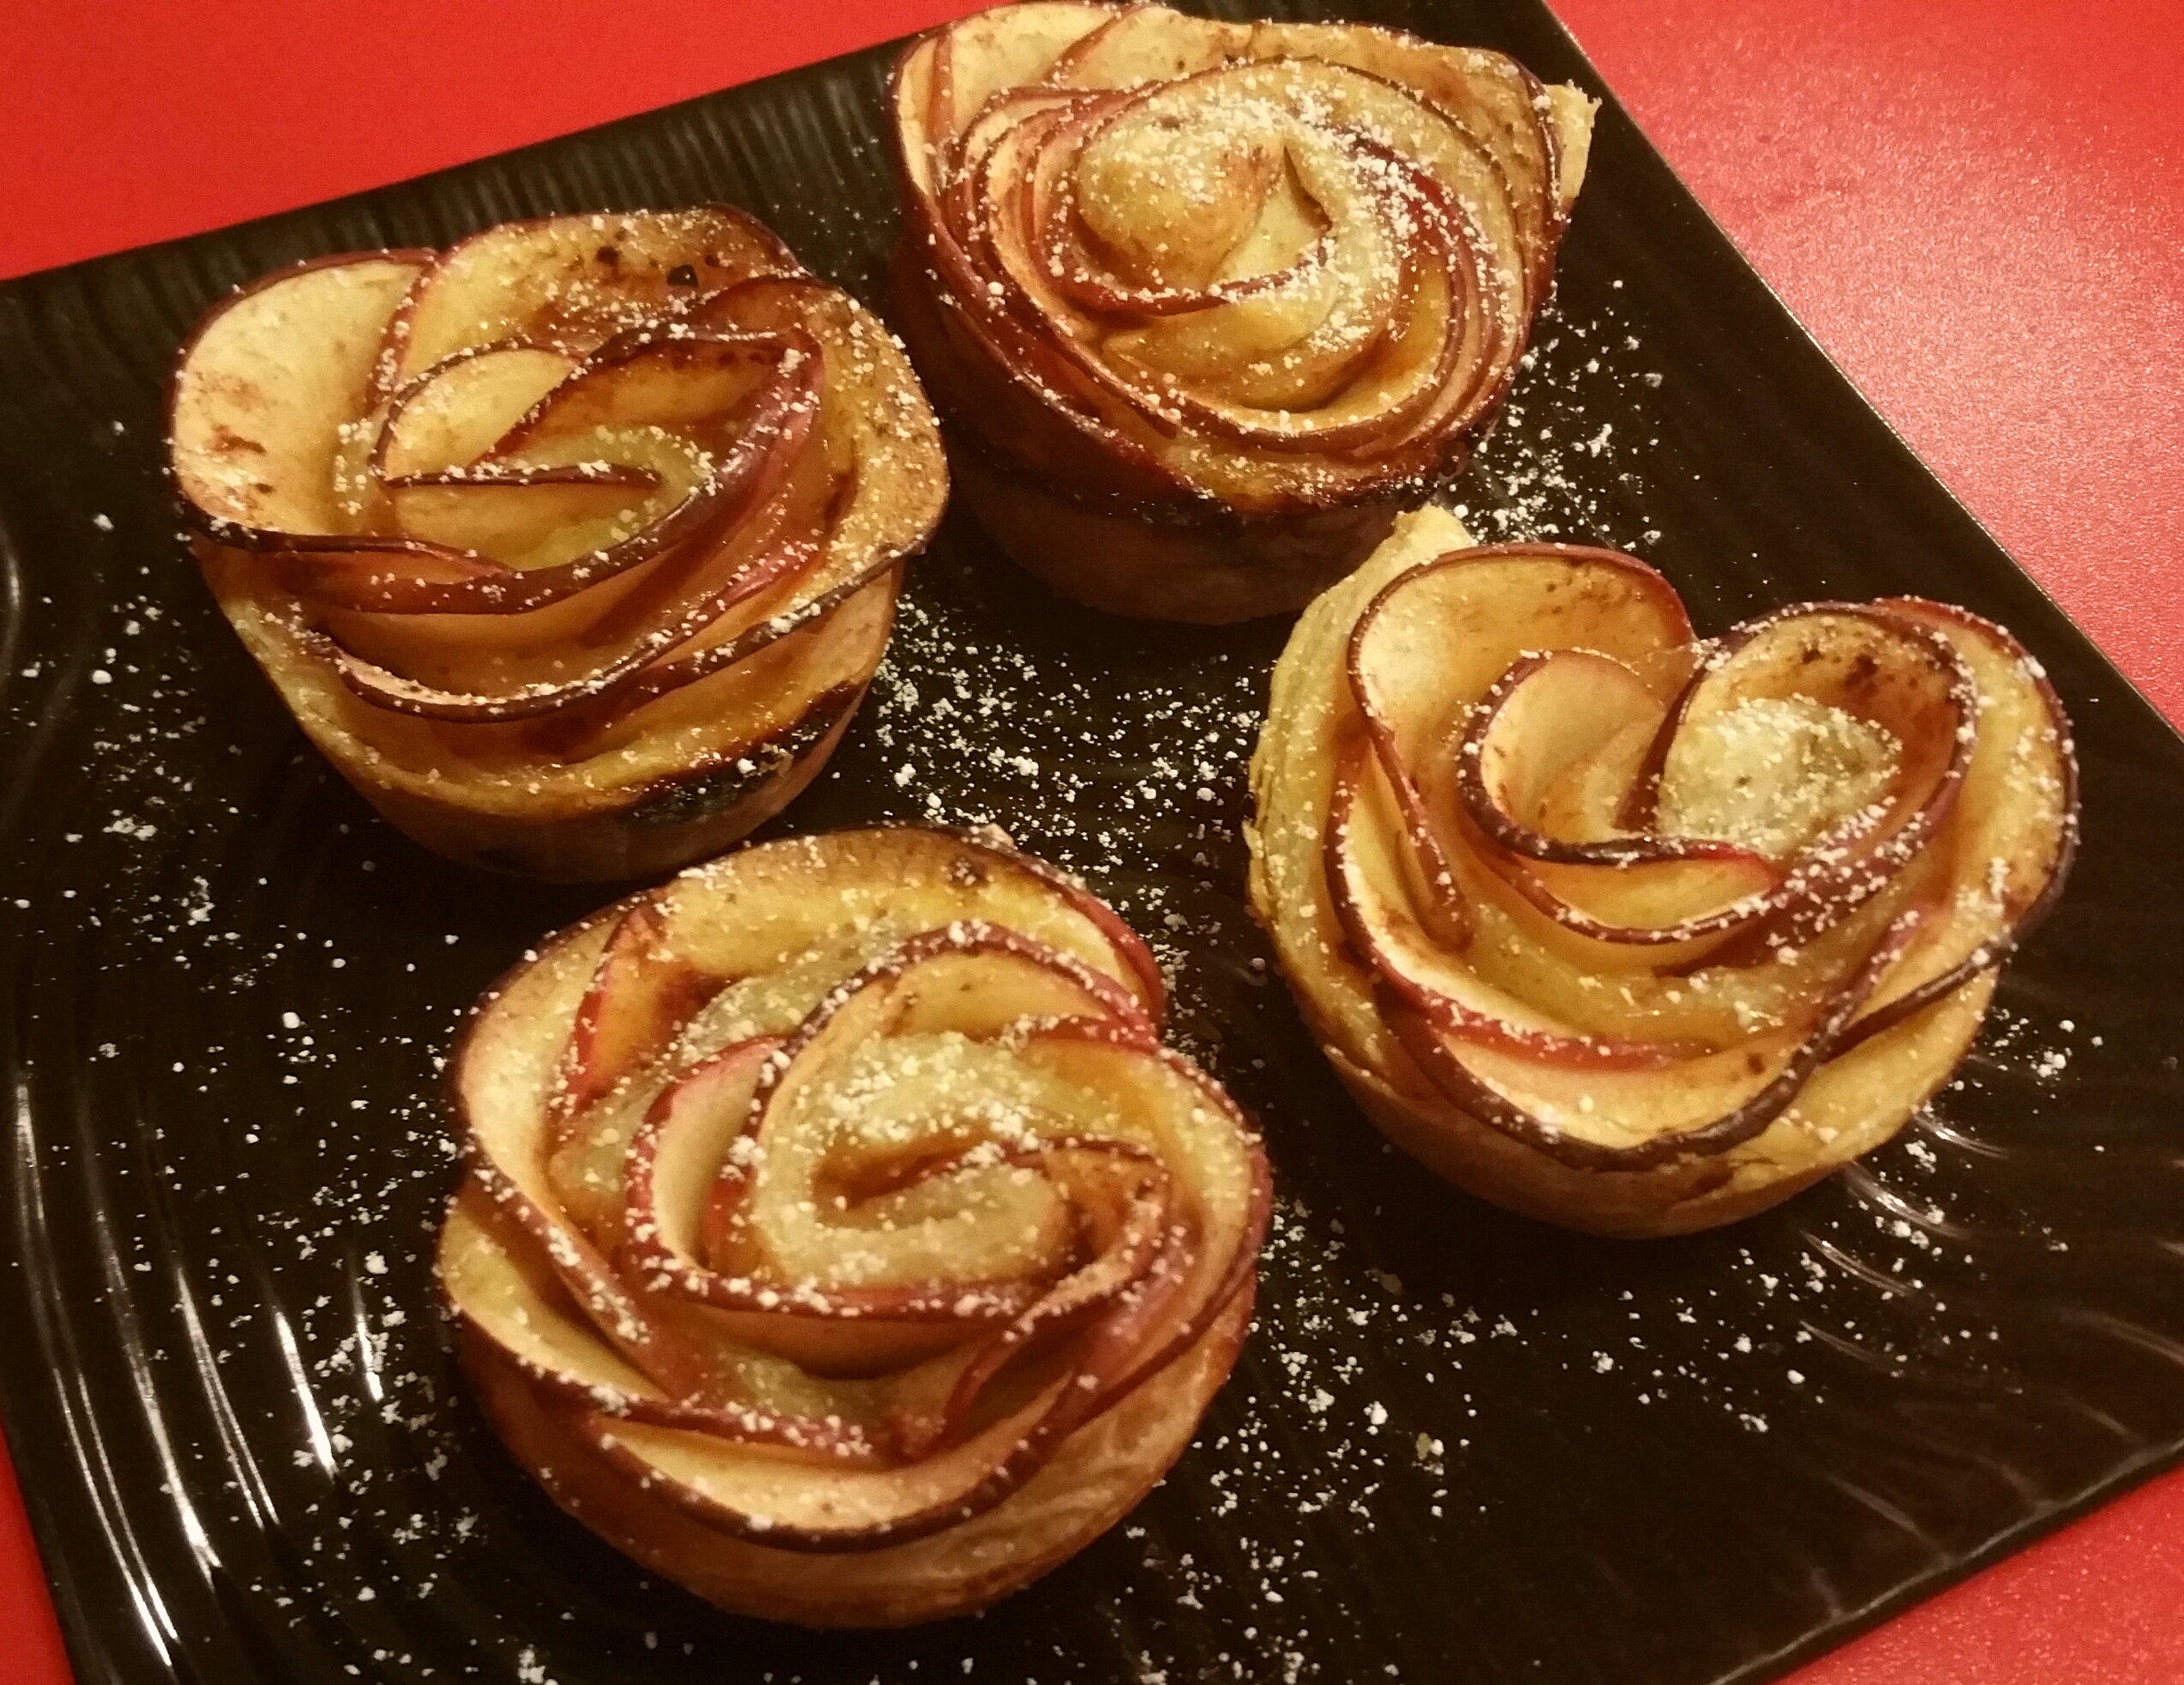
This is an impressive and beautiful dessert.  Yummy, too, especially when served warm with a scoop of vanilla bean ice cream!

Does it qualify as a Simple Brunch Idea, though?  Well, technically it’s simple (as in, five ingredients and very few steps), but definitely not easy.  Especially the first time you try it.  I recommend that you watch the YouTube video before attempting it yourself.  Maybe you’ll see something in it that I missed.
Rose Shaped Apple Baked Dessert by Cooking with Manuela:  https://www.youtube.com/watch?v=5rGrwvEjZIQ

Here’s the way I made this recipe, as well as a few of the lessons I learned along the way.
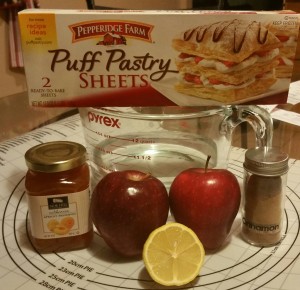
20151118_194209-1
Ingredients:

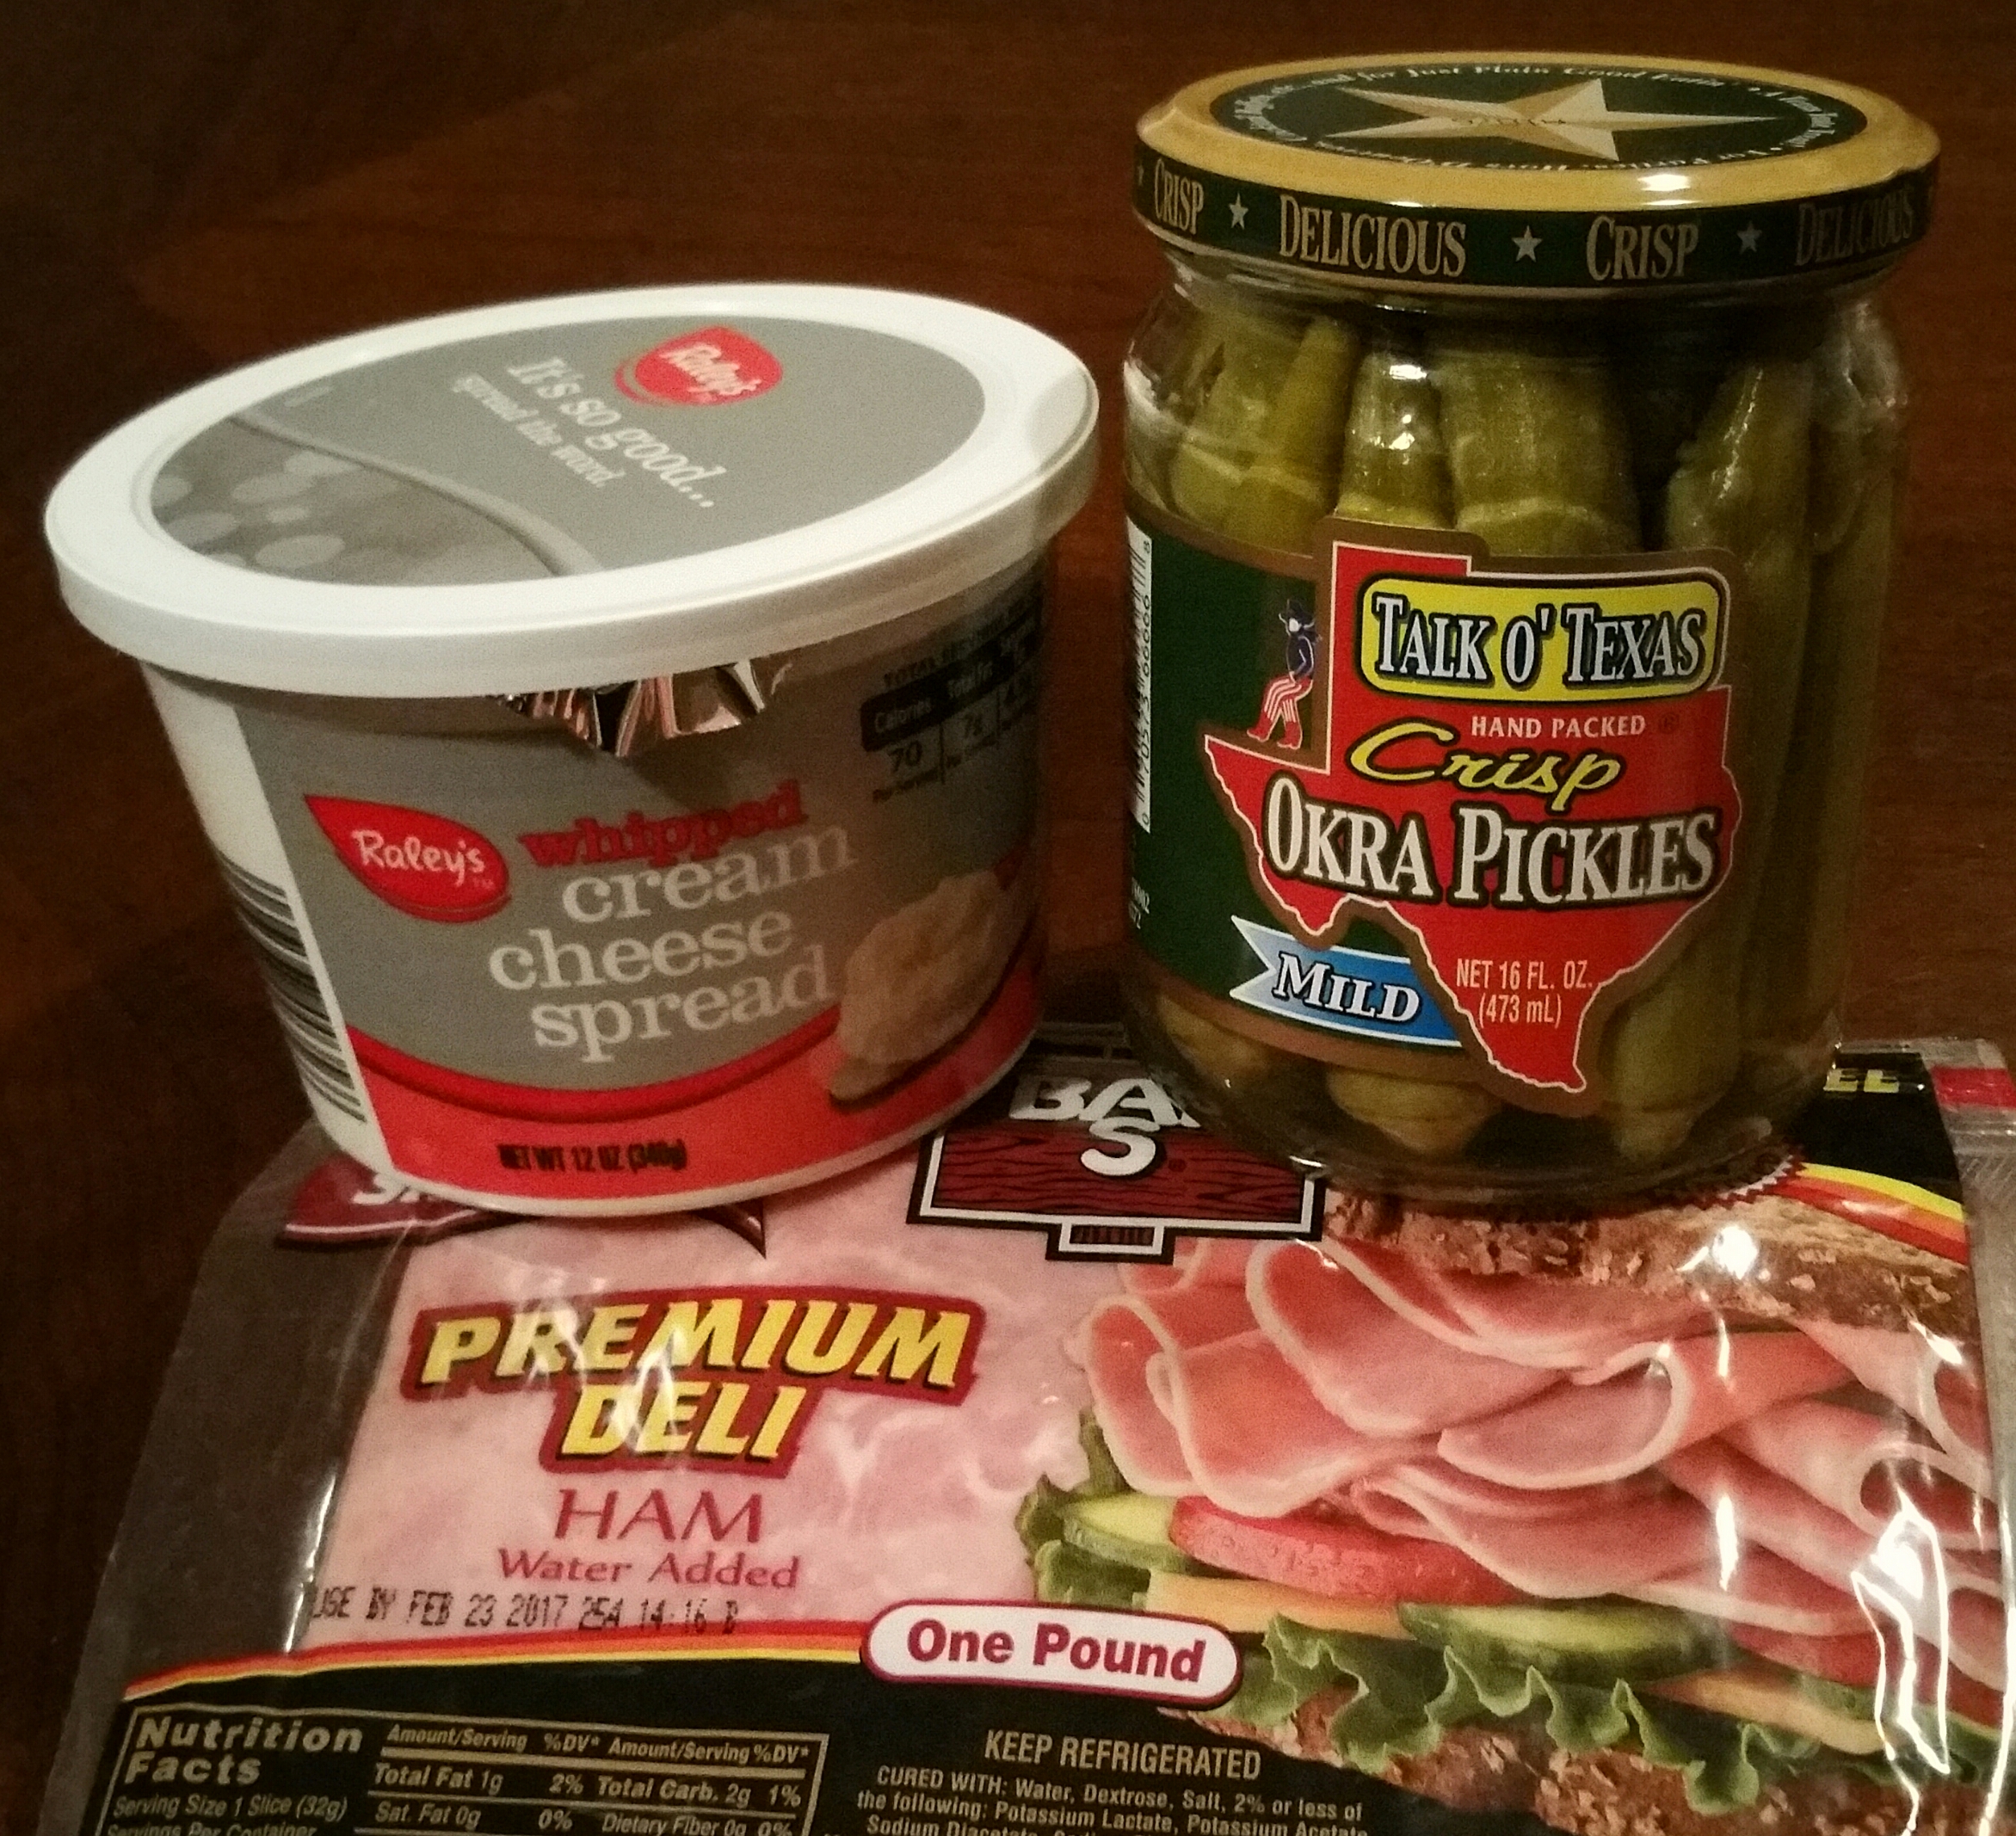
2 red delicious apples
½ a lemon
1 sheet of puff pastry, thawed
Apricot preserves
Cinnamon

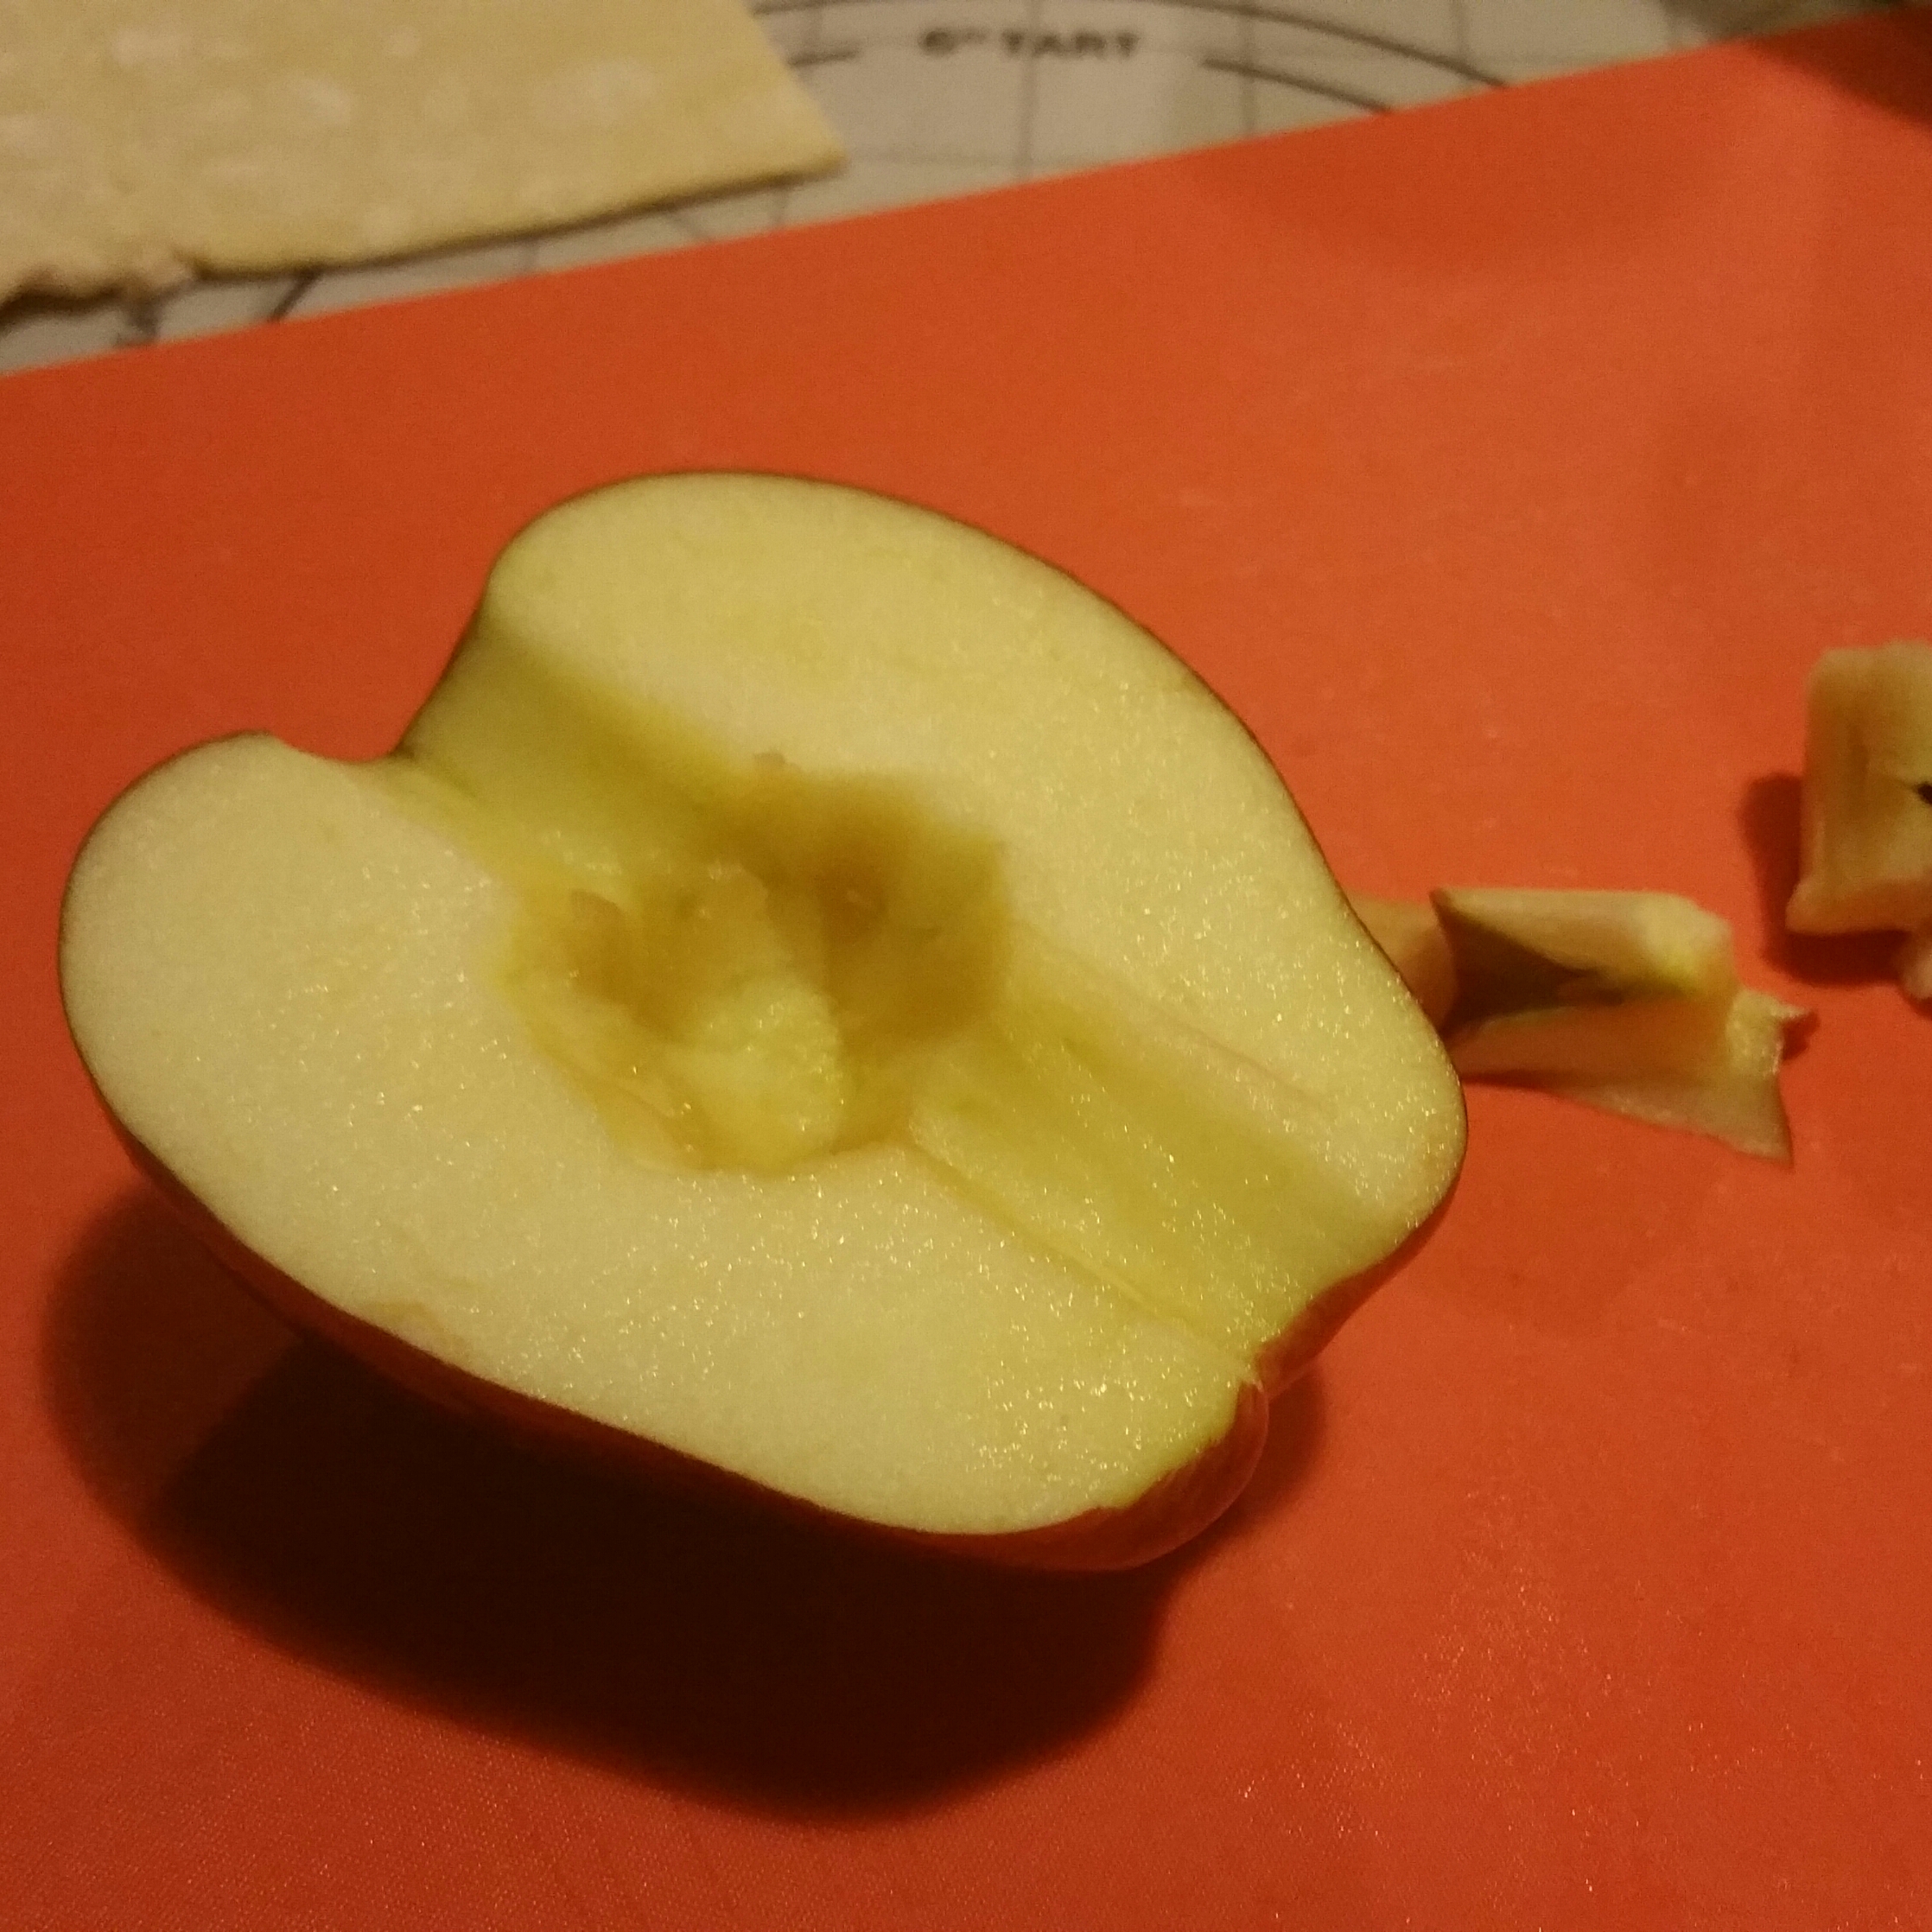
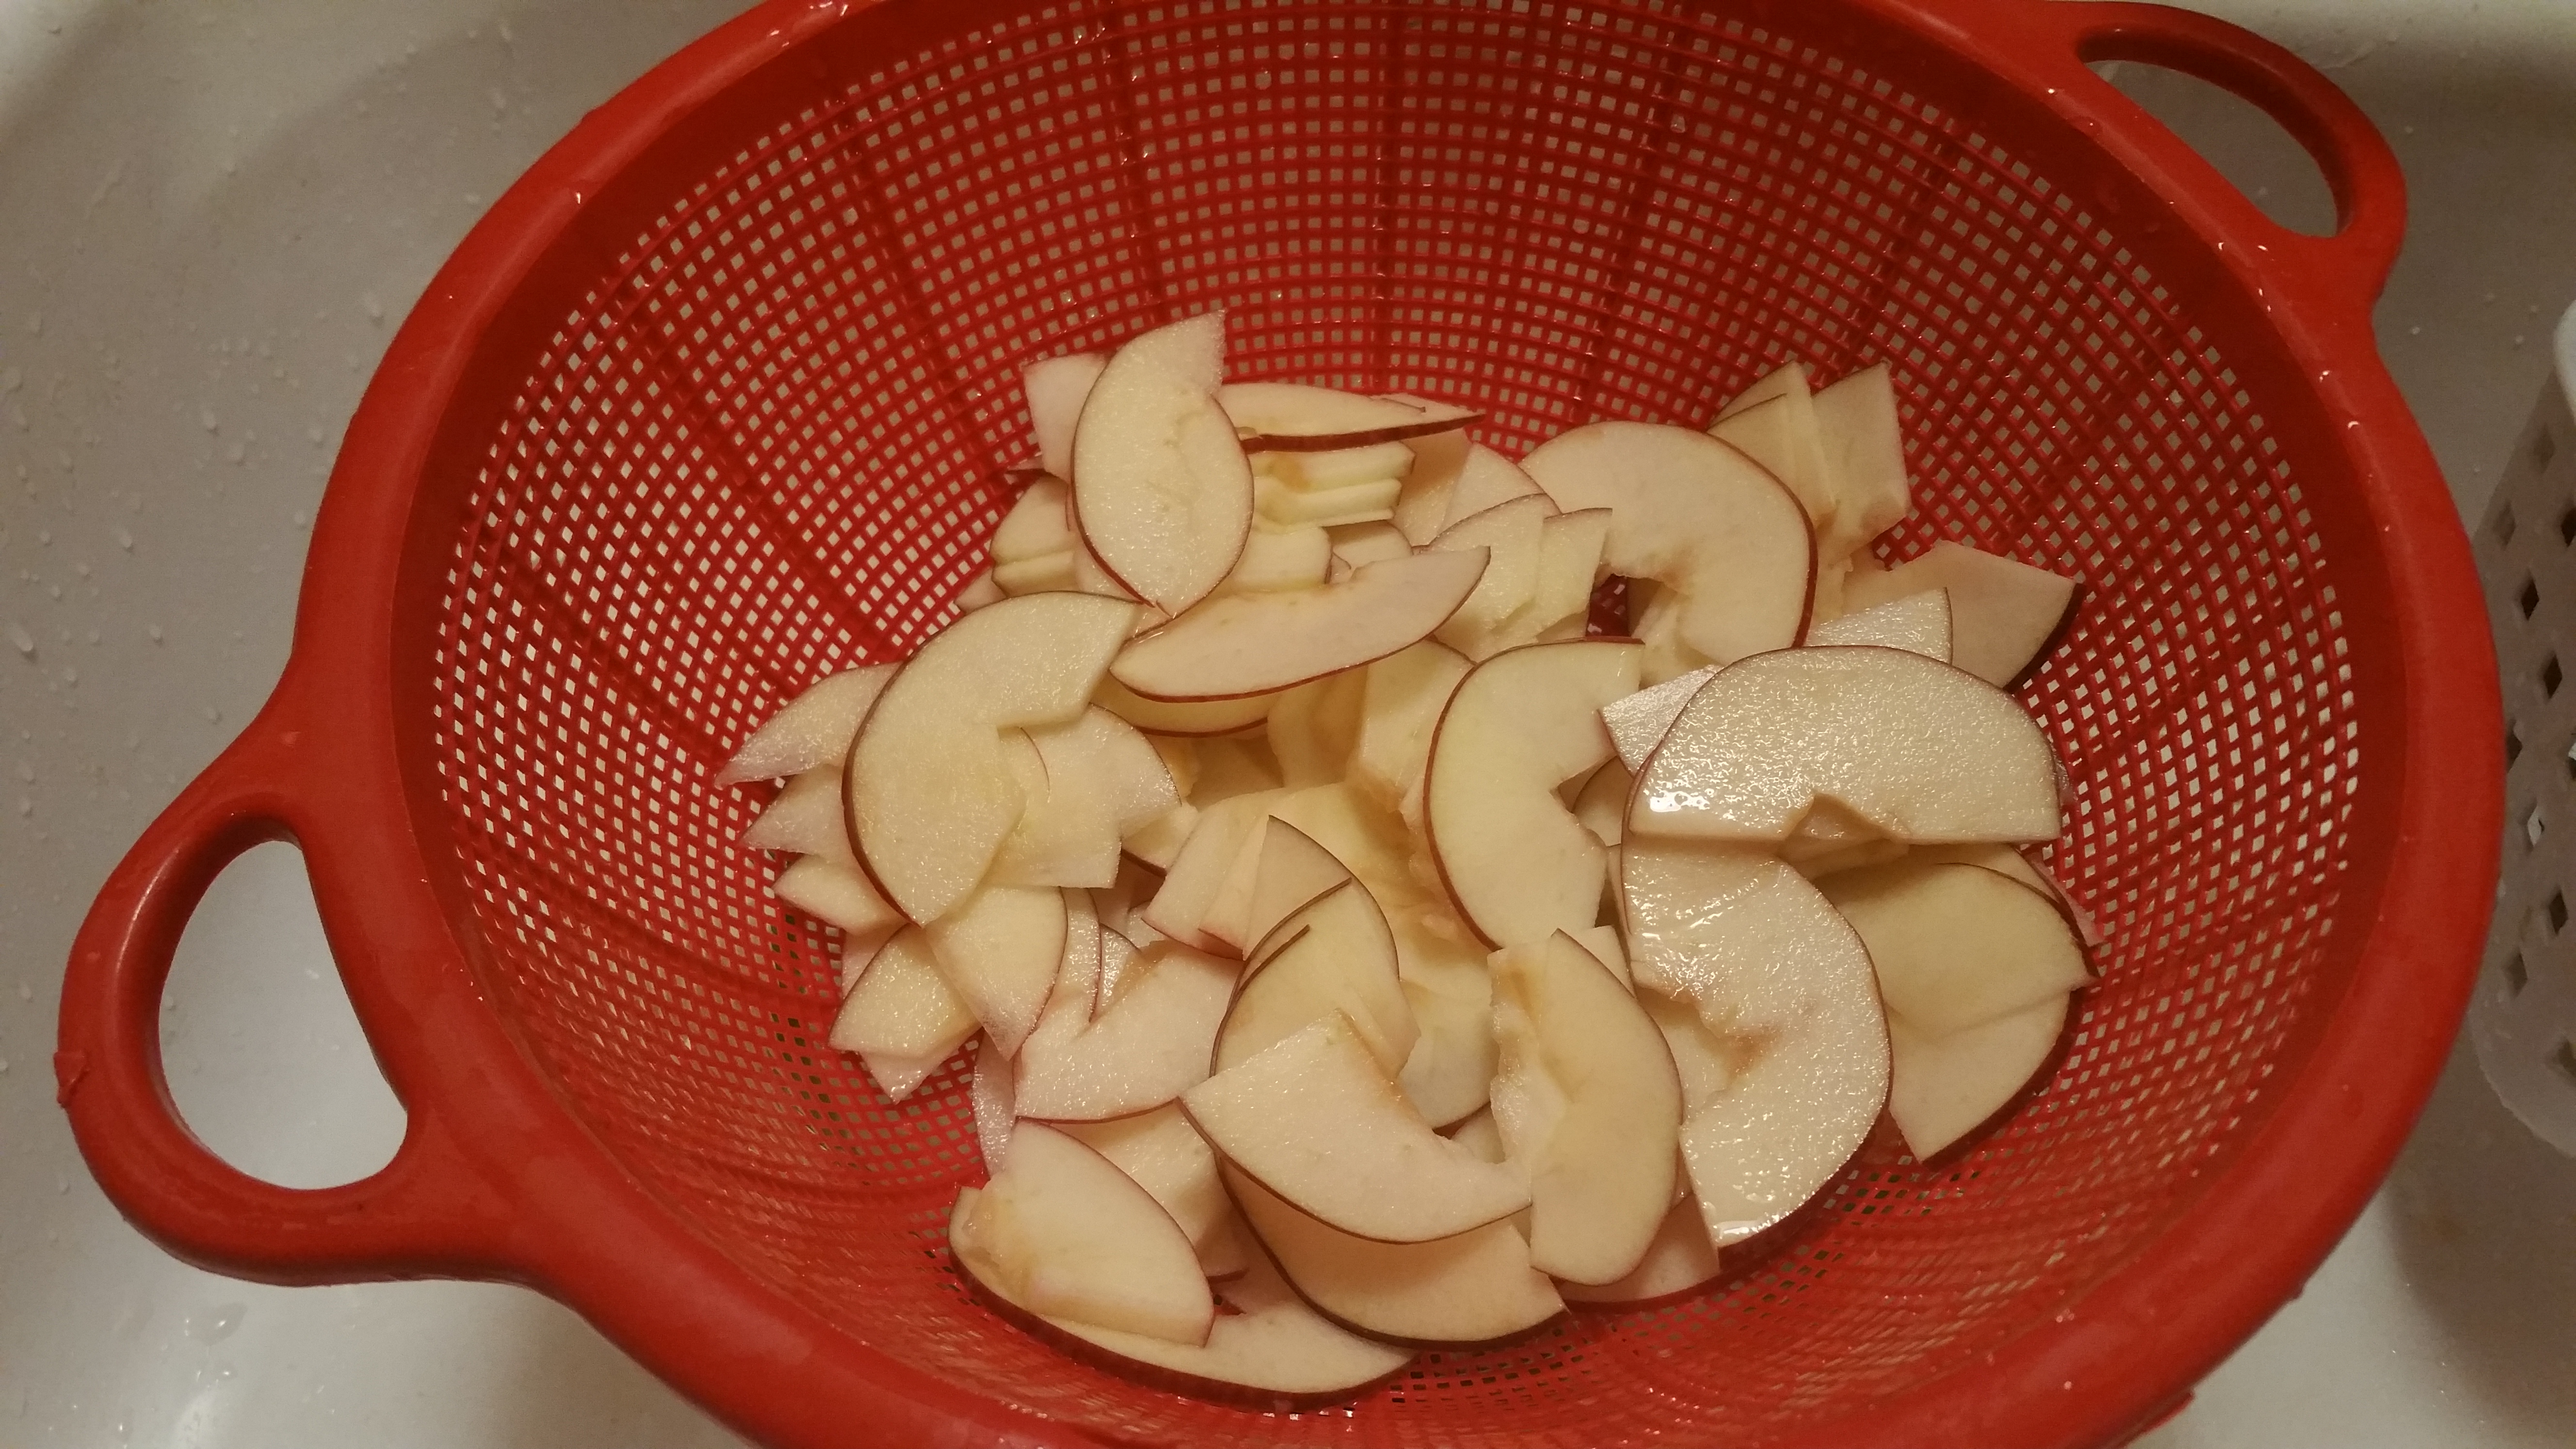
Core the apples and slice into VERY thin slices.  (Lesson one:  the
thinner the slices, the easier to roll).
20151118_194832-1    20151118_194954-1

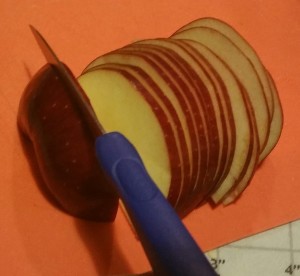
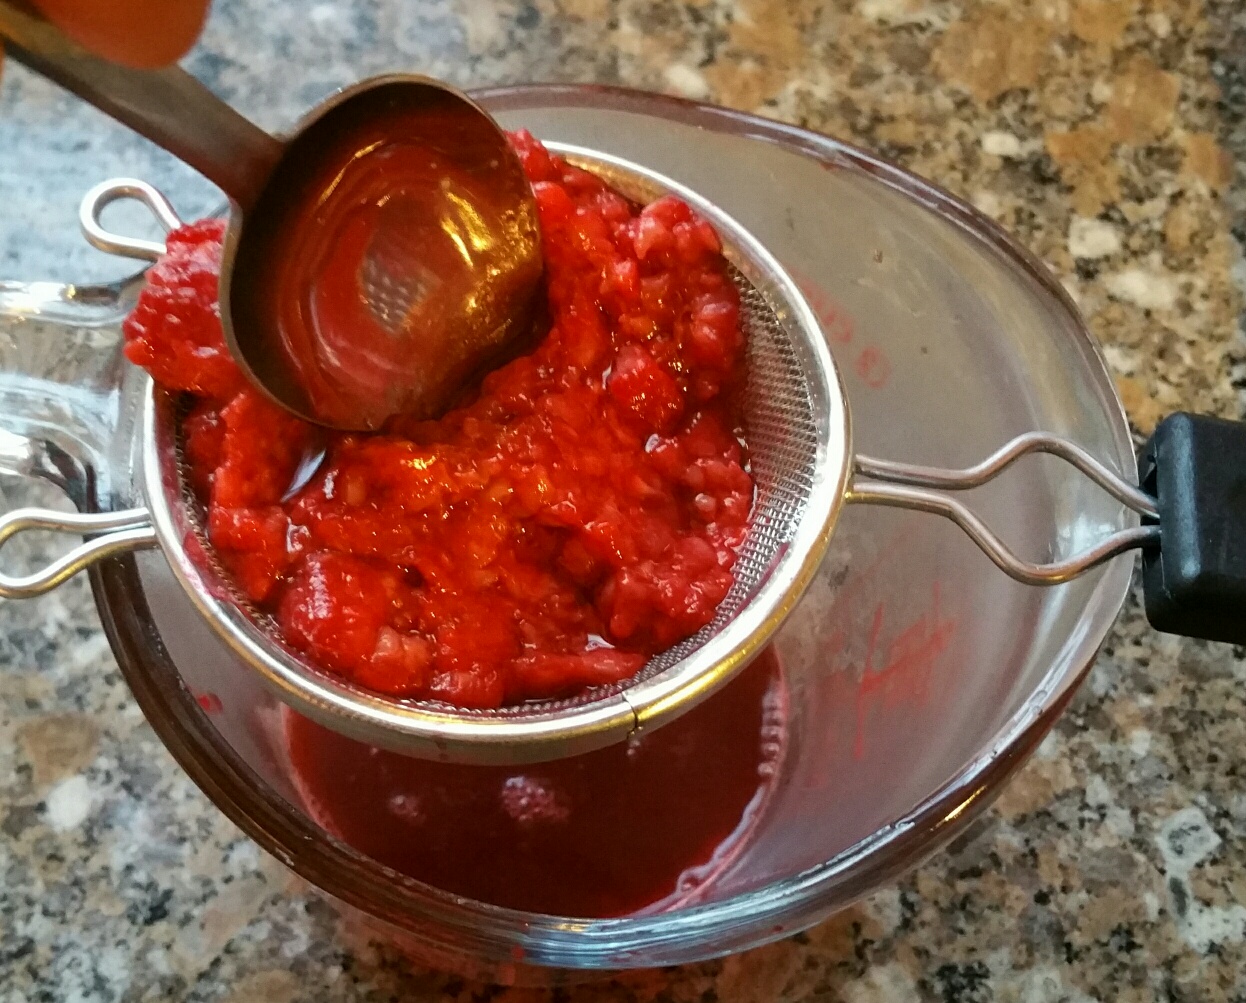
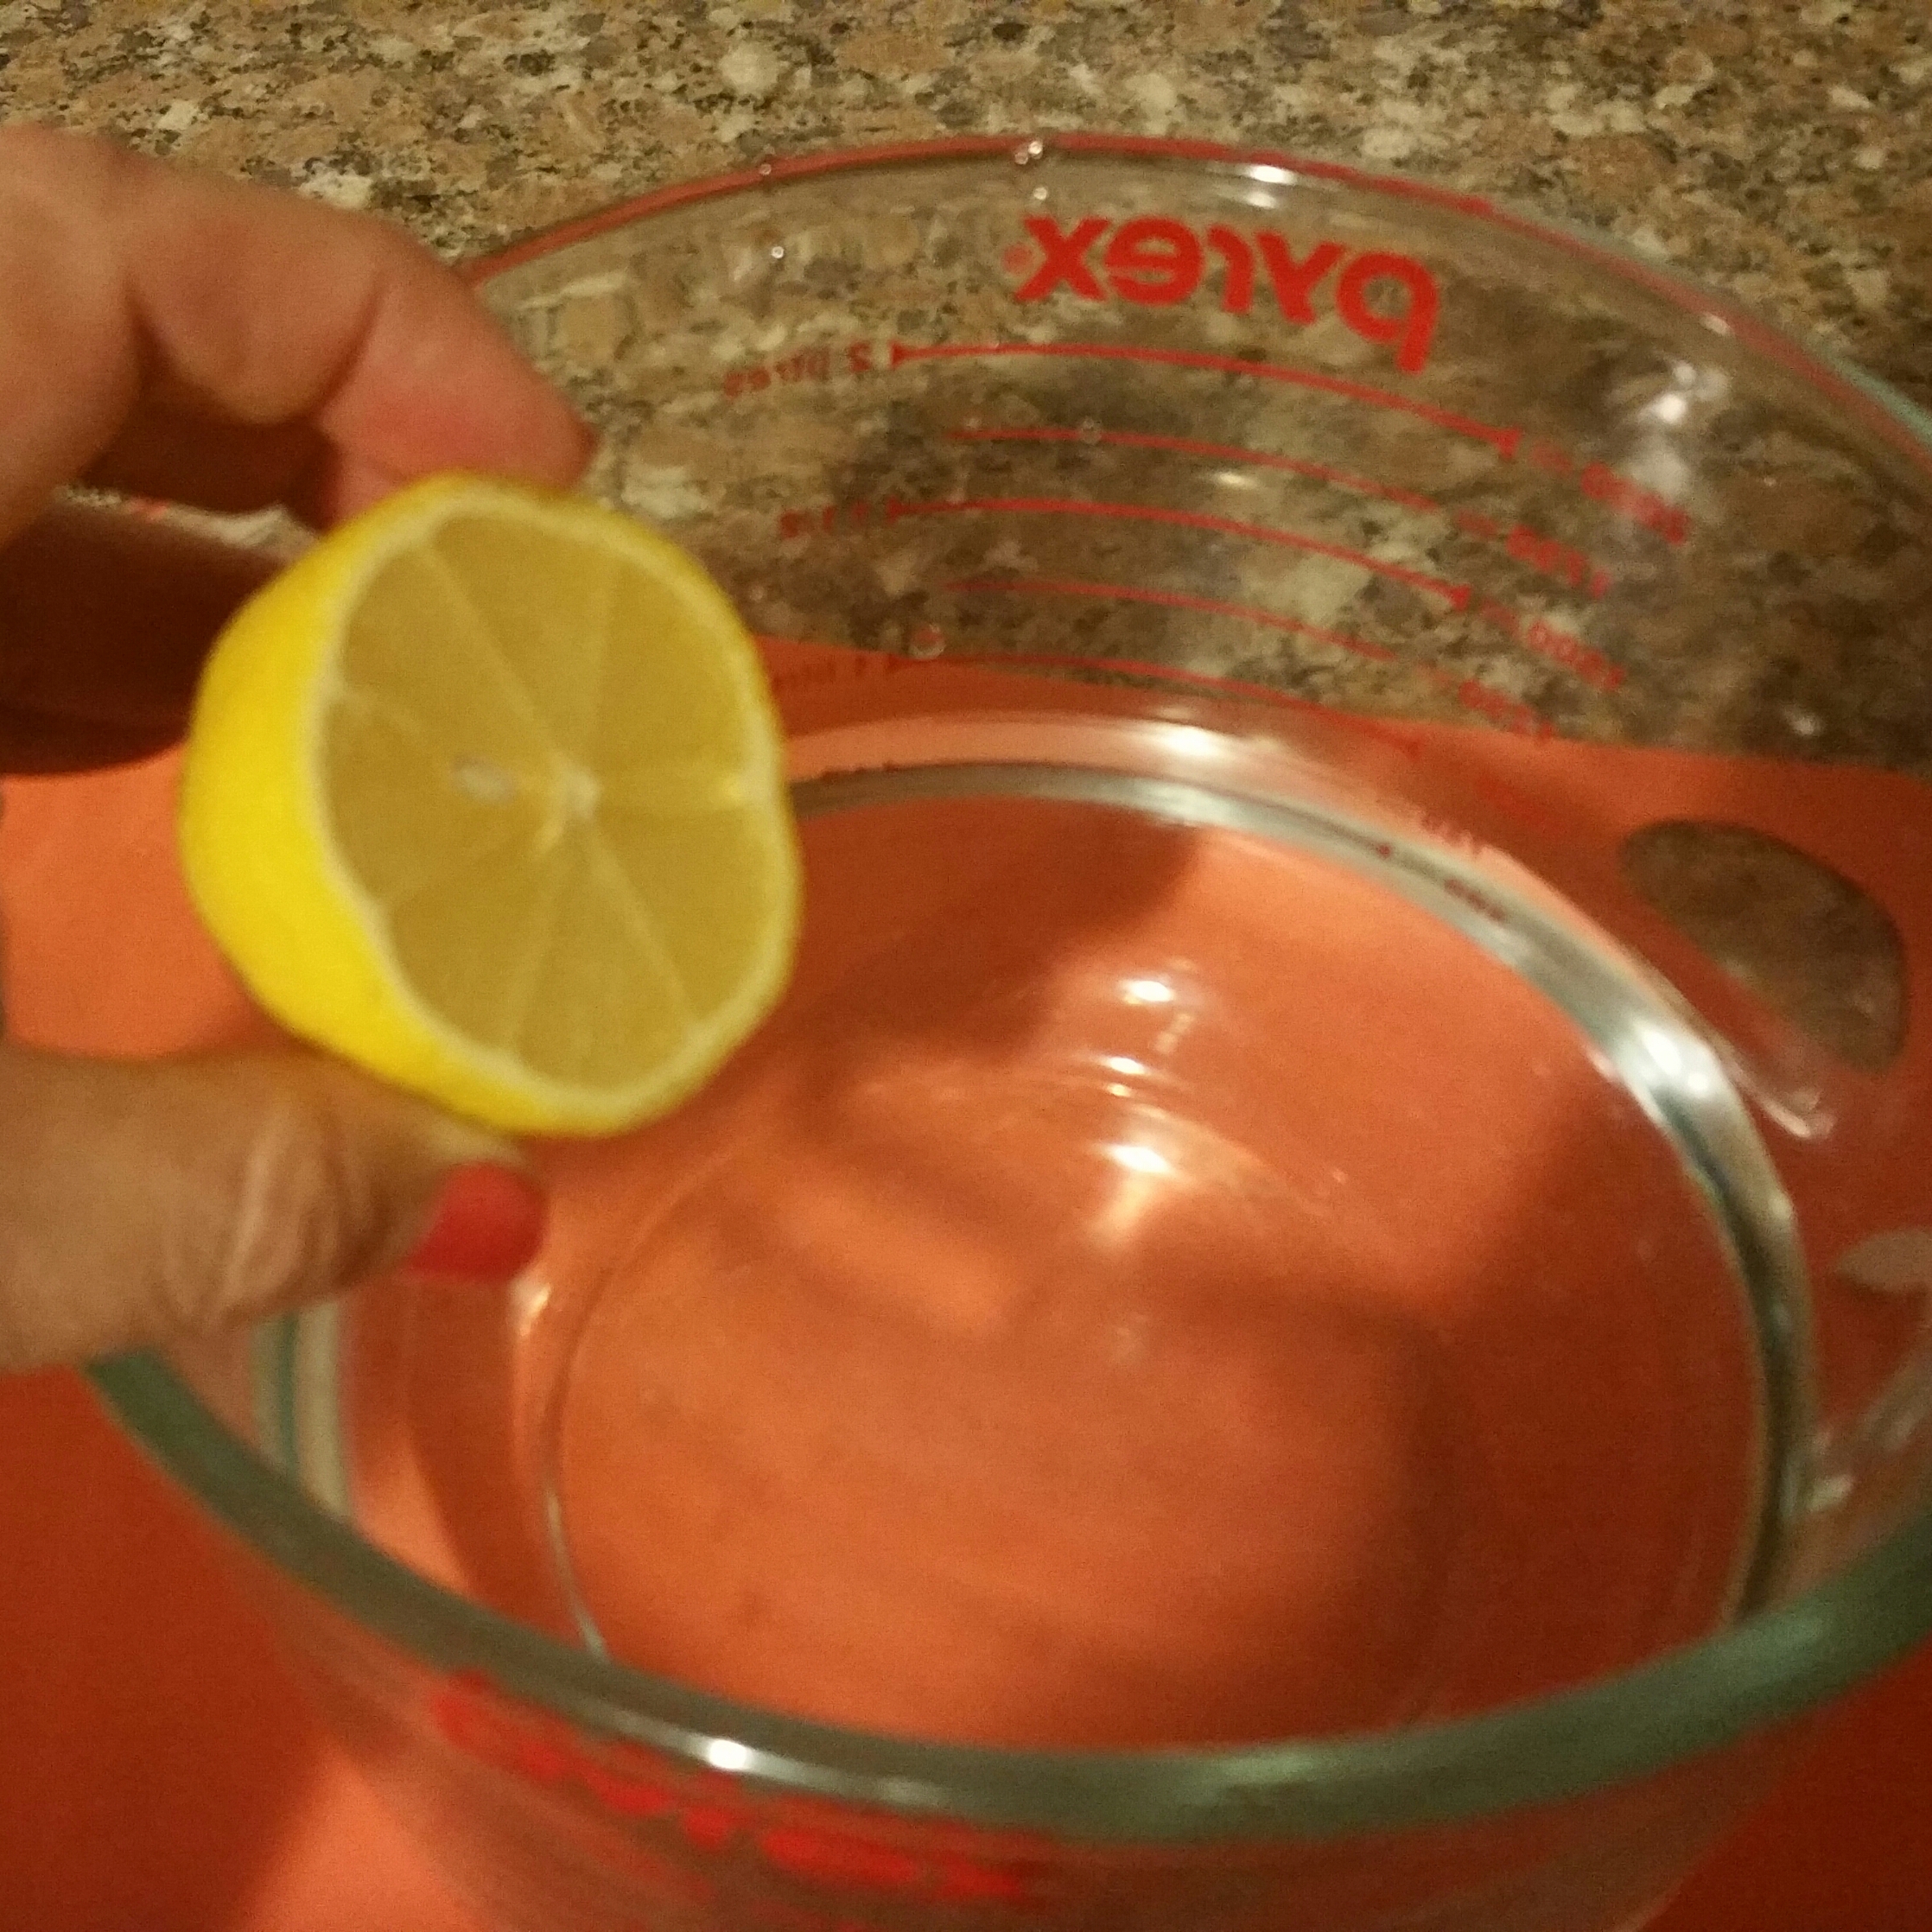
Put the apple slices in a bowl of water and add the juice of half a
lemon.  Microwave for about 3 minutes.  (Lesson two: be sure they are soft.  See the picture further down of what happens when they are not pre-cooked enough.)
20151118_194333-1   20151118_200419

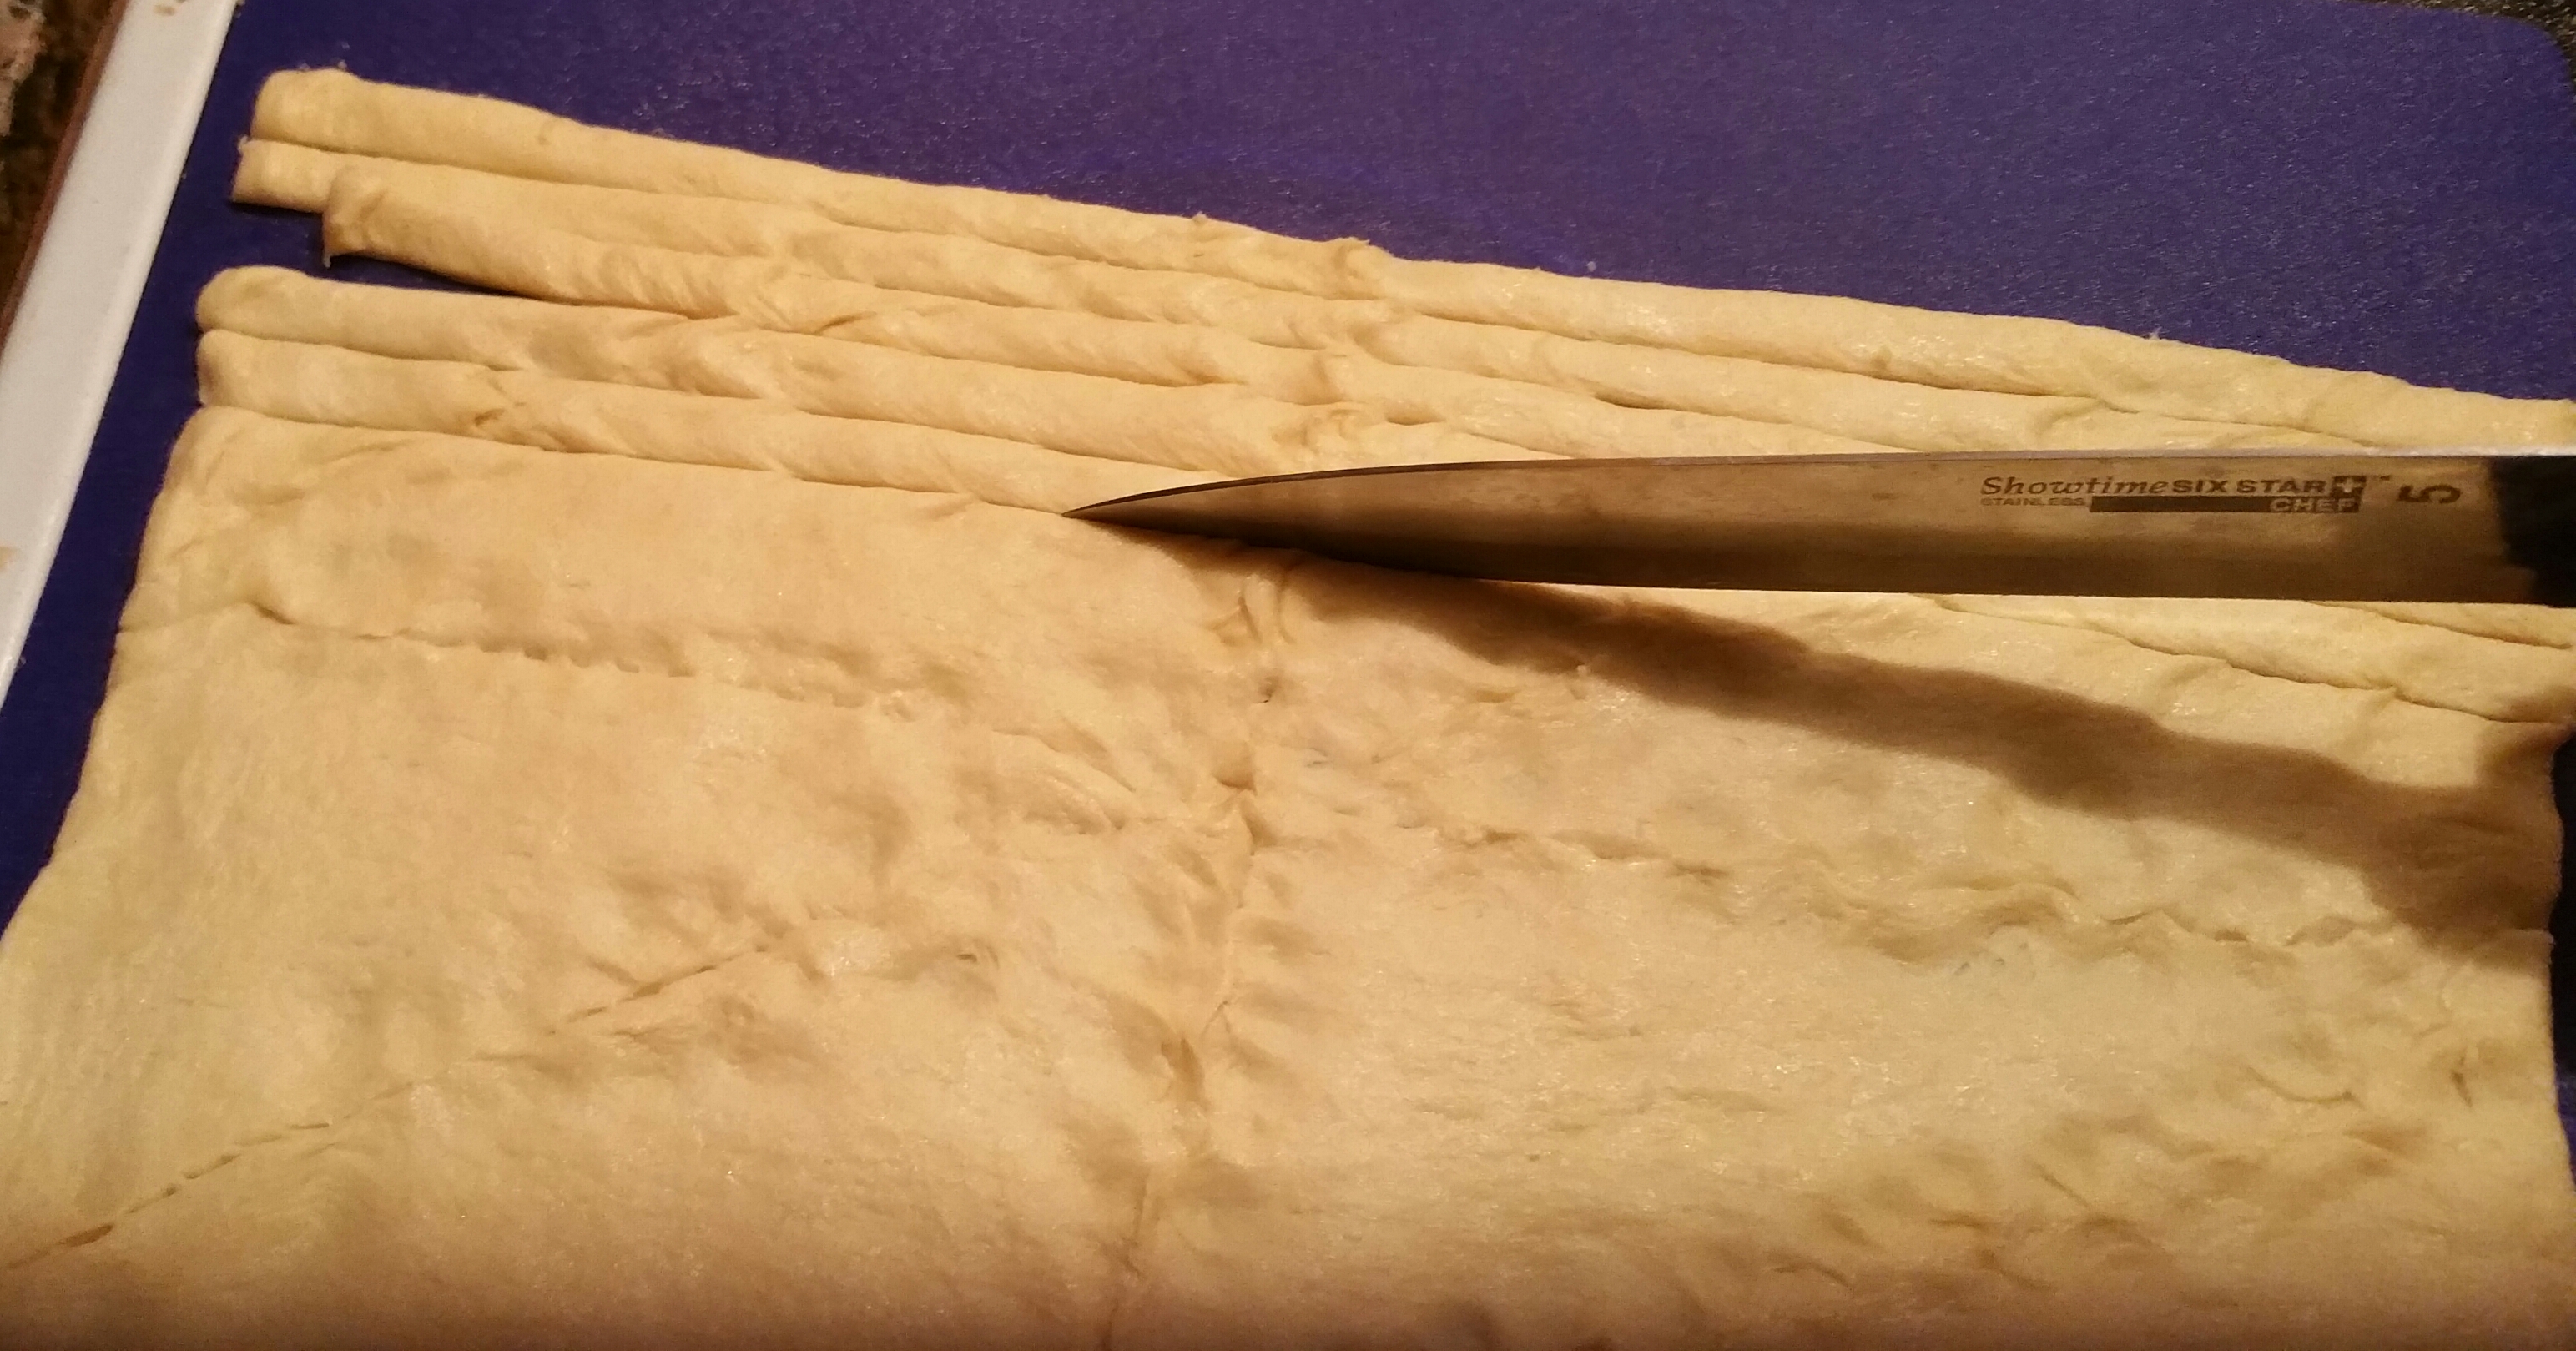
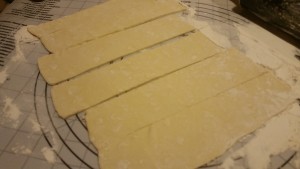
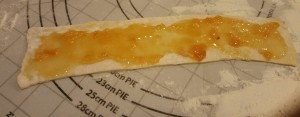
On a floured surface, unfold the puff pastry and use a rolling pin to stretch it slightly.  Cut the sheet into six strips.
20151118_200028

20151118_200120

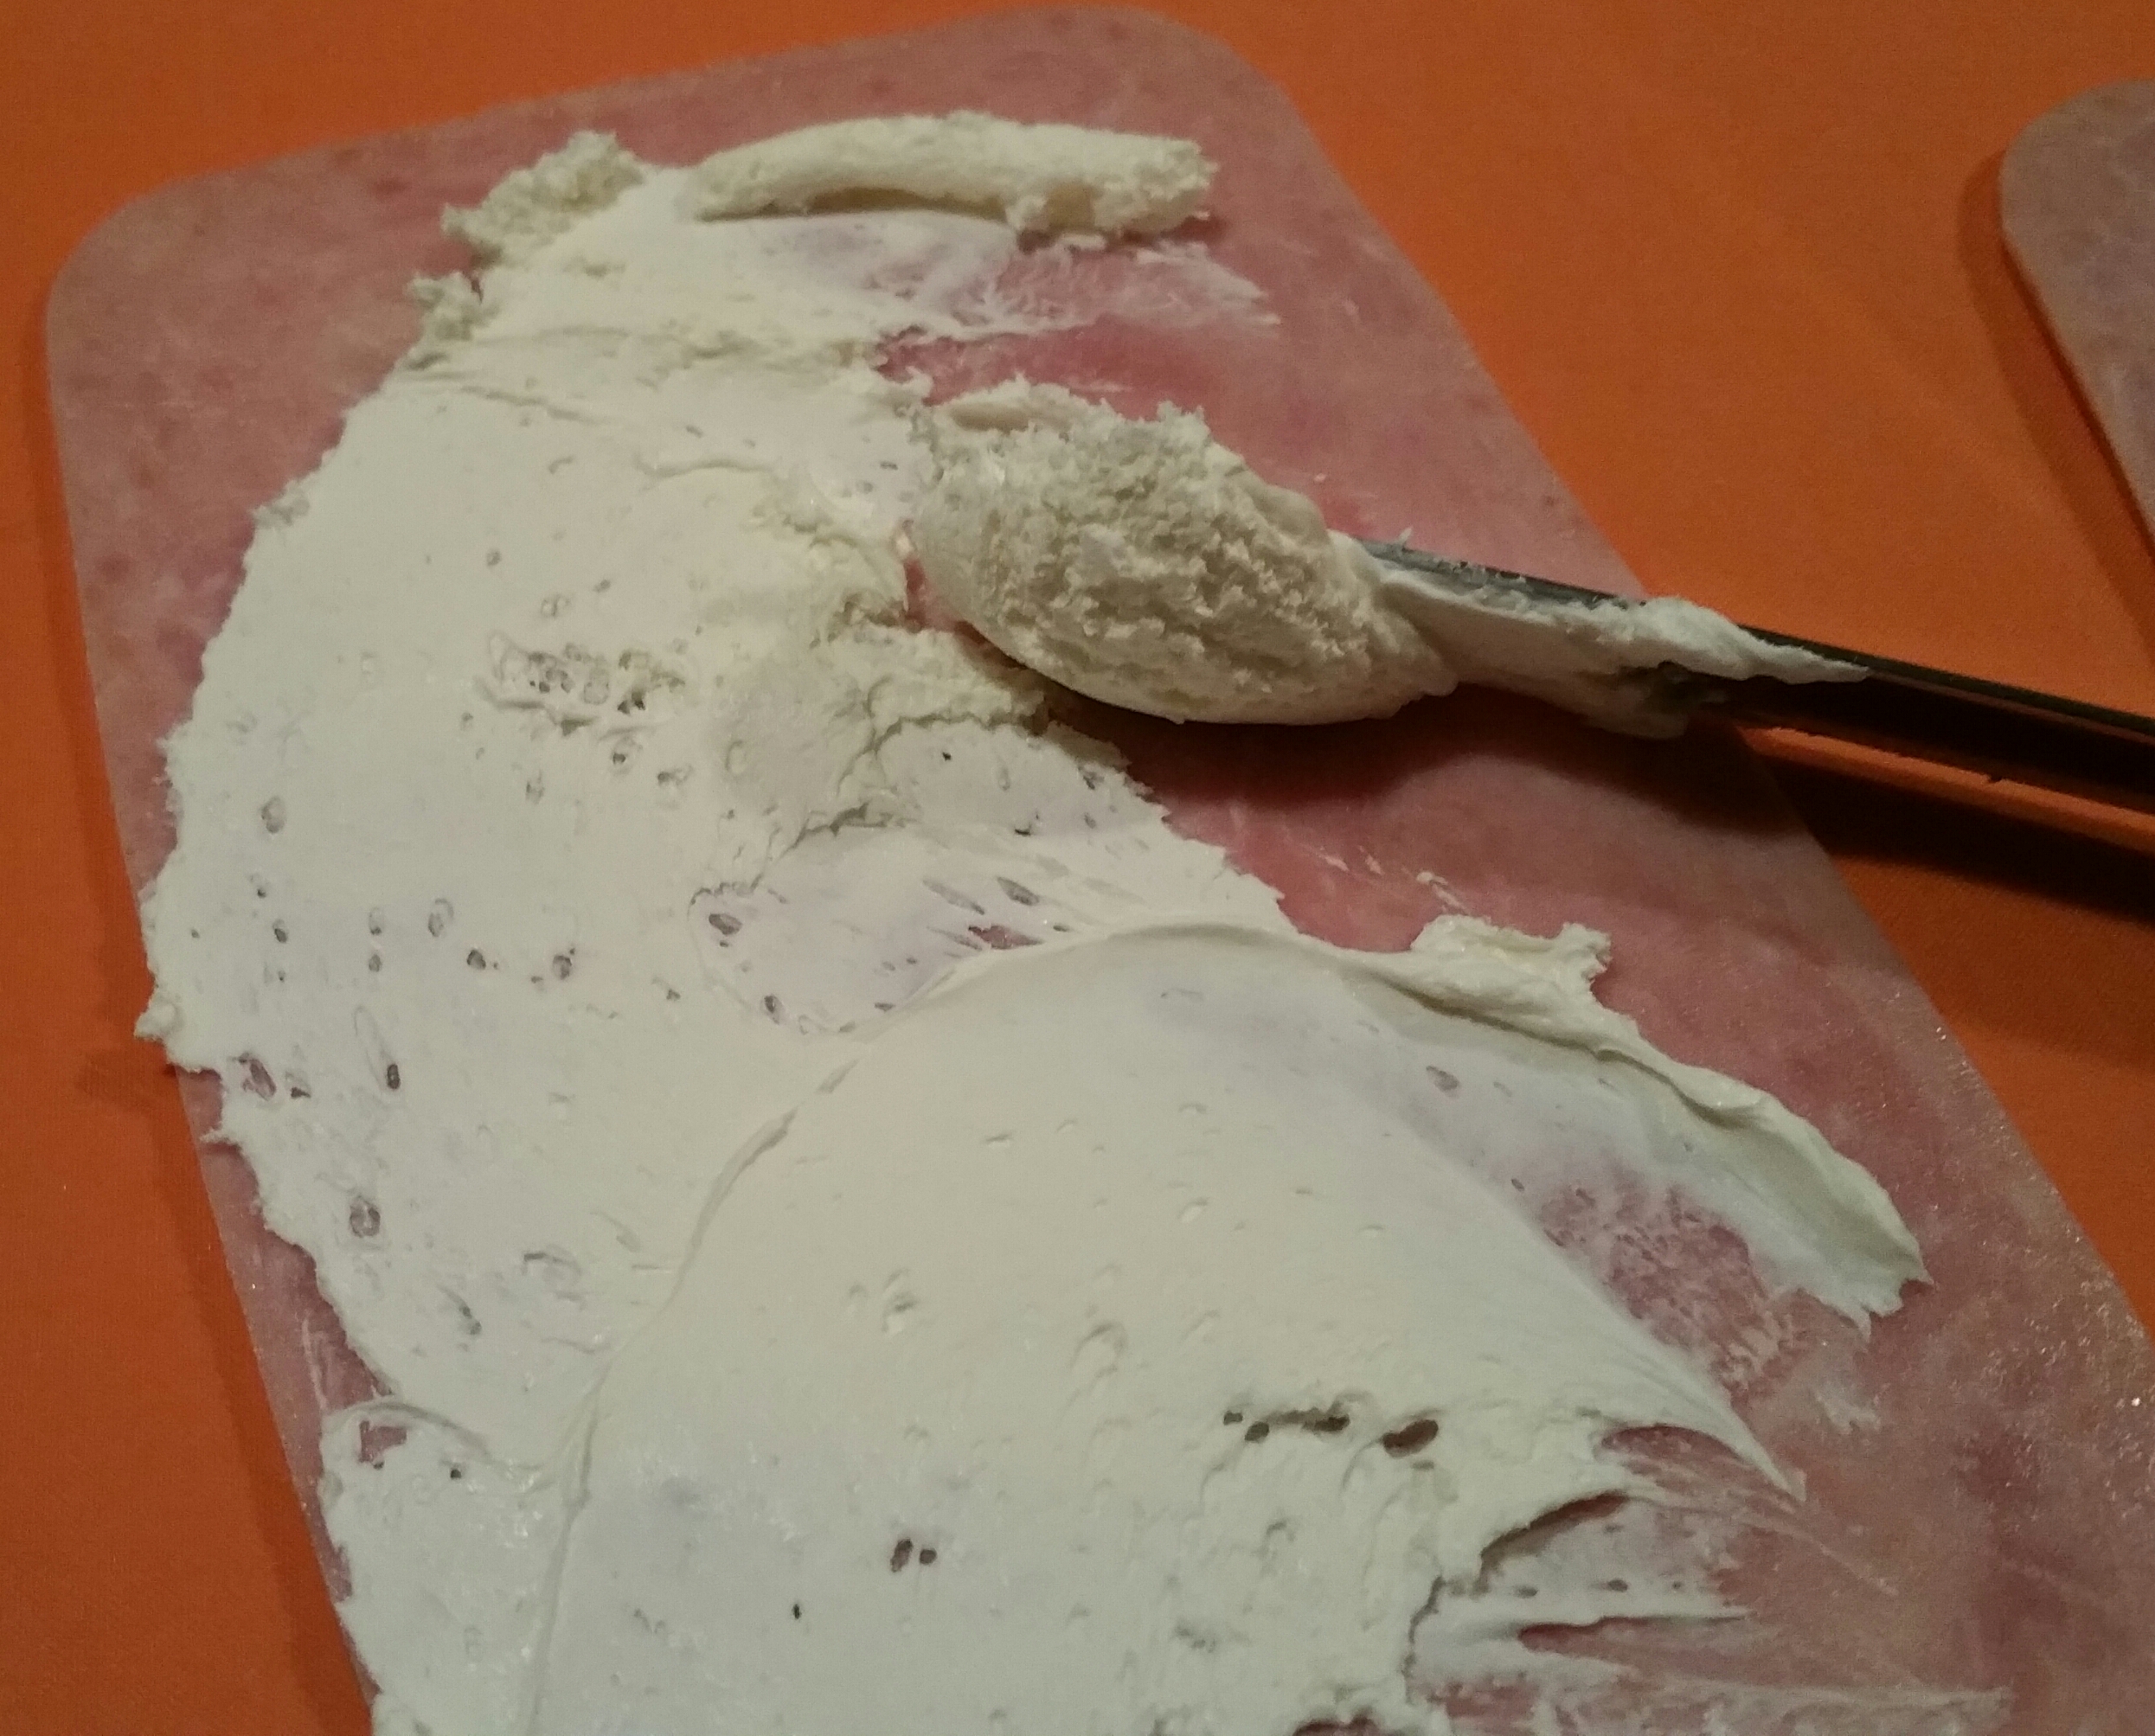
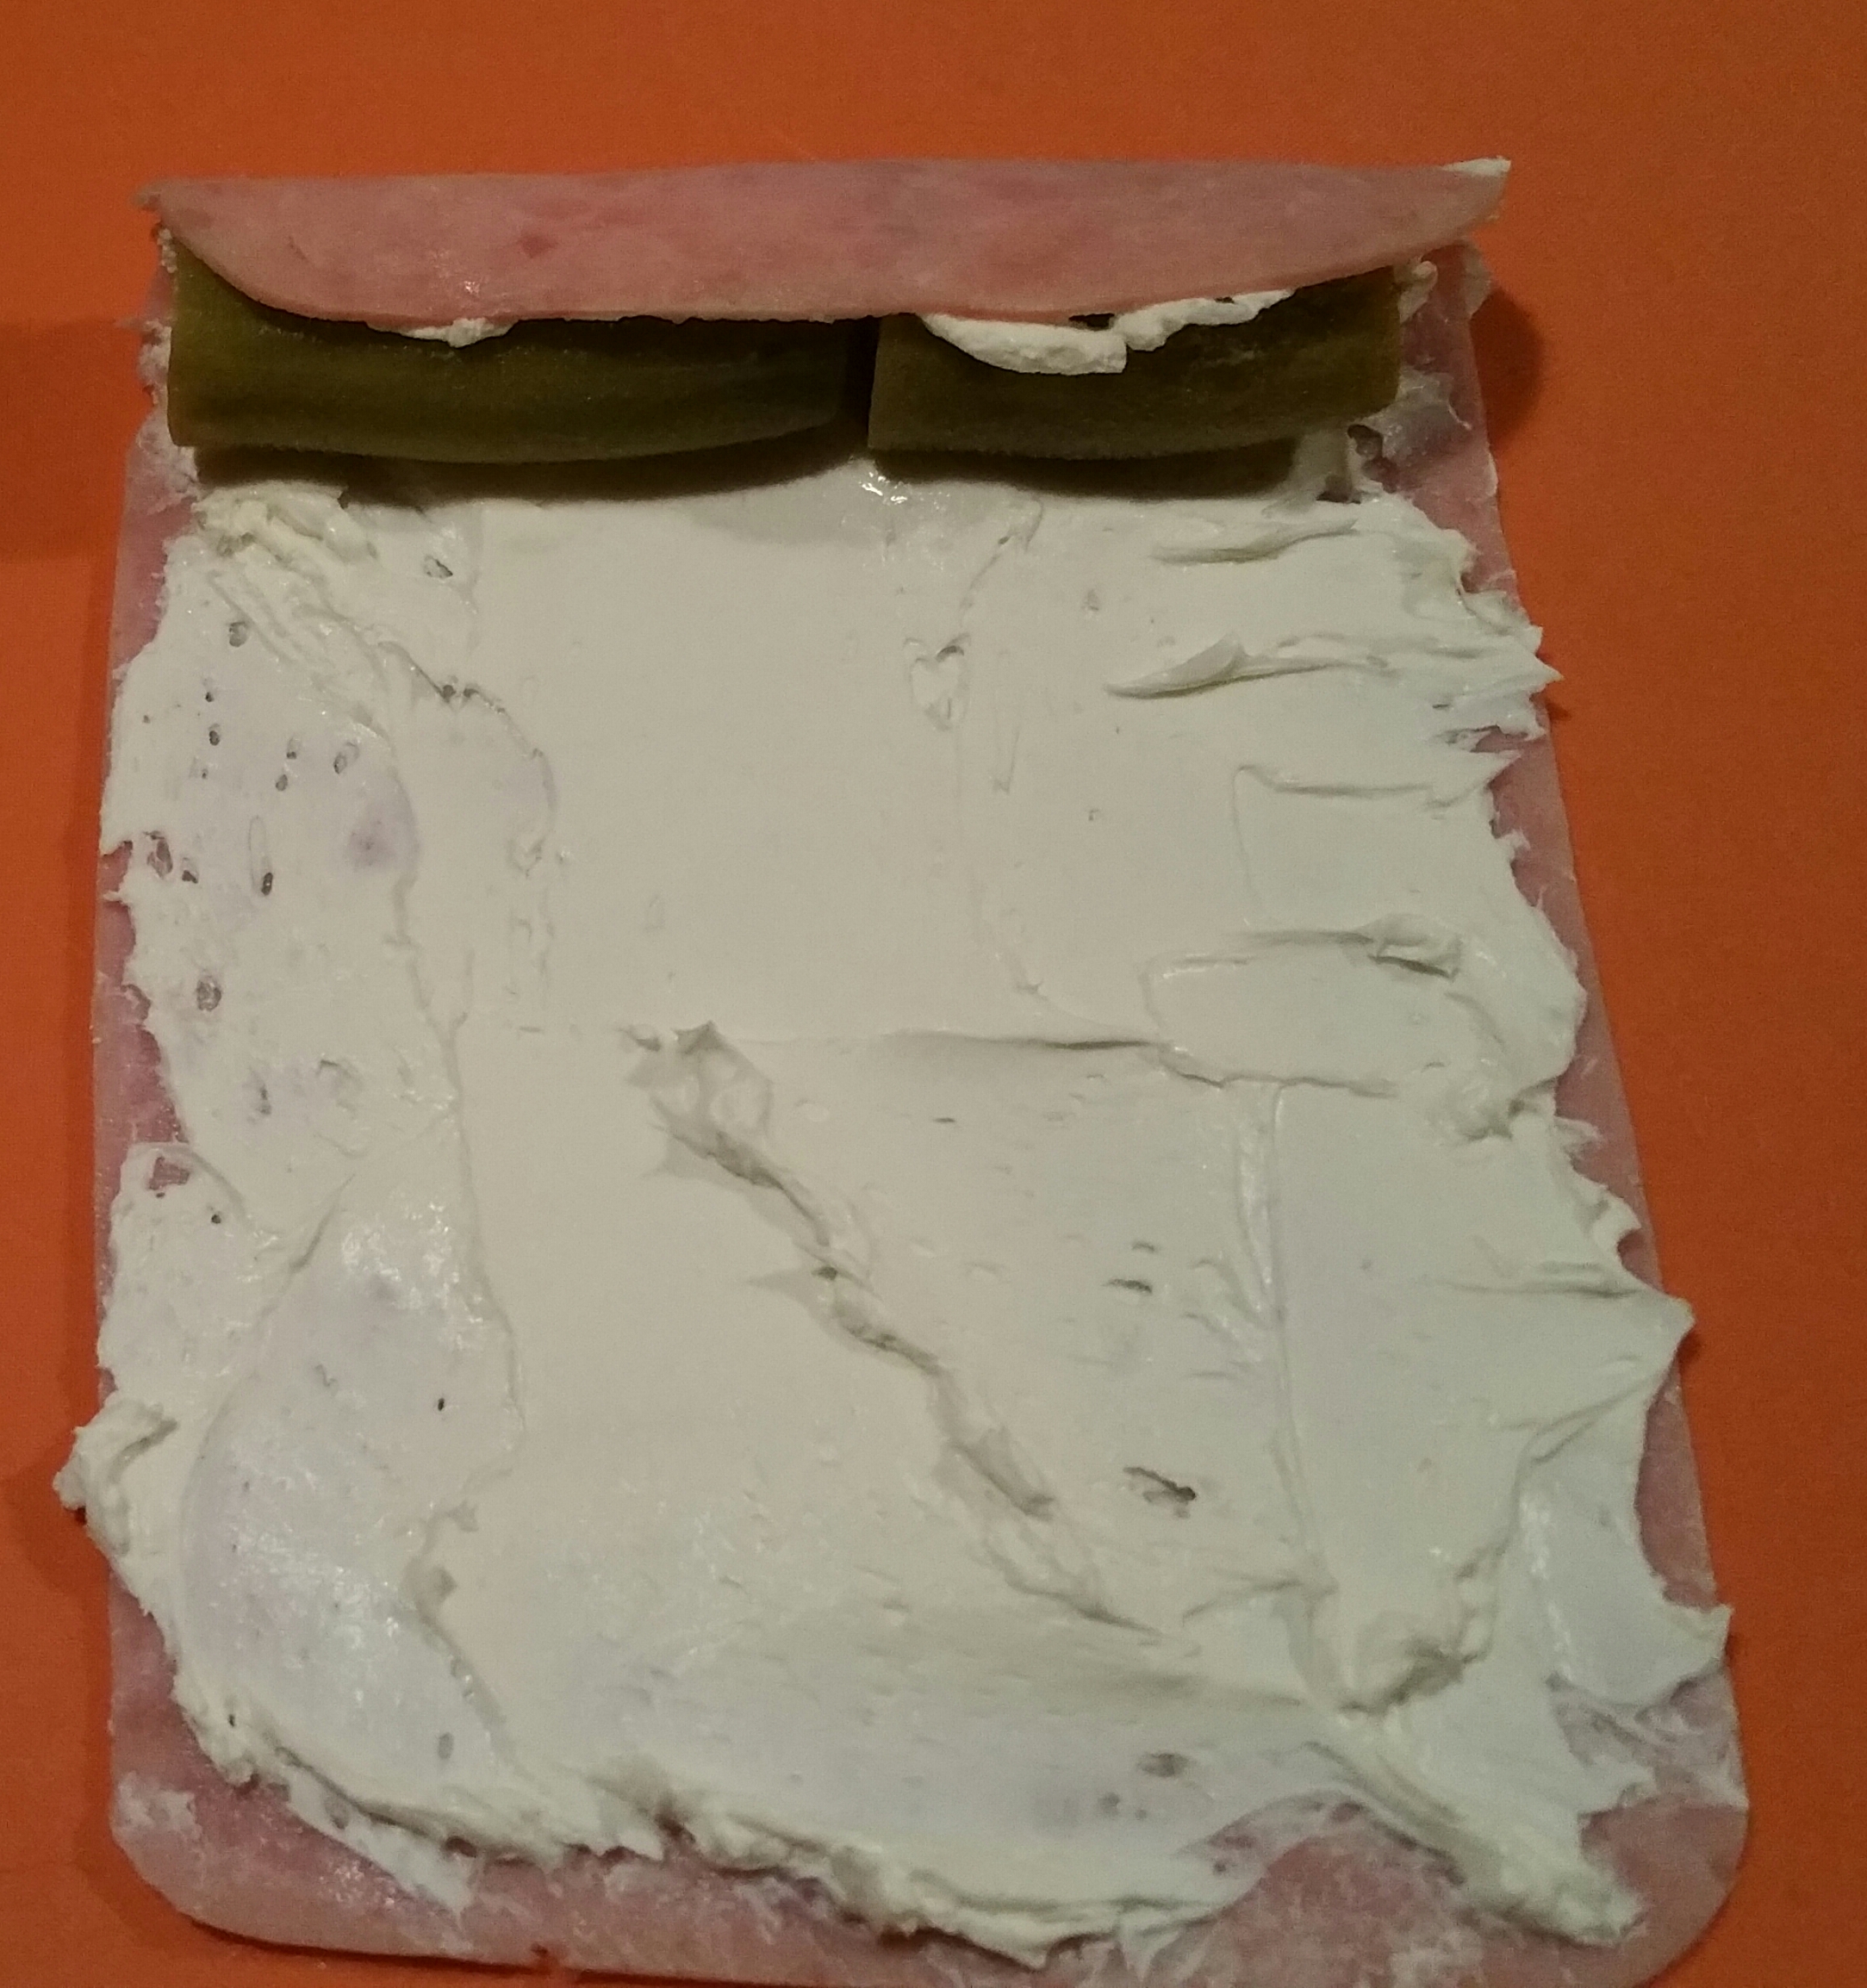
Spread a spoonful of the apricot preserves on a strip of the pastry.  (Lesson three: Don’t spend extra on high quality preserves.  The one I bought had big chunks of apricot, which makes for a delicious topping on toast, but didn’t spread well for this recipe, so I had to remove the chunks, wasting much of it.) 
20151118_200645-2

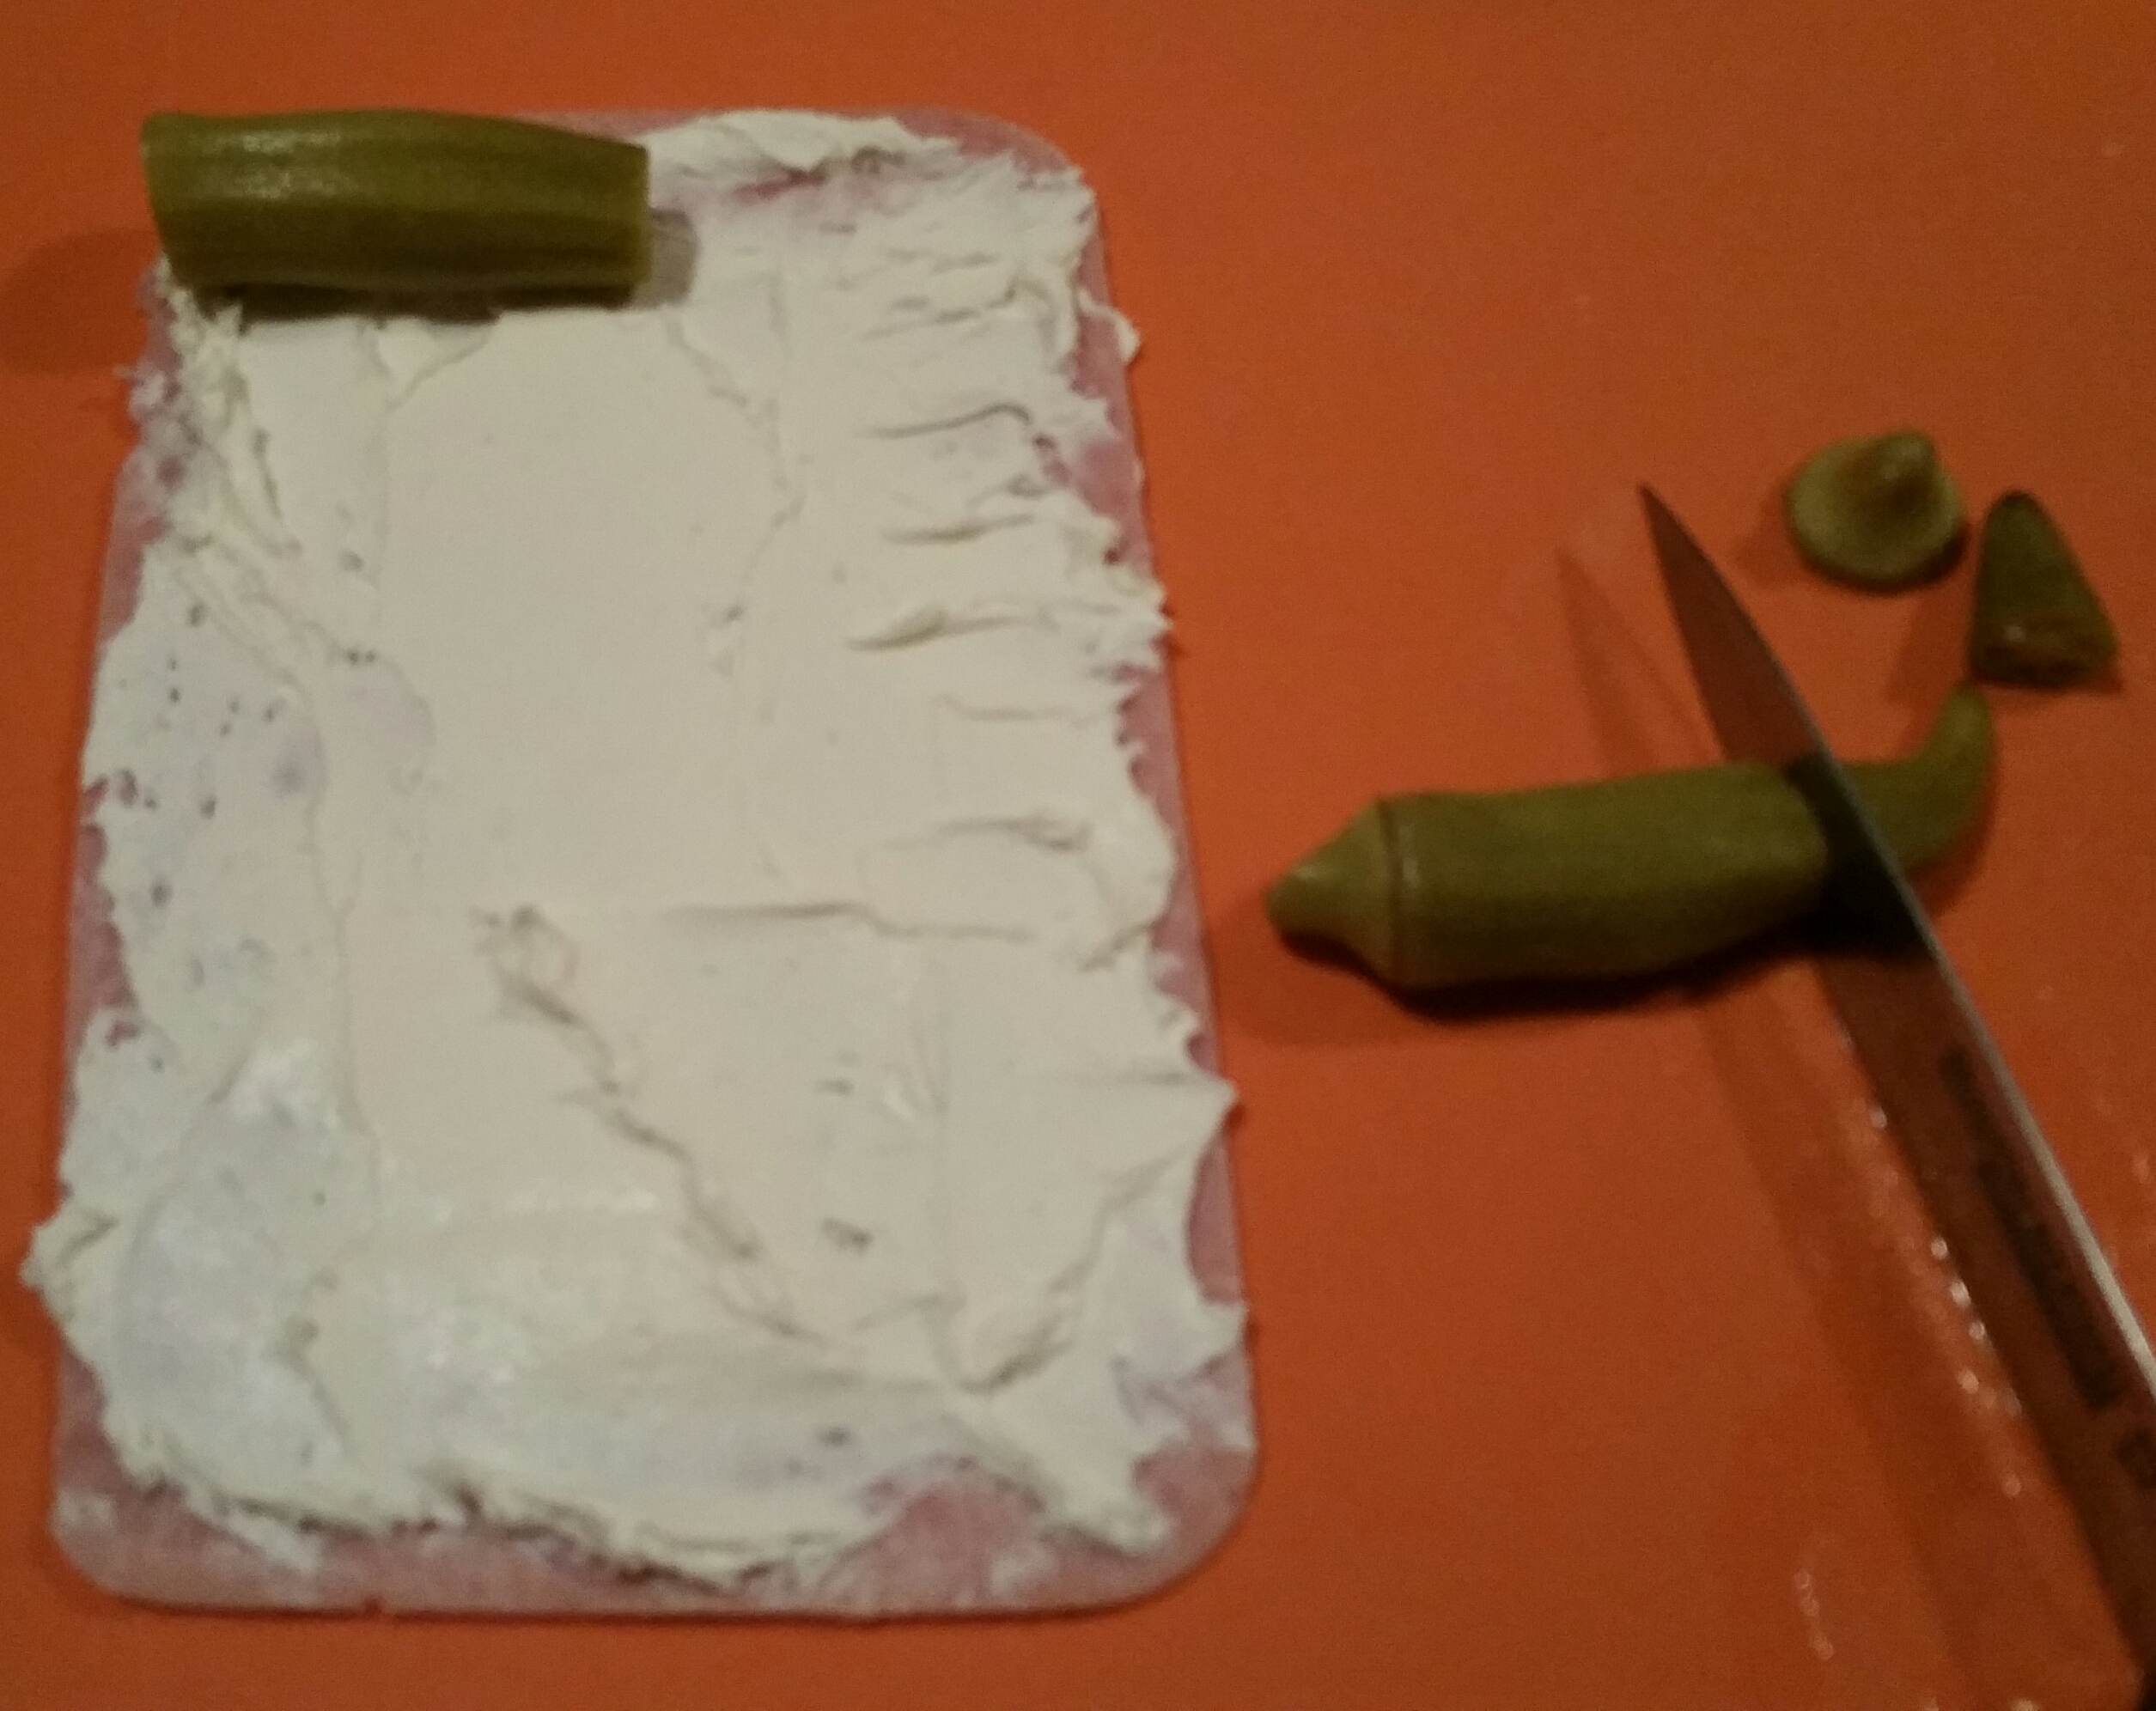
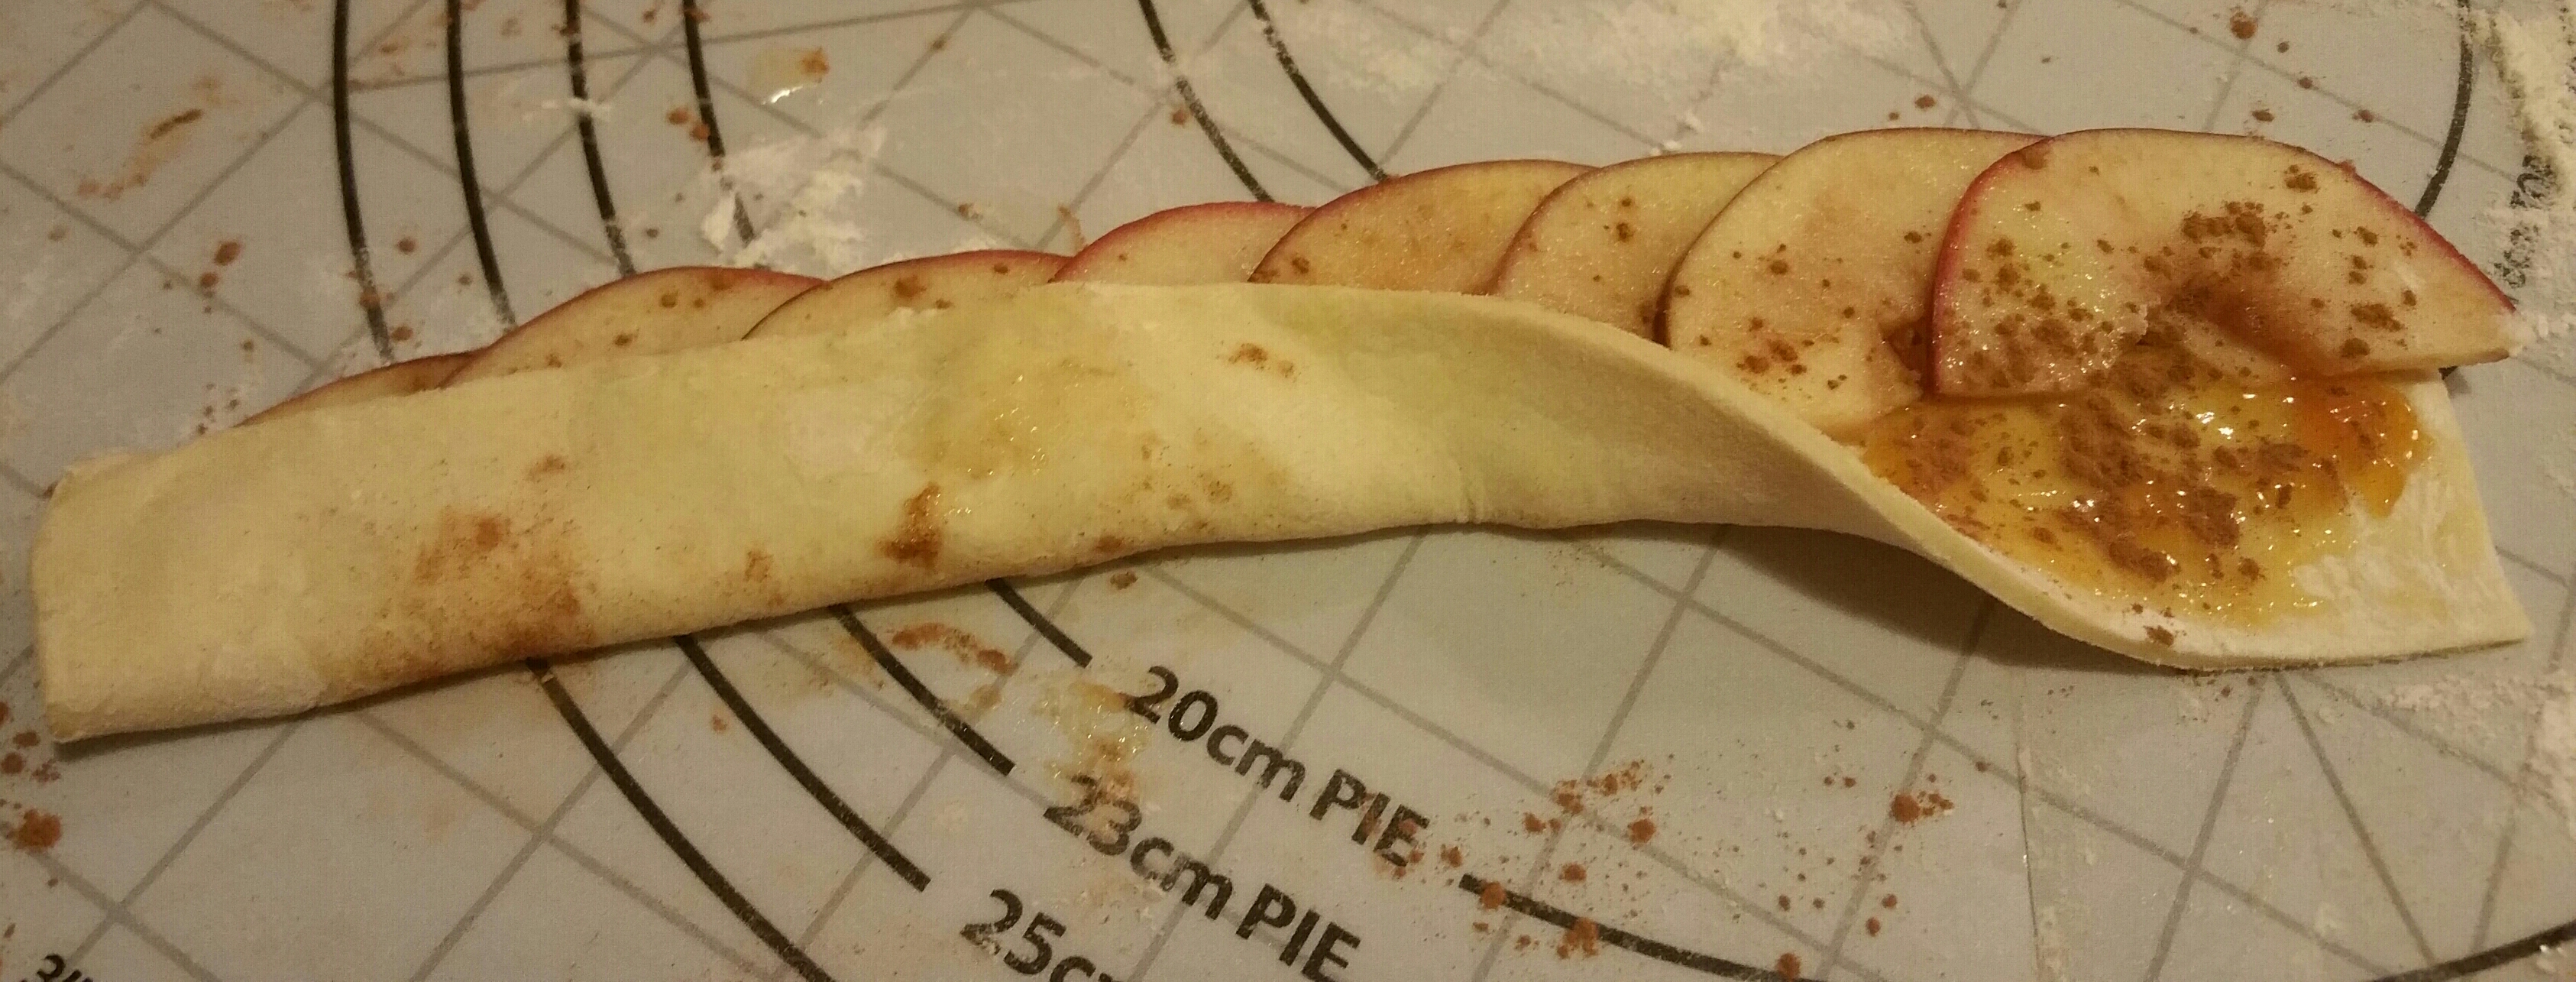
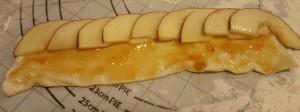
Lay the apple slices over the top half of the dough, overlapping them.
20151118_200946-1-1

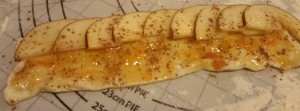
Sprinkle generously with cinnamon and fold the bottom half of the dough up over the apple slices.
20151118_201010-1

20151118_202817-1-1-1

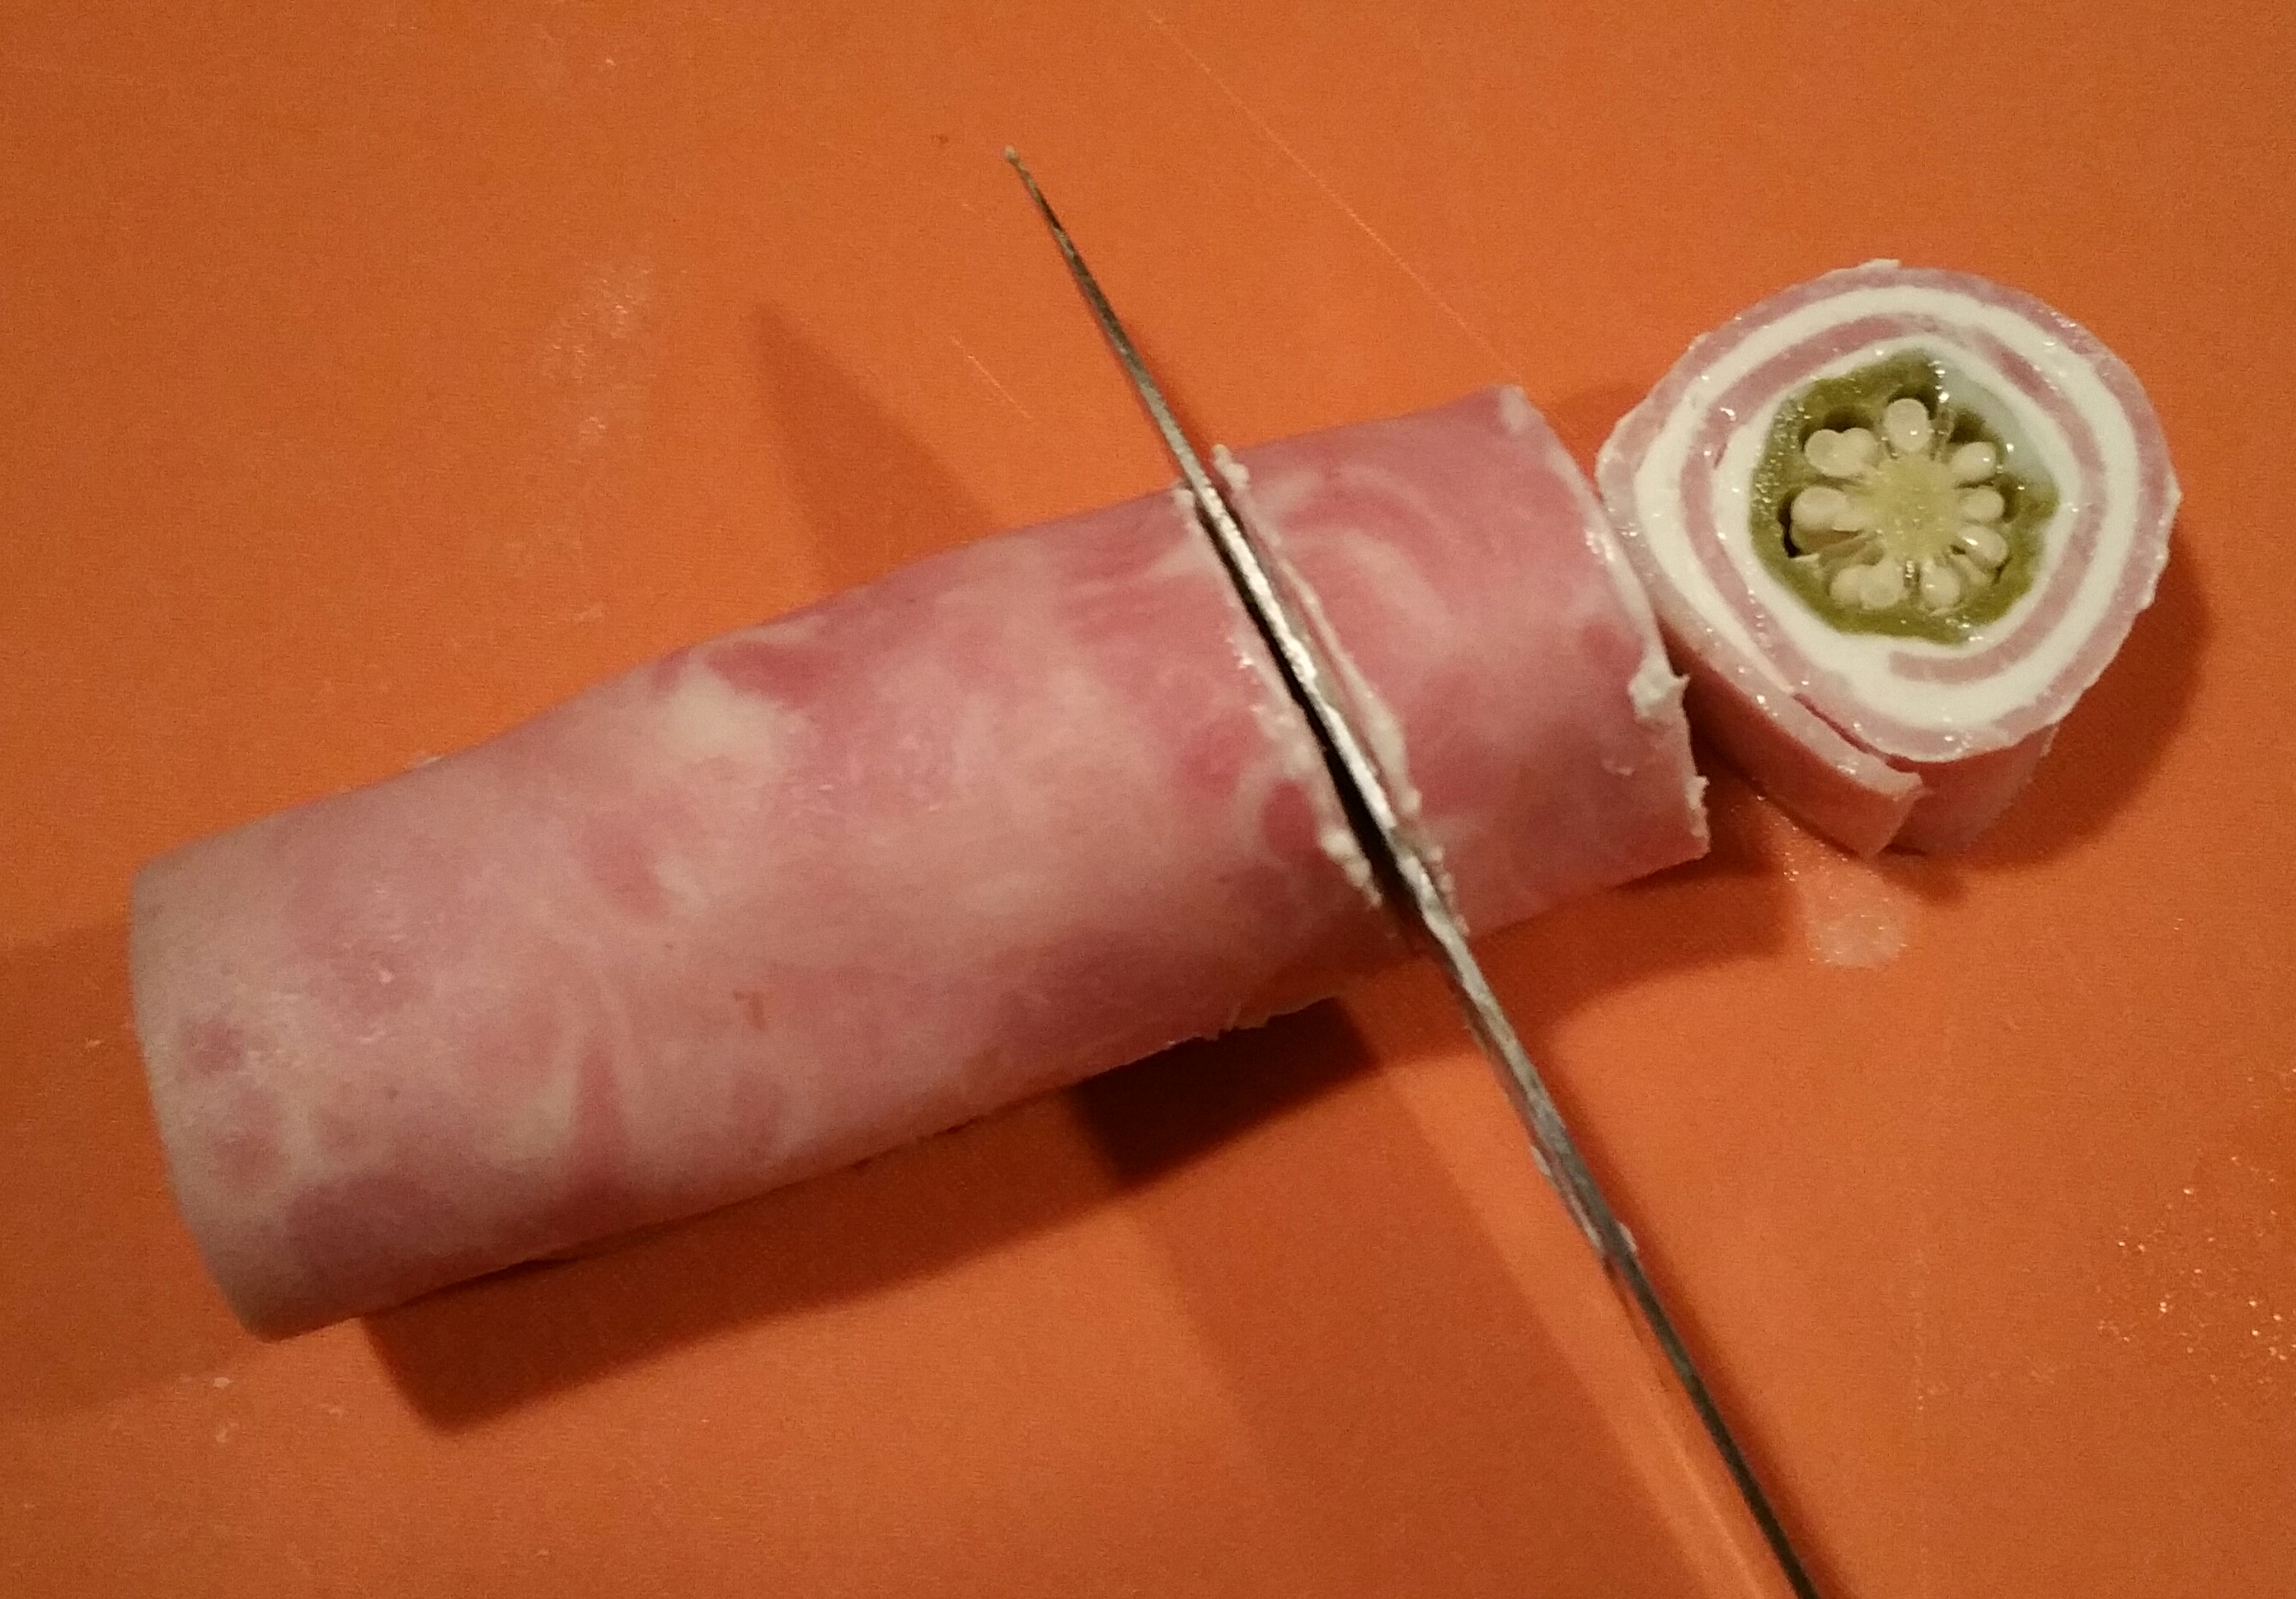
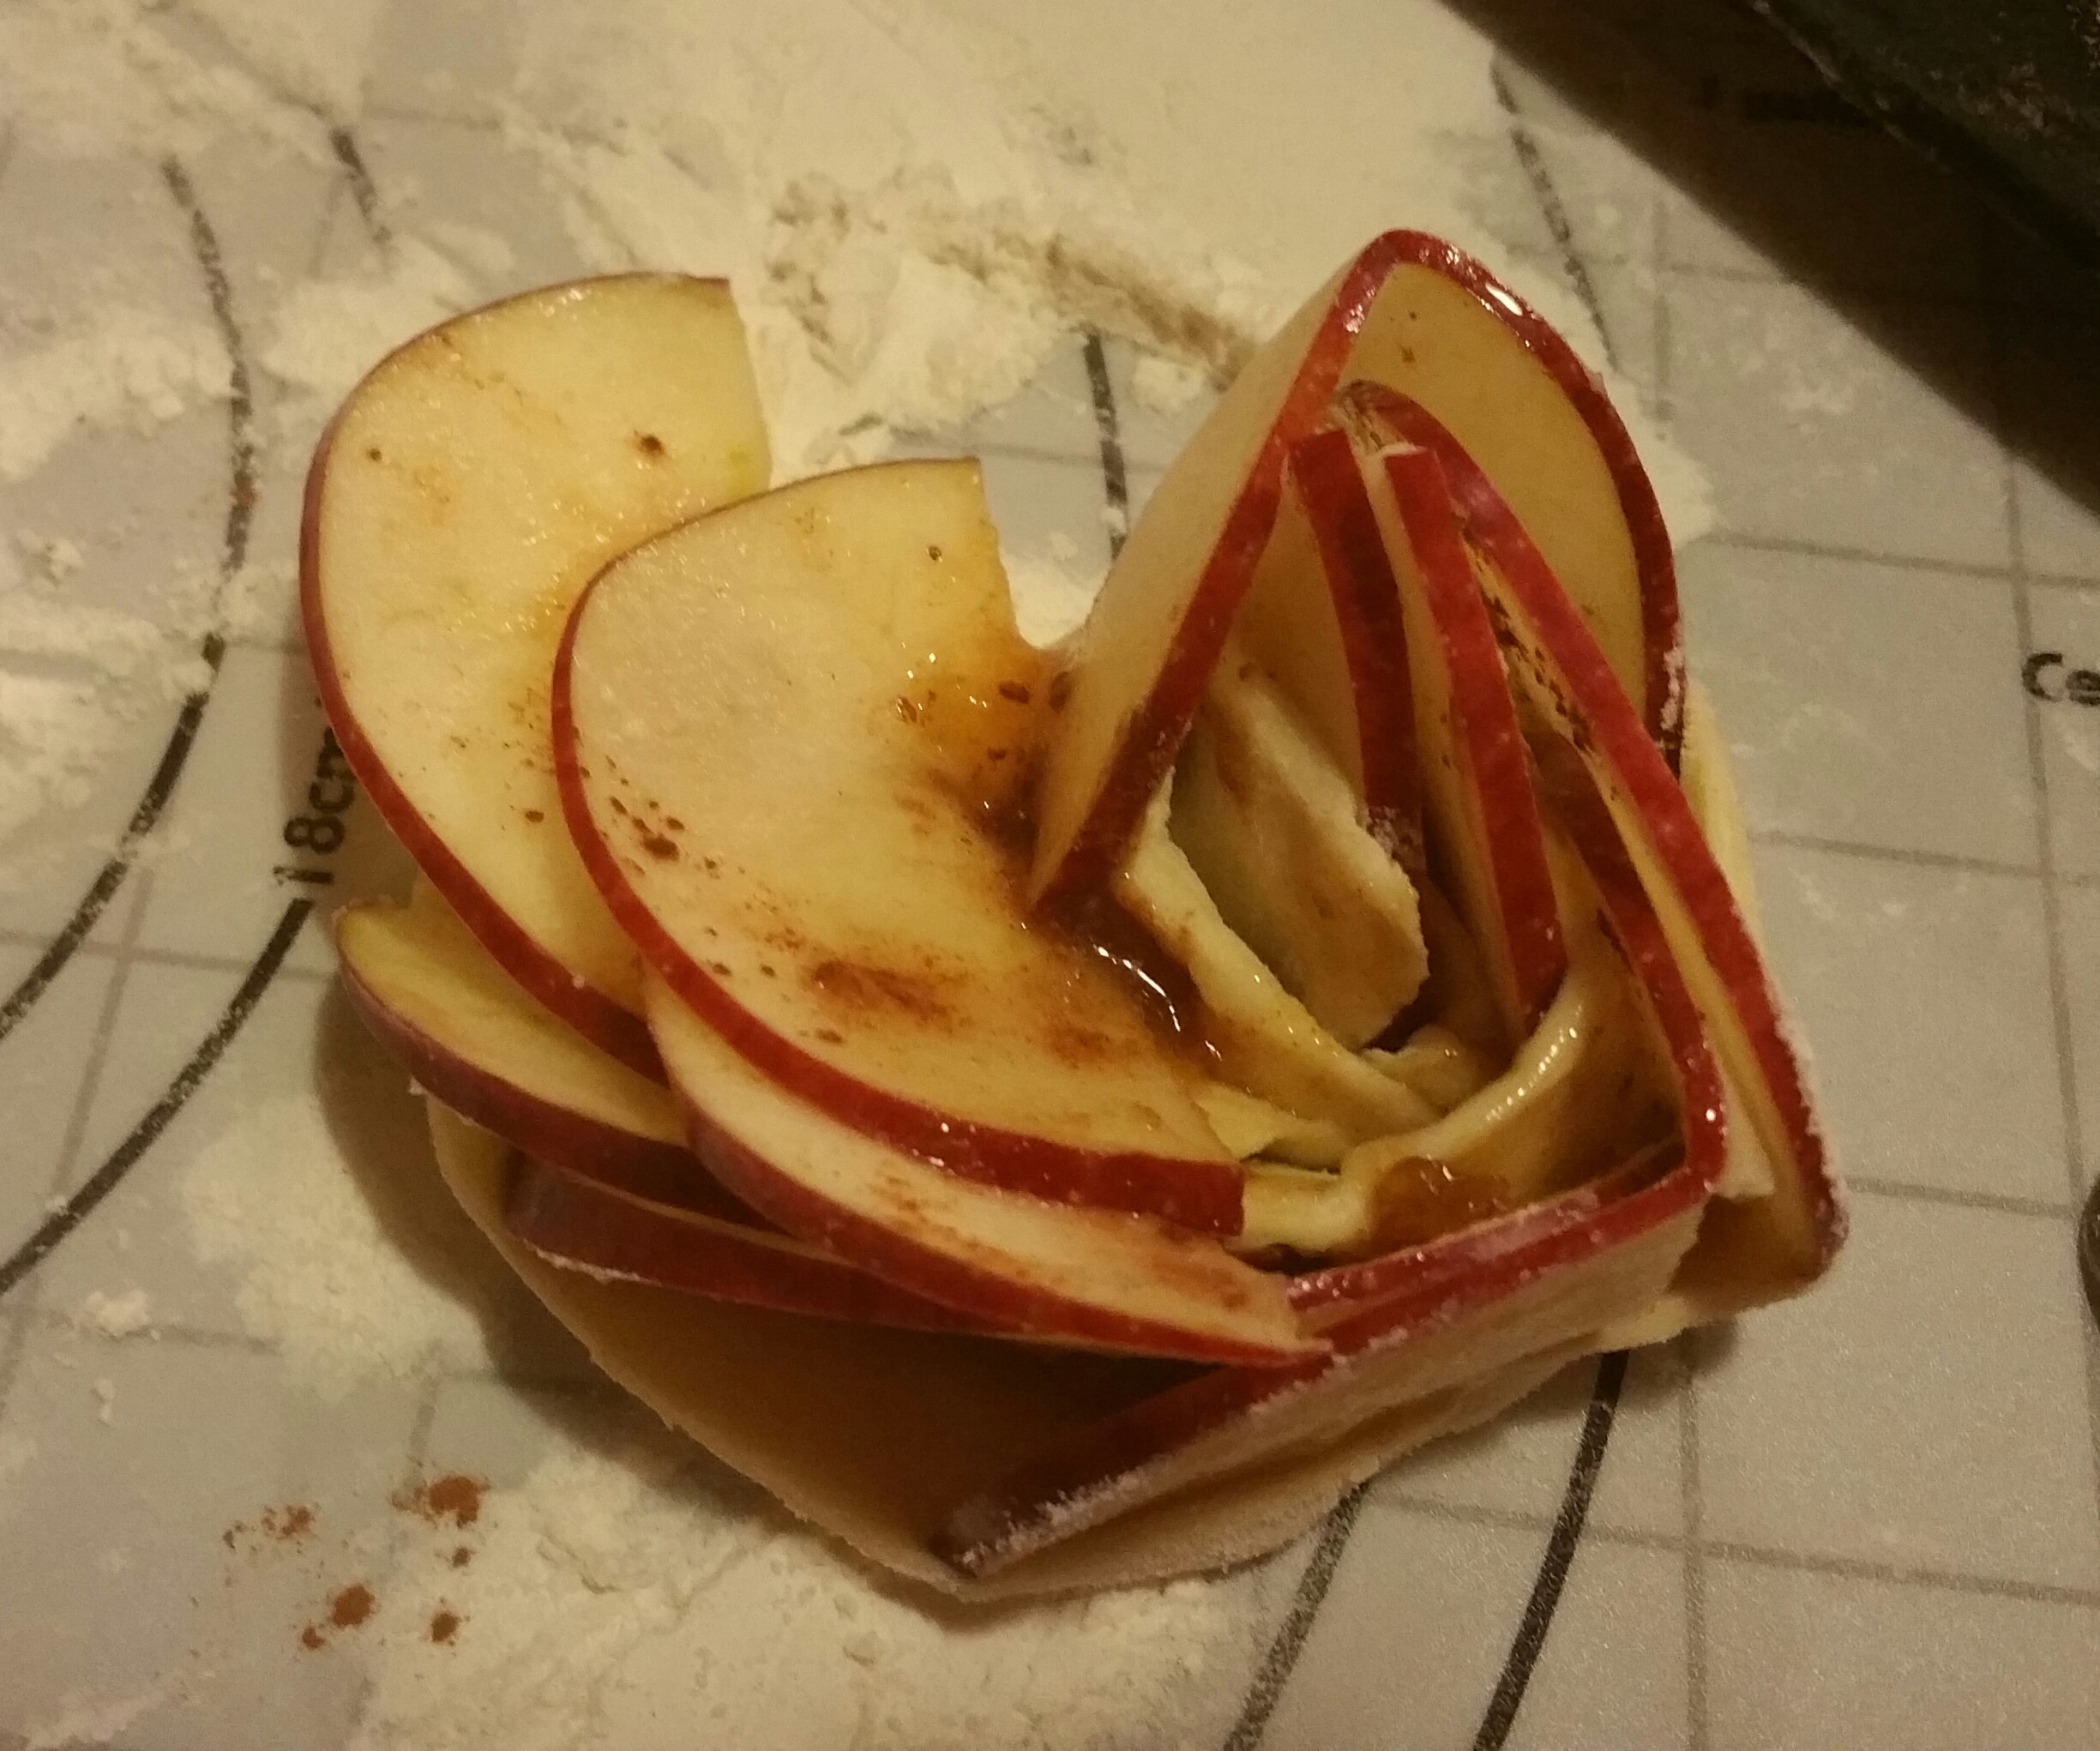
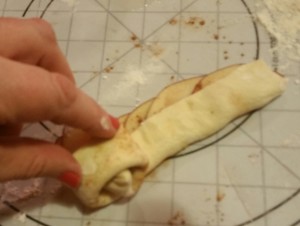
Okay, here’s the tricky part!!  Beginning at one end, roll the apple-filled pastry up being careful to keep the apples from slipping out.
20151118_202853-2

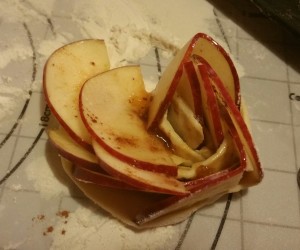
Here’s what happens when your slices are too thick and not soft enough.  It simply won’t roll.
20151118_201238-1

I put the remaining apple slices back into water and into the microwave for two more minutes and tried it again.  (Lesson four: practice makes perfect)  You can see the progression in the photo below.  The next two I rolled up (bottom row) were better, but still too stiff and thick.  For the ones in the top row, I used thinner slices that were also softer, and each one got better as I was practicing (left to right in picture).  So hopefully the next batch I do will all come out looking like my final rose.
20151118_202936-1

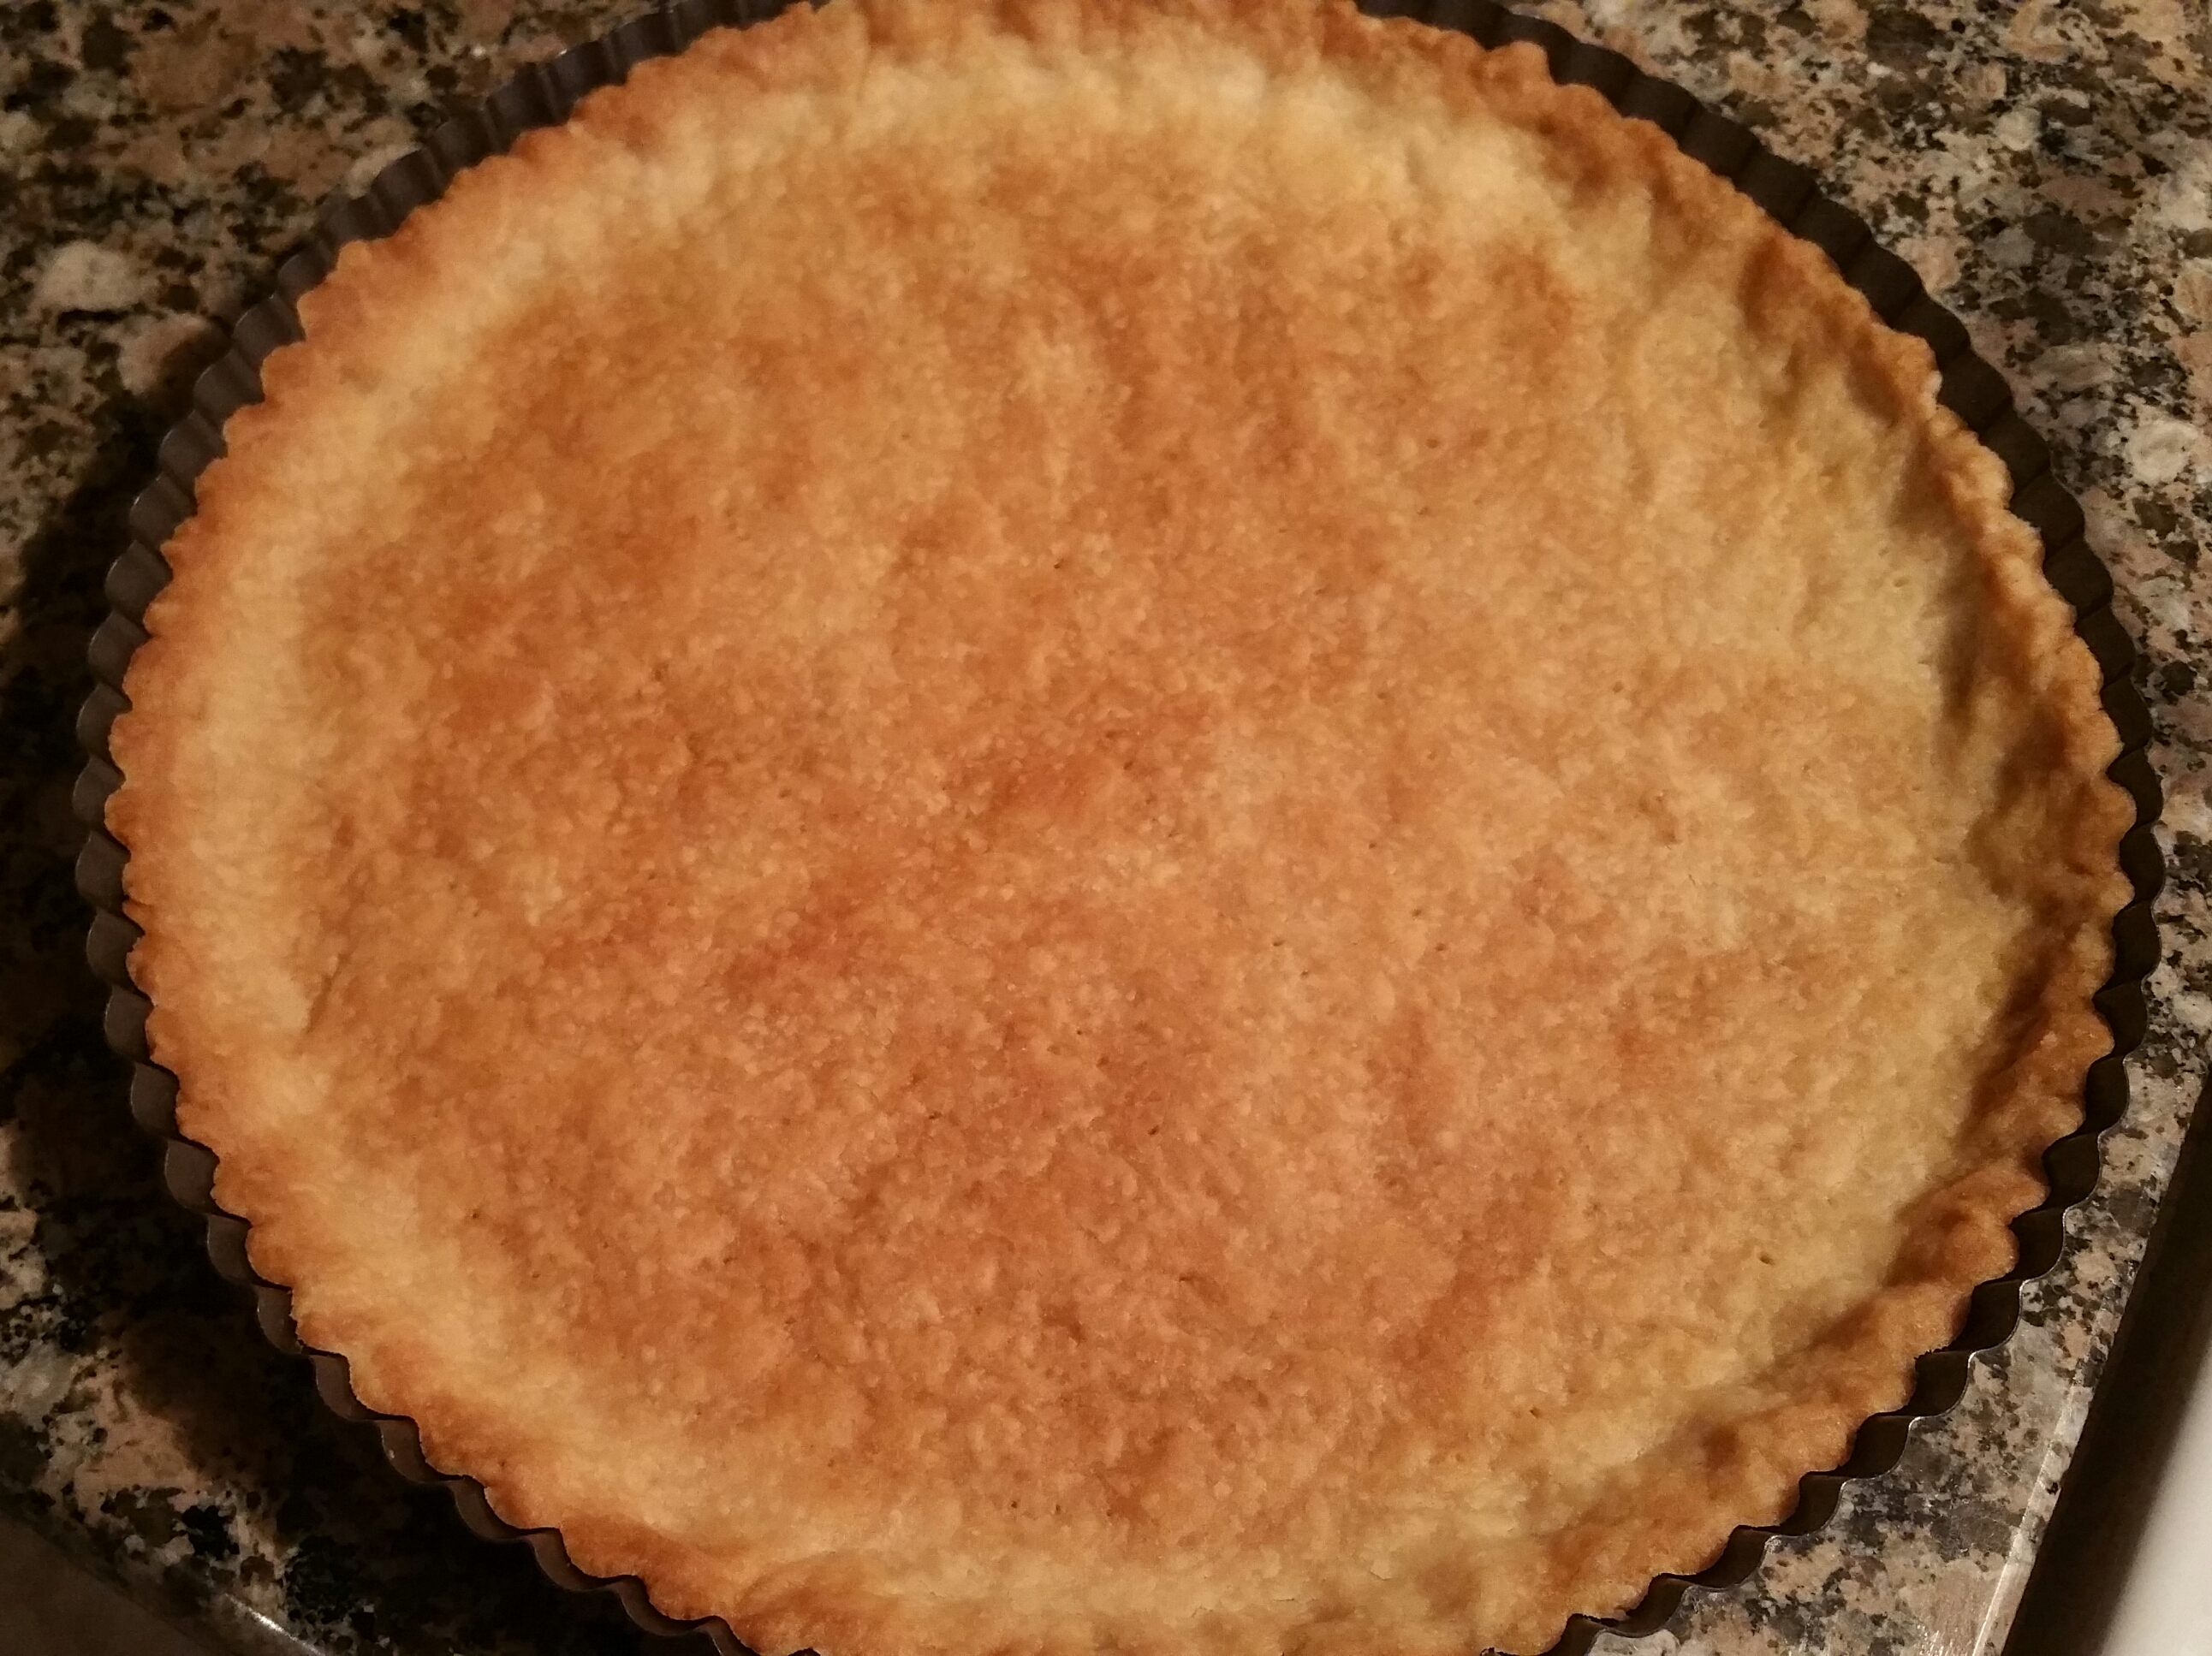
Bake at 375 degrees for 40 to 45 minutes, checking carefully since ovens vary.

(Lesson five:  run a knife around the edge to loosen the entire apple rose before lifting it out of the pan.  The edge of the first one stuck to the pan, and the rose just unwrapped as I lifted it out — that’s why there are only four roses pictured on the plate.)

20151118_211357-1

Please leave your comments, especially if you have tips on how to make this better or easier.


Yummy Mummy

20151022_064304-1

Who knew a mummy could be so yummy?  These are
simple to make for breakfast or a Halloween brunch.

Use fully cooked sausages and wrap them in strips of crescent roll dough.
20151022_060234-1   20151022_060619-1

Bake 15 to 20 minutes at 375 degrees, and add dots of mustard for the eyes.  That’s it.

A couple of tips from trial and error… they look better when not too toasty dark, so check them early.  Also be sure to wrap them all the way to the bottom to make them look more like mummies than
people bundled up for the winter.

mummies 4


Ghostly Brownies

20151021_065600-1

These ghostly brownies are simple, yummy and cute.  Getting the faces to look exactly as you want is a little tricky, though, but the drippy faces seemed to add to the spookiness (at least that’s what I told myself).

20151010_105854-1

You can make your own brownies and icing, of course, but I go for the simple.  I bought brownie bites from the grocery store and used Betty Crocker Classic White canned frosting, and they were yummy.

  1. Put brownie bites on serving platter.
  2. Put frosting in the microwave for about 15
    seconds to make it runny.
  3. Dip a large marshmallow into the icing and set it on top of a
    brownie.
    20151021_062556-1
  4. Drizzle a spoonful of the icing over the marshmallow, allowing it to run down over the sides.
    20151021_062905-1-1
  5. Use black frosting gel to add eyes and a mouth.20151021_064756-1


Jack-o-Lantern Fruit Cups

20151009_224853-1

These fruit cups were a big hit at my Halloween brunch.  The
example I found online used oranges, but they seemed a bit too big with everything else I was serving, so I used Cuties.

First slice off the top of each Cutie.  Use a sharp edge spoon to
separate the flesh from the peel and  work your way around the fruit, going a little deeper each round.  Finally, the fruit will loosen and you can slide it out as a big ball.  Rinse them (and your hands–very sticky!) and set them on a towel to dry.

20151009_213207-1

It might be easier with an orange than a Cutie, but carving the face was pretty tricky.  It only took one for me to decide to just draw the faces on with a Sharpie.  If I were doing a brunch for just a few
people, I’d probably go ahead and carve them, but for 20, it was just too much work.

Once your cups are ready, load them up with fruit.  I used
blackberries, raspberries and mango, but any fruit will do.

These can easily be prepared the day ahead.  Just cover with plastic wrap and refrigerate.

Ladybug Caprese Bites

Ladybug - finished

Talk about playing with your food! These ladybugs are simple to make and will delight any crowd.

As of yet I have been unsuccessful in tracking down the origin to credit the person who actually invented these.  Kudos, whoever you are!! and thanks to my friends who sent links to me because they knew I would enjoy making these.

So let’s get to the how of it.

1. Clean and separate basil leaves and display them on your serving tray with the pretty, green side up.
Ladybug - leaves

2. Slice mozzarella very thinly, and place one slice on top of each leaf. (Some versions show the leaf on top of the mozzarella, but I found it easier for guests to pick them up when the leaf was on bottom.)
Ladybug - cheese

3. Slice cherry tomatoes in half. Then slice each half about three-fourths of the way through. Lay each half tomato on a slice of mozzarella and spread to look like a ladybug’s wings.

4. Place a black olive slice on the uncut end of each tomato to form the head. The rounded ends of the olives work best.

5. Place a little balsamic glaze in a dish and use a toothpick or skewer to paint dots of the glaze on the ladybug wings.
Ladybug - glaze      Ladybug - dots

That’s it. How easy! and how cute!

Fresh Fruit Bouquet

20150411_111108-1

I love when simple things are impressive.  So easy to make a fruit bouquet.  Just get a variety of fruit, slice or use cookie cutters to create a variety of shapes, put them on wooden skewers and poke into some type of base.

In this case, I used a V-shape decorating tool to cut a watermelon in half to create the base.
20150411_080726-1

I used red and green grapes in various patterns on the skewers.20150411_081207

And I used flower shape and heart shape cookie cutters on slices of pineapple.
20150411_081001-1

That’s it.  Truly simple.  And you can use Google images to find tons of ideas for designs.
20150411_111141