Bacon-Wrapped Stuffed Dates

 Bacon dates “Life is too short
not to order the
bacon dessert.”
– George Takei

You’ll never go wrong serving bacon at a brunch, but this appetizer is my absolute favorite bacon recipe.  It’s the perfect blend of
savory/sweet, crispy/chewy and creamy/crunchy with bacon, cream cheese, almonds and dates in every bite.

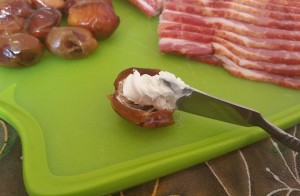
  1. You’ll save time by getting pitted dates (“pitted” means the pits have already been removed), but in case they aren’t available, no worries.  It’s actually quite simple to remove the pits.  Start by removing the hard, round tip if still attached.  Slice the date from end to end and open it carefully.  Discard the pit.
    20150117_123230-1-1     20150117_122328-1
  2. Preheat oven to 400 degrees F.
  3. Coat baking dish with cooking spray.
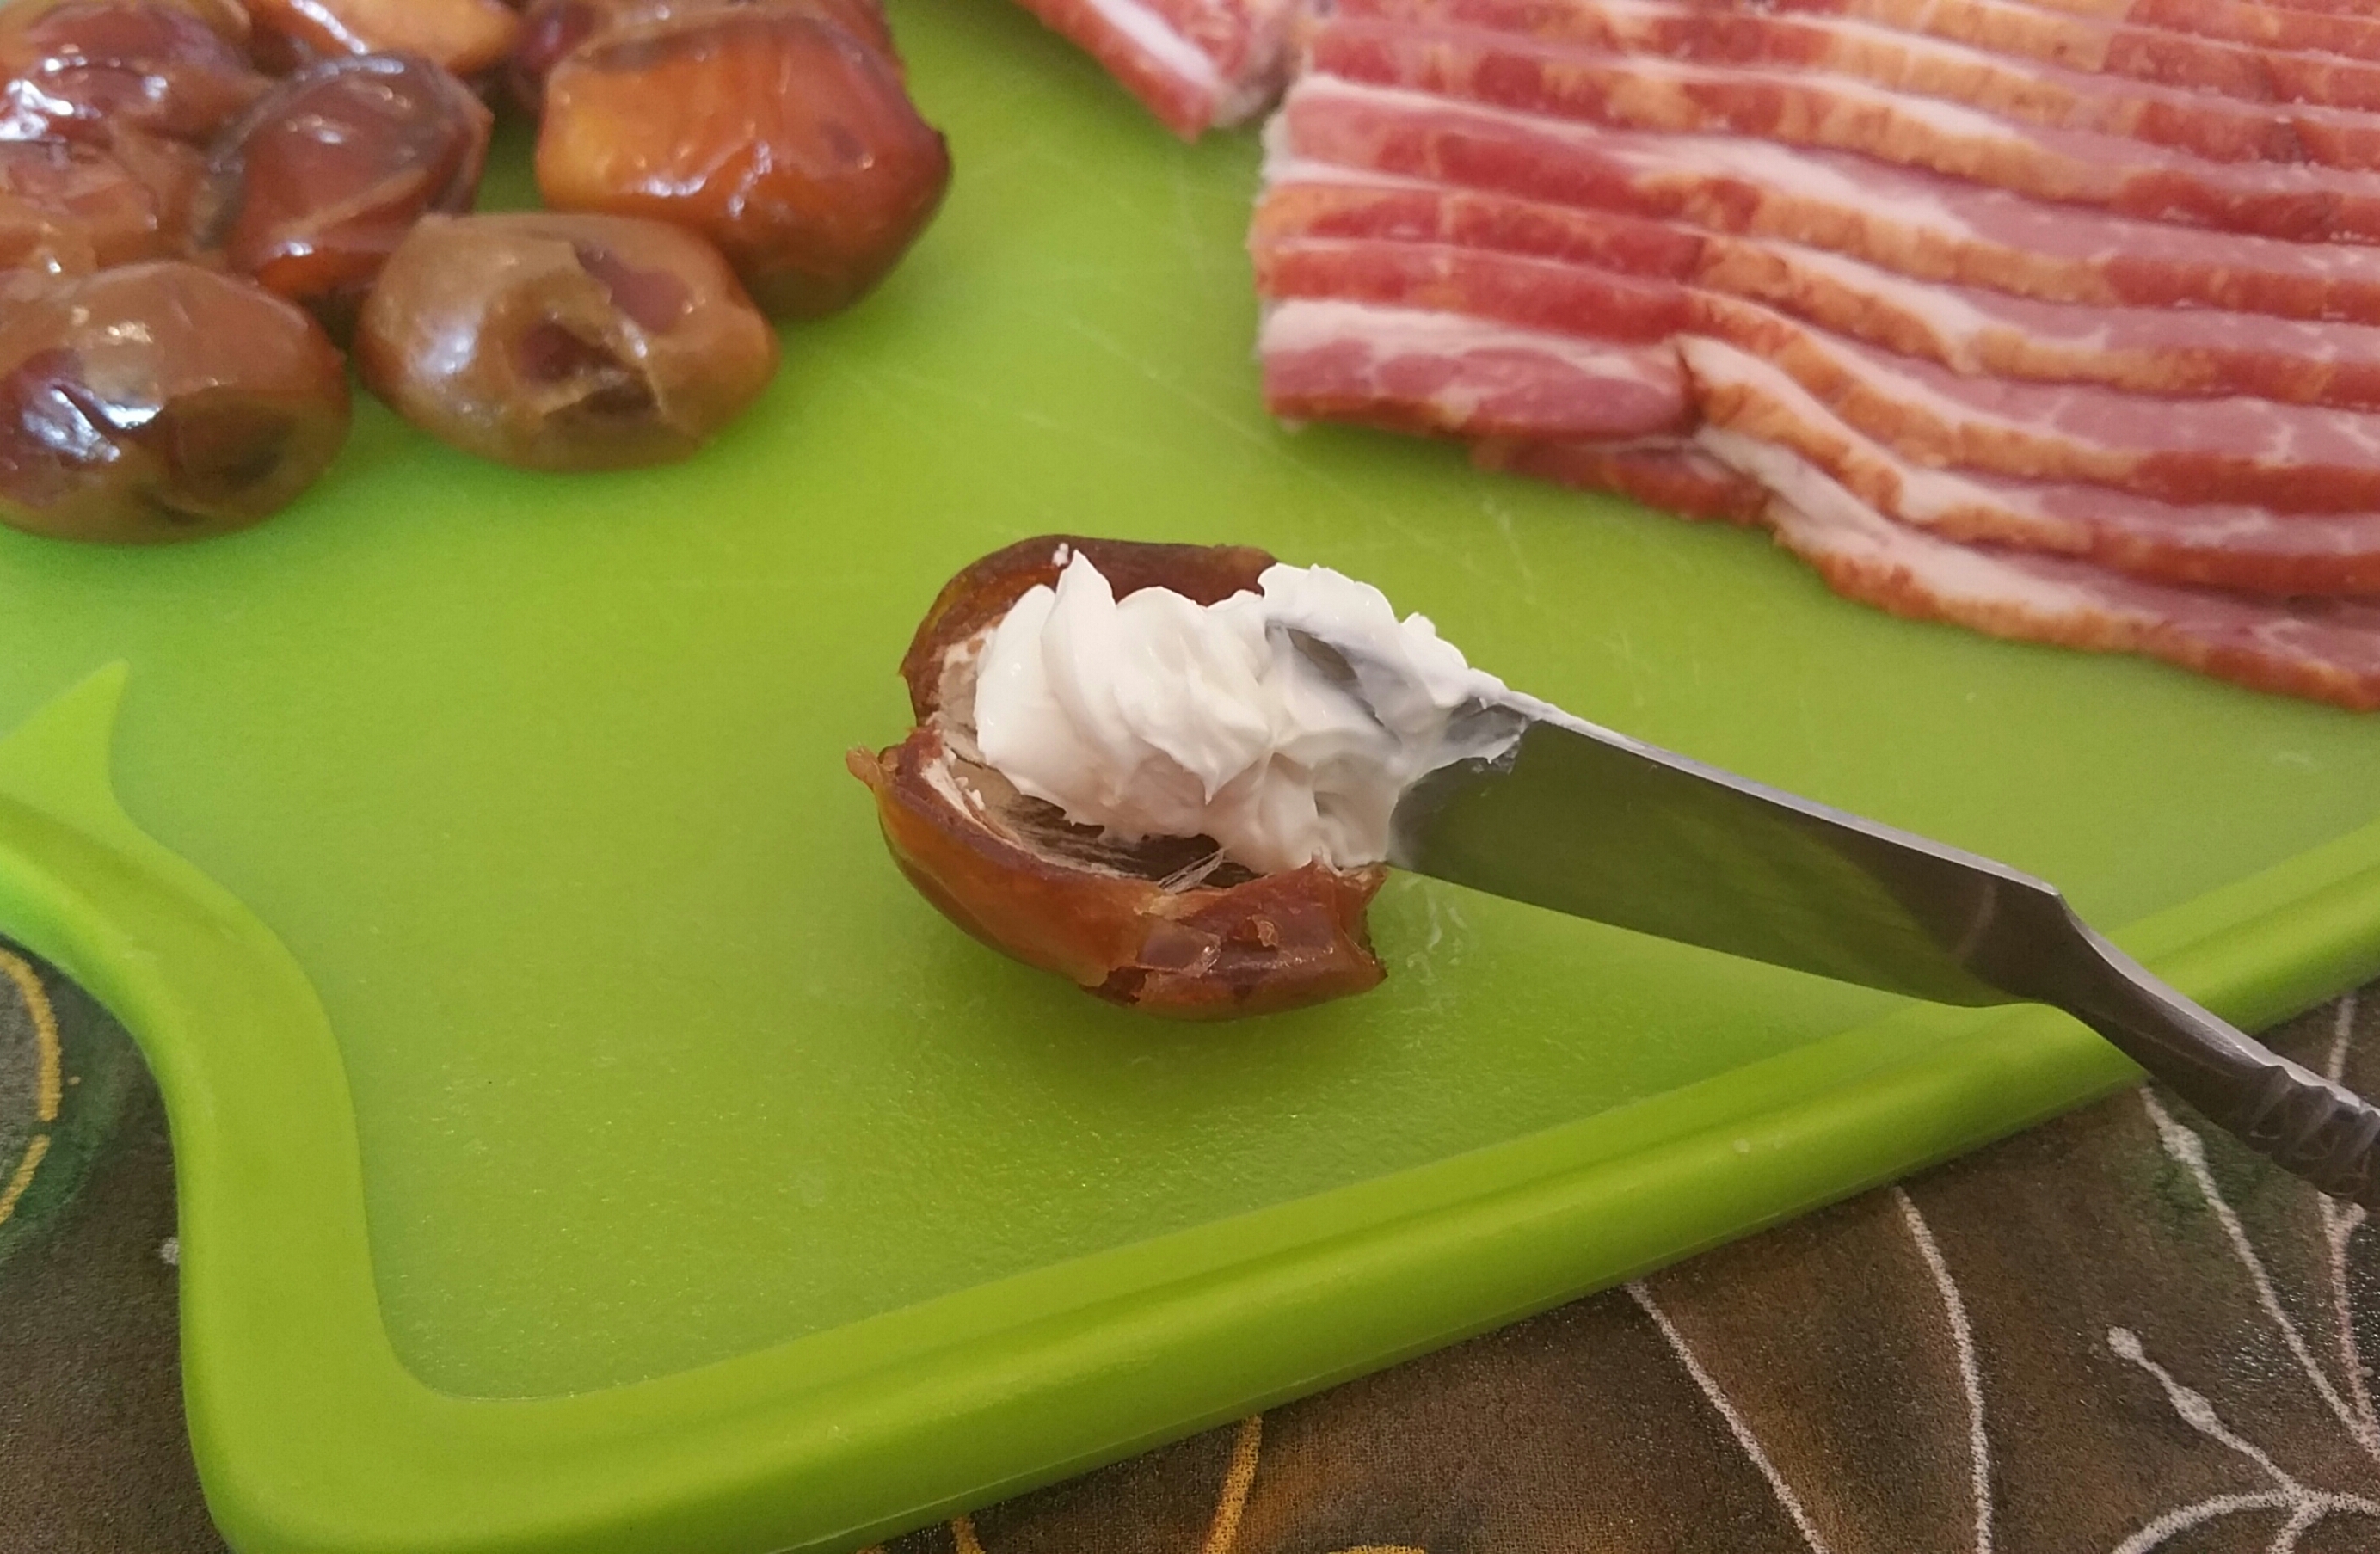
  4. Spread a dollop of cream cheese inside the date.
    20150117_122855-1
  5. Put an almond in the center and close the date around it.
    20150117_122635-1
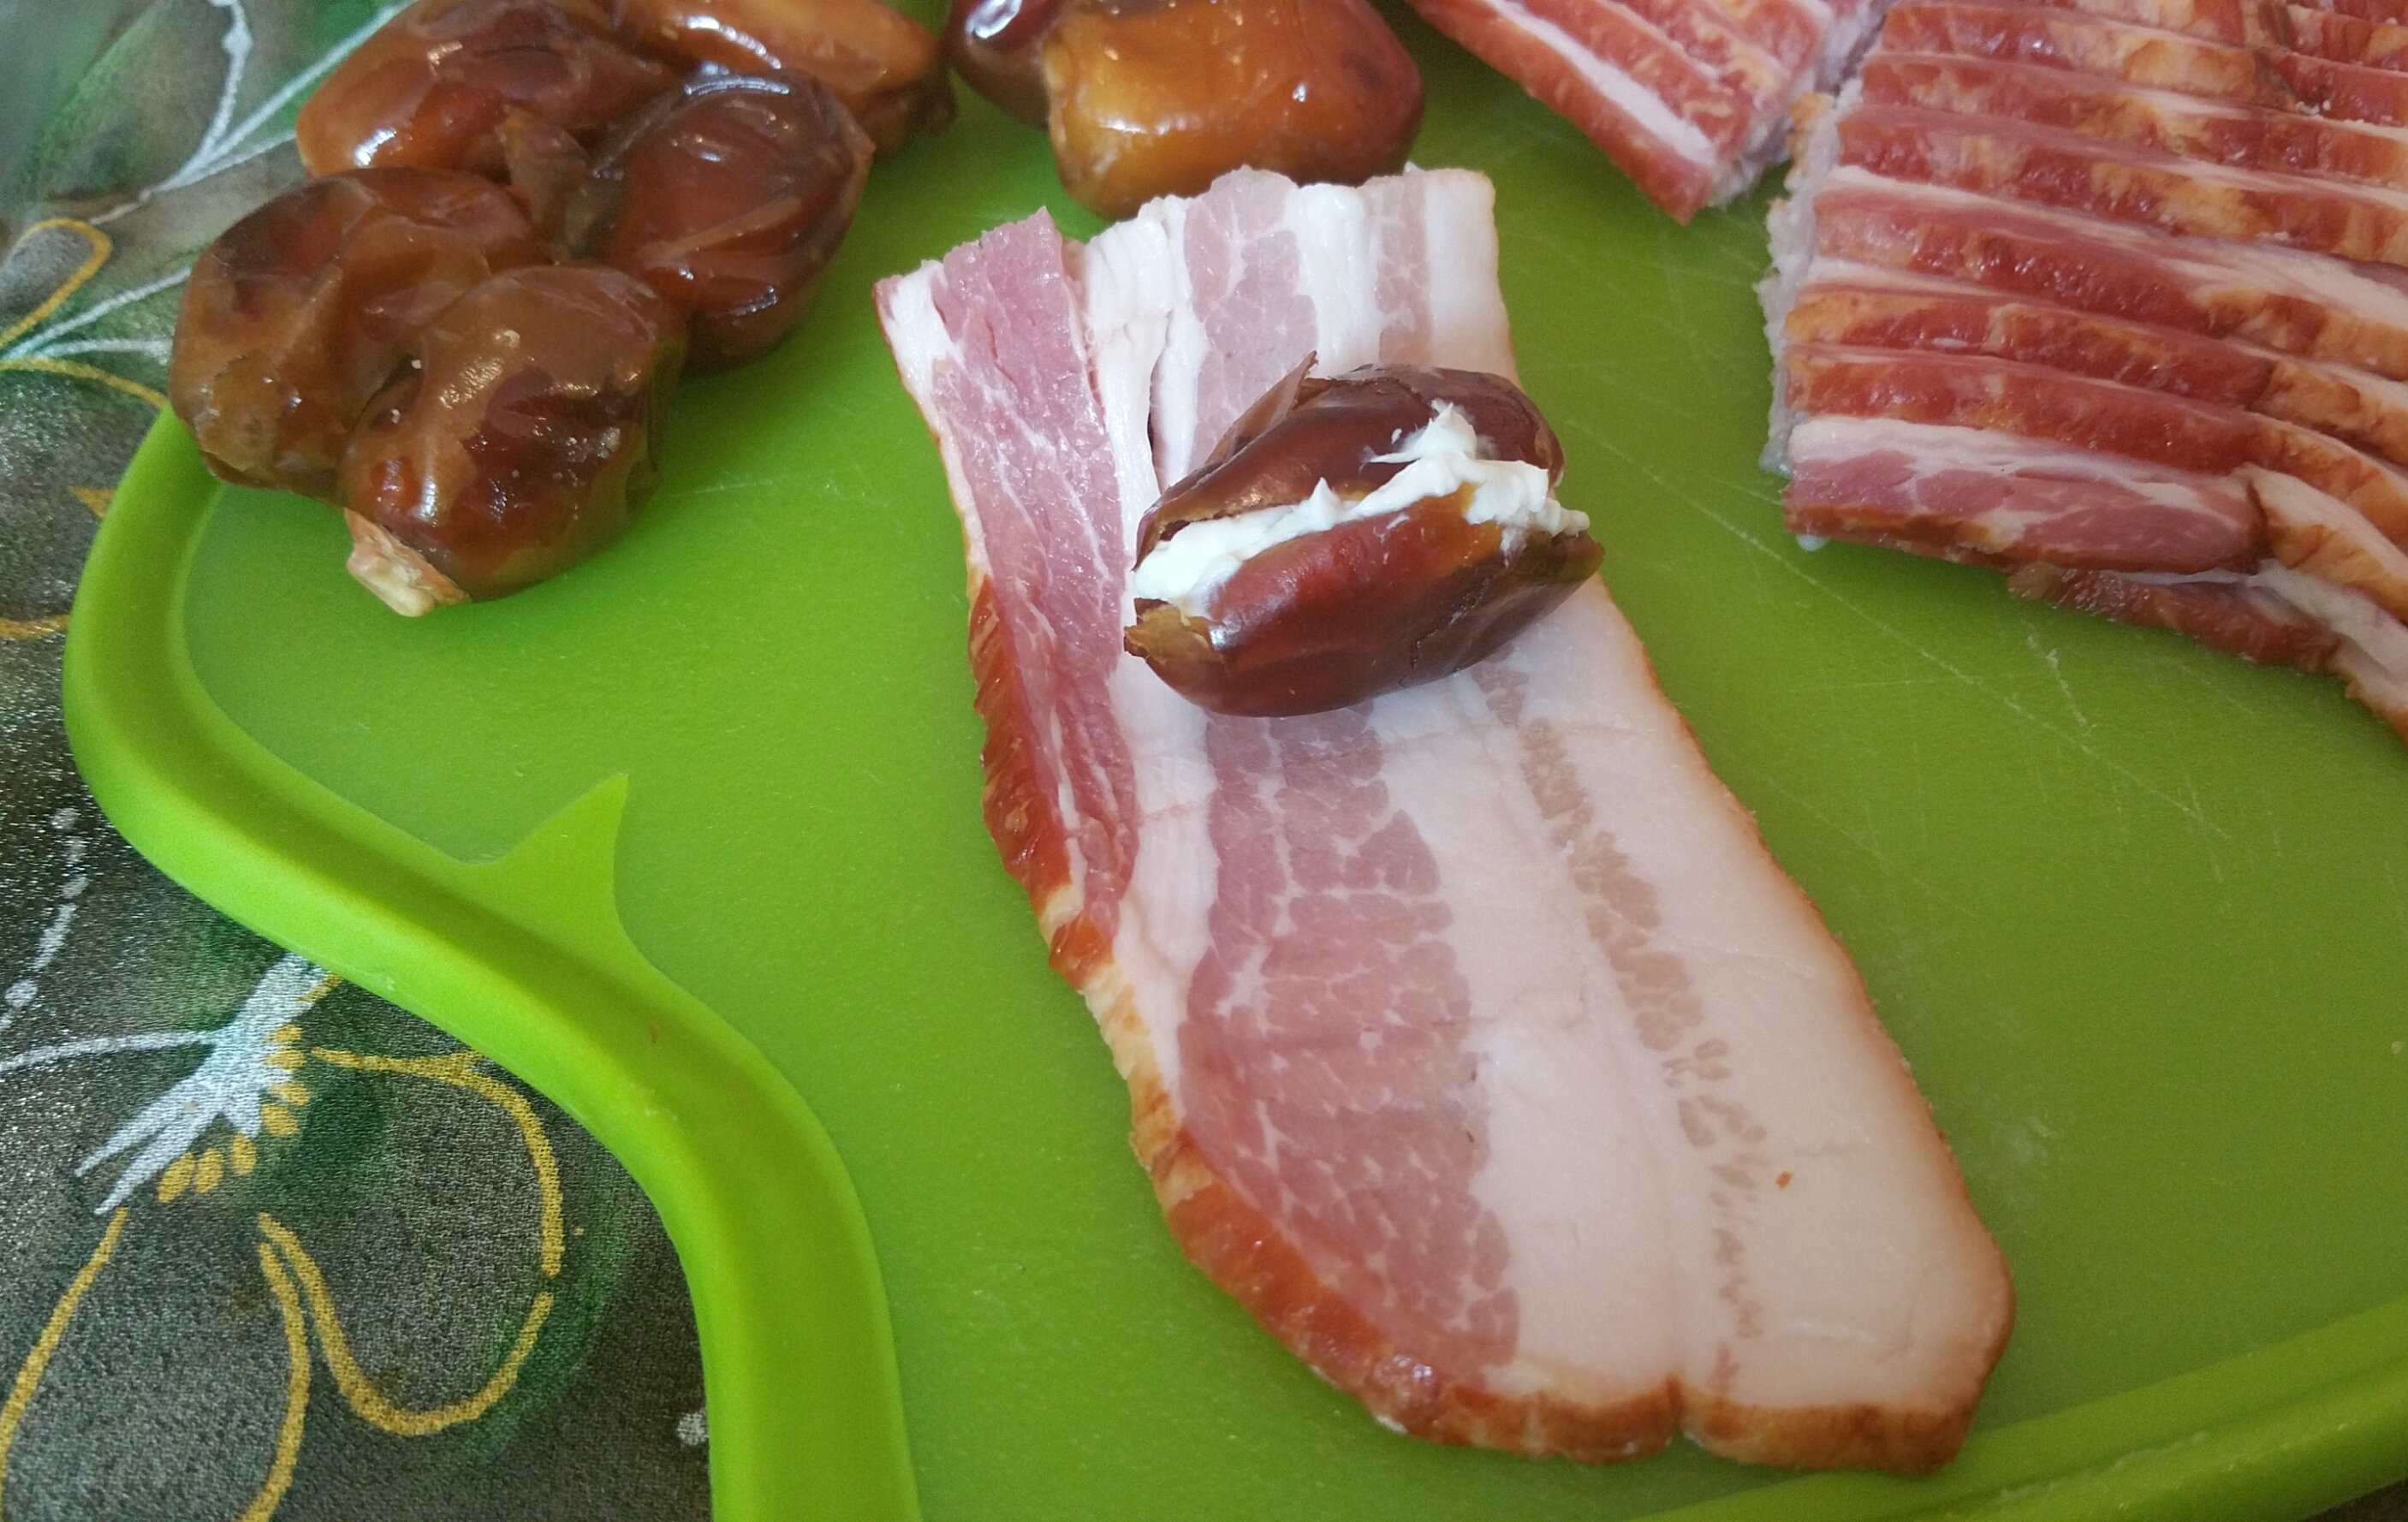
  6. Roll up the stuffed date in a half or third of a strip of bacon and secure with a toothpick.
    20150117_123031-120150117_122022-1
  7. Arrange wrapped dates seam side down and a half-inch apart in a shallow baking dish.
    20150117_123106-1    20150117_125054-1-1
  8. Bake until bacon is crisp, about 10 to 15 minutes.
  9. Drain on a paper towel or parchment paper and then transfer to serving platter.

 20150119_093631 

Enjoy this along with many of the easy brunch recipes to come.

Printable version: Bacon-Wrapped Stuffed Dates

Pomegranate Juice

20150124_161303-1

True confession:  I have a long history of a passive-aggressive relationship with fruit.  I get it with the best of intentions to eat it because I know it’s good for me.   I buy different types of fruit that I’ve never tried before in hopes of finding one I will actually enjoy.  But more often than not, it sits on my counter neglected to the point of having to be tossed onto the compost heap, leaving me feeling guilty and ashamed.  All I can say is it’s on a long list of things to discuss with a therapist.

So true to this pattern, I bought my first pomegranate a couple of weeks ago.  Day after day I would think about eating it.  It’s the thought that counts, right?  Today I realized that if I didn’t fix it soon, it would no longer be edible, so I got on the internet and watched several YouTube videos on how to deseed and juice a pomegranate. Then miraculously, I got myself into the kitchen and actually tried it myself.

OMG!!!!  So yummy.  So easy.  So quick.
How could I have waited so long to discover this wonderful fruit?!

To my great chagrin, the three produce departments I called today all told me that pomegranate season is over and they will not be carrying any more until the fall.   Boo hoo!  (and yes, I realize what a charmed life I have if this is my worst problem)   According to Wikipedia, pomegranate season is from September through February, so I’ll keep checking with other markets to hopefully find some pomegranates to use for my Valentine’s brunch in February.

I only took this one picture today of the glass of juice I made along with a few seeds I left to snack on. When I am able to get more pomegranates, I will take pictures and update this post to include my step-by-step process.  In the meantime, here’s one of the YouTube videos I found helpful: https://www.youtube.com/watch?v=wDZ-ZYZsc2Y

Moral of the story:  Carpe frutus! Seize the fruit!

Enjoy this along with many of the easy brunch recipes to come.

Blanched Asparagus

20150110_213141-1-1

I was shocked to discover how SIMPLE it is to prepare asparagus.  Seriously, it’s so SIMPLE I feel a little silly posting about it, but hey, maybe some of you don’t know either.

1.  Trim asparagus.   Some people bend the spears until they naturally snap.  I just slice them to the same length to fit my serving platter.
20150110_210131-1

2.  Rinse the asparagus well and add to boiling water.
20150110_210822-1

3.  For thin spears, boil only a minute or two.  Medium or thick spears may take two or three minutes, but do not overcook.

4.  Remove asparagus from boiling water and submerge it in cold or ice water to stop the cooking process.
20150110_210257-1

5.  Drain and refrigerate until completely chilled.

It’s that SIMPLE.  For a printable version, click Blanched Asparagus Recipe.

Kale & Roasted Sweet Potato Salad

salad narrow
I’ve never in my life wanted to ask
someone
for a salad recipe!” – Laura K.

The evening before my first brunch, it occurred to me that the only items on the menu my two gluten-free friends would be able to eat were the steamed asparagus and fresh strawberries.  I searched online for a recipe that would use ingredients I already had on hand and found a recipe for a kale salad that had roasted vegetables and lentils.  Yum.

Turned out I didn’t have any lentils on hand (okay, actually I did, but my pantry was so disorganized that I didn’t find them until a few days later <heavy sigh>), but what I did find was a packet of Seeds of Change Quinoa & Brown Rice.  I had bought a case at Costco some time back.  It makes a delicious meal all on its own and only takes
90 seconds in the microwave (now that’s MY idea of cooking dinner after a long day at work).  Tell you what, it was the perfect ingredient for my kale salad.  Time to get another case.

Here’s a link to print the recipe for Kale & Roasted Sweet Potato Salad, and below is a step-by-step description of how I made it.  I recommend this salad for any meal.  Delish!

  1. Preheat oven to 400 degrees F.
  2. Peel and cube a large sweet potato.  You can use any kind, but I prefer the jewel sweet potato because its color and flavor are yam-like but it has the high fiber of a sweet potato.
    Sweet Potato
  3. Chop a red onion into large wedges.Onion
  4. Toss the sweet potato and onion with 2 tablespoons of olive oil. I find it easiest to put the vegetables and oil in a plastic bag and kneed the veggies to coat evenly.
    Baggie
  5. Spread the vegetables on a baking sheet covered with foil and season to taste.   My seasoning of choice for probably half of everything I cook is McCormick’s Garlic Pepper.  That’s all I used on these veggies and I can’t imagine them tasting any better.
    Ready for oven
  6. Roast for approximately 40 minutes until veggies are tender and edges are nicely browned.
    roasted veggies
  7. Remove and discard the tough kale stems and slice the curly leaves into bite-sized pieces.
    kale to cut  kale and stems
  8. Add two tablespoons olive oil and one finely minced clove of garlic to a saucepan over medium high heat.  Sauté until garlic is tender and slightly browned, about two minutes.
    garlic in oil
  9. Add the kale and cook until it is wilted but still slightly crunchy, about five minutes.
    kale cooking
  10. Tear open a packet of Seeds of Change Quinoa & Brown Rice and microwave for 90 seconds.  Pour contents over kale.
    Seeds of Change  kale with rice
  11. Combine roasted veggies, kale and quinoa and brown rice. Serve warm or chilled.
    salad close up

Tips re Saving the Planet

I had good intentions, trying to save the planet and all.  Was thinking that since I’m having a brunch for a bunch regularly now, I should
invest in silverware and plates, etc. so that I’m not adding to the landfill each month.

Plates flatware etc

The good… I found an online restaurant supply company that I
recommend: Webstaurant Store (I’m not an affiliate or making any money off this referral — just letting you know a great place to find kitchenware).  I was able to get a nice set of flatware, so no more plastic forks and spoons.  It’s classier and kinder to Mother Earth and well worth the investment.

The fail… I went cheap on the plates, cups and bowls.  I bought these plastic dishes called Fineline Flairware.  They are definitely classier than paper products, so for a wedding or something like that, they would be a fine choice.  But for my purposes of having monthly brunches, they are not durable enough.  After just one brunch, I had to throw away 8 of the 22 plates that had been used because they had cracked or split.  So worse than throwing away paper plates, which would at least go into the compost, now I was throwing away plastic!  Yes, I put them in the recycling, but I’m not a fan of the whole plastic recycling process  because it uses resources (water, electricity, etc.) and produces its own toxins.  Better, maybe, than the landfill, but still… recycling plastic after just one use? Unacceptable!

Of the 10 bowls and 15 cups that were used that day, none of them cracked, so that was good.  The cups stack compactly and handle both hot and cold beverages, but they definitely feel disposable.  I will keep using these dishes until they’ve worn out, but I don’t recommend them if you are wanting items to use again and again.

Oh, one more item:  disposable serving utensils.  I got serving spoons, forks and tongs from my local party supply store (and there’s an Amazon link to them below).  They worked well, looked nice and were inexpensive, and I’ve used them several times without noticeable wear.  Still, in the future I will invest in the real thing (from Webstaurant Store), but if you are only doing a party once in awhile, they are an inexpensive choice.

I’ll keep sharing my experiences with various products and services relating to brunching, but I’d also like to hear your  recommendations (or warnings) of products and services you’ve used.

[adsenseyu1]

Eggs Benedict Casserole with Hollandaise Sauce

The first word of this blog is Simple.  If you’re wanting an authentic eggs Benedict with homemade hollandaise sauce, you’re sure to find many a great recipe on Google.  But below is a very simple, tasty and lovely casserole version of this dish.  Click here to print the Eggs Benedict Casserole Recipe or read on for step-by-step instructions.

wide shot

1.  Eggs Benedict is traditionally made with Canadian bacon, but I like the rich juiciness of ham.  So the first step is to dice 12 to 16 ounces of ham into half-inch cubes.  Sprinkle half the ham into a 9×13″ baking dish prepared with cooking spray.
Step One

2.  Cut six English muffins into small pieces and layer them on top of the ham.  Then layer the remaining ham on top of the muffins.
Muffins   Ham and muffins

3.   In a large mixing bowl, wisk together 8 eggs, 2 cups of milk, 3 chopped green onions, 1 teaspoon onion powder, and one teaspoon salt.
Eggs   onions

4.  Pour egg mixture over the ham and English muffins.  Cover with plastic wrap in put in the refrigerator overnight.
Pouring

5.  Preheat oven to 375 degrees F.  Remove plastic wrap and
sprinkle paprika over casserole.  Cover with aluminum foil and bake 30 minutes.

6.  Remove foil and continue baking until eggs are completely set, about 15 minutes.

7.  Whisk together hollandaise sauce mix and one cup of milk in
medium saucepan.  Add 1/4 cup of butter and stir over medium heat until it comes to a boil.  Reduce to low heat and stir until thickened, about 1 minute.
Hollandaise

8. Drizzle sauce over casserole and serve.
Square Shot

Enjoy this and the many other easy brunch recipes to come.

Let’s Start at the Very Beginning

G’mornin’ all!  How exciting to be starting my first blog!  I’ve got so much to learn, so please bear with me and give me your gentle feedback.

As I was doing my 2014-year-end review and setting intentions for 2015, my first intention was to find a way to stay in better touch with my friends.  I am very fortunate to have so many good friends — the kind of people who know the real me with all my, shall we say,
characteristics, and still want to have lunch with me.  Now that’s a blessing!   But once we no longer work at the same office or live next door or belong to the same social group, it becomes harder and harder to see each other regularly.  Before I  know it, months have gone by without seeing particular people who are still very important to me.  So, I decided in 2015 that I would have a brunch at my home every month, invite everyone on my list of treasured friends, and just enjoy the different mix each month of who shows up.  (This would also support my second intention: keeping my house clean!)

Well let me tell you!!  The first brunch was a smashing success and such fun.  And my house is looking wonderful.  I learned so much in the process and am sure I will learn more in the brunches to come, so I decided to use a blog to document my process and to hopefully inspire others to make brunching with friends a regular event.

In future posts I’ll be sharing easy brunch recipes, shopping lists, food prep timelines, invitation designs and decorating tips.  I look forward to hearing from you with questions or other topics you’d like me to cover.

Happy brunching!
Jolyn