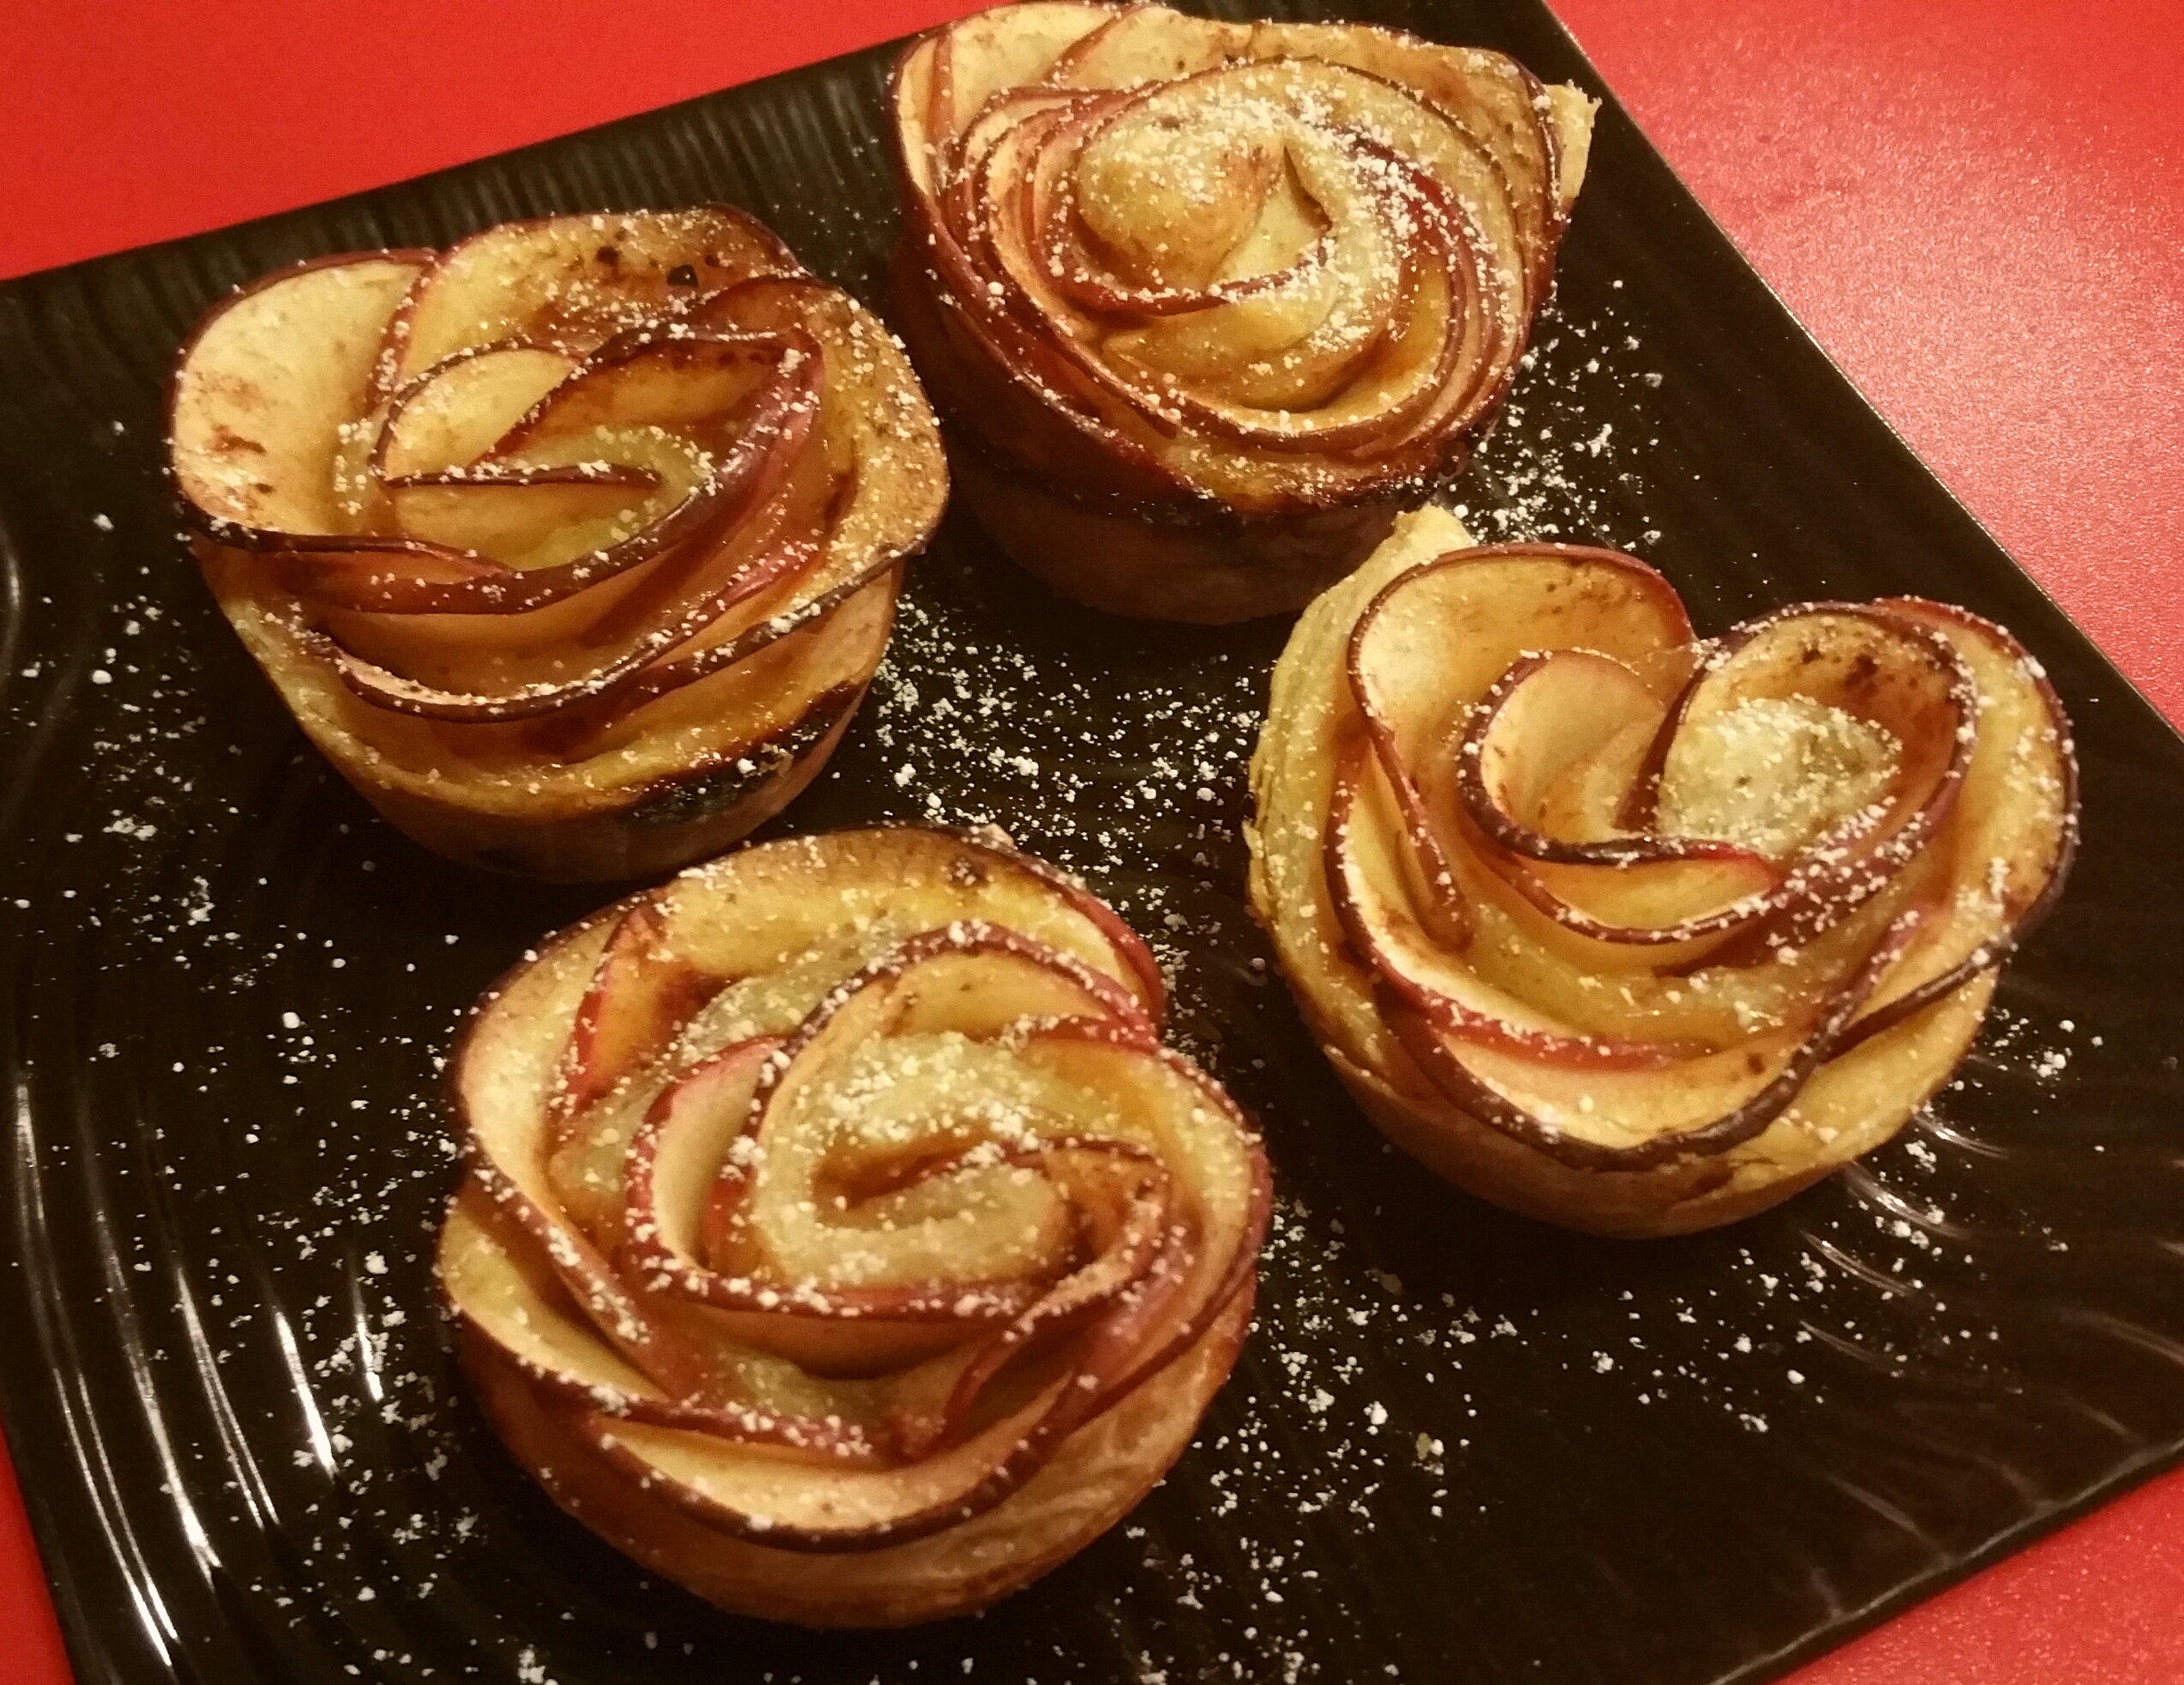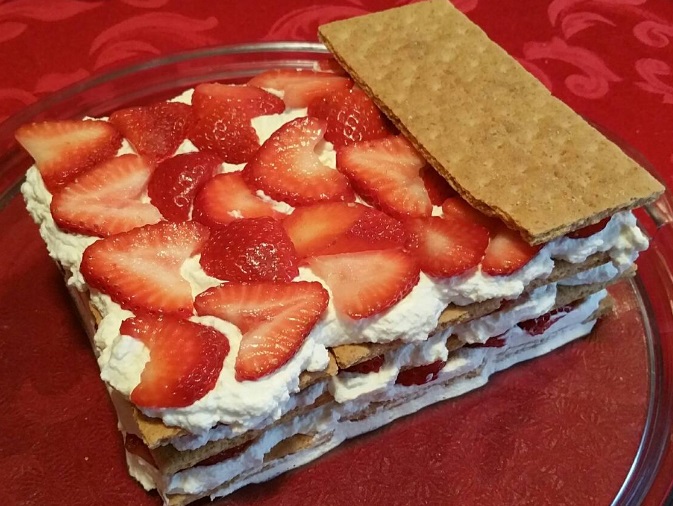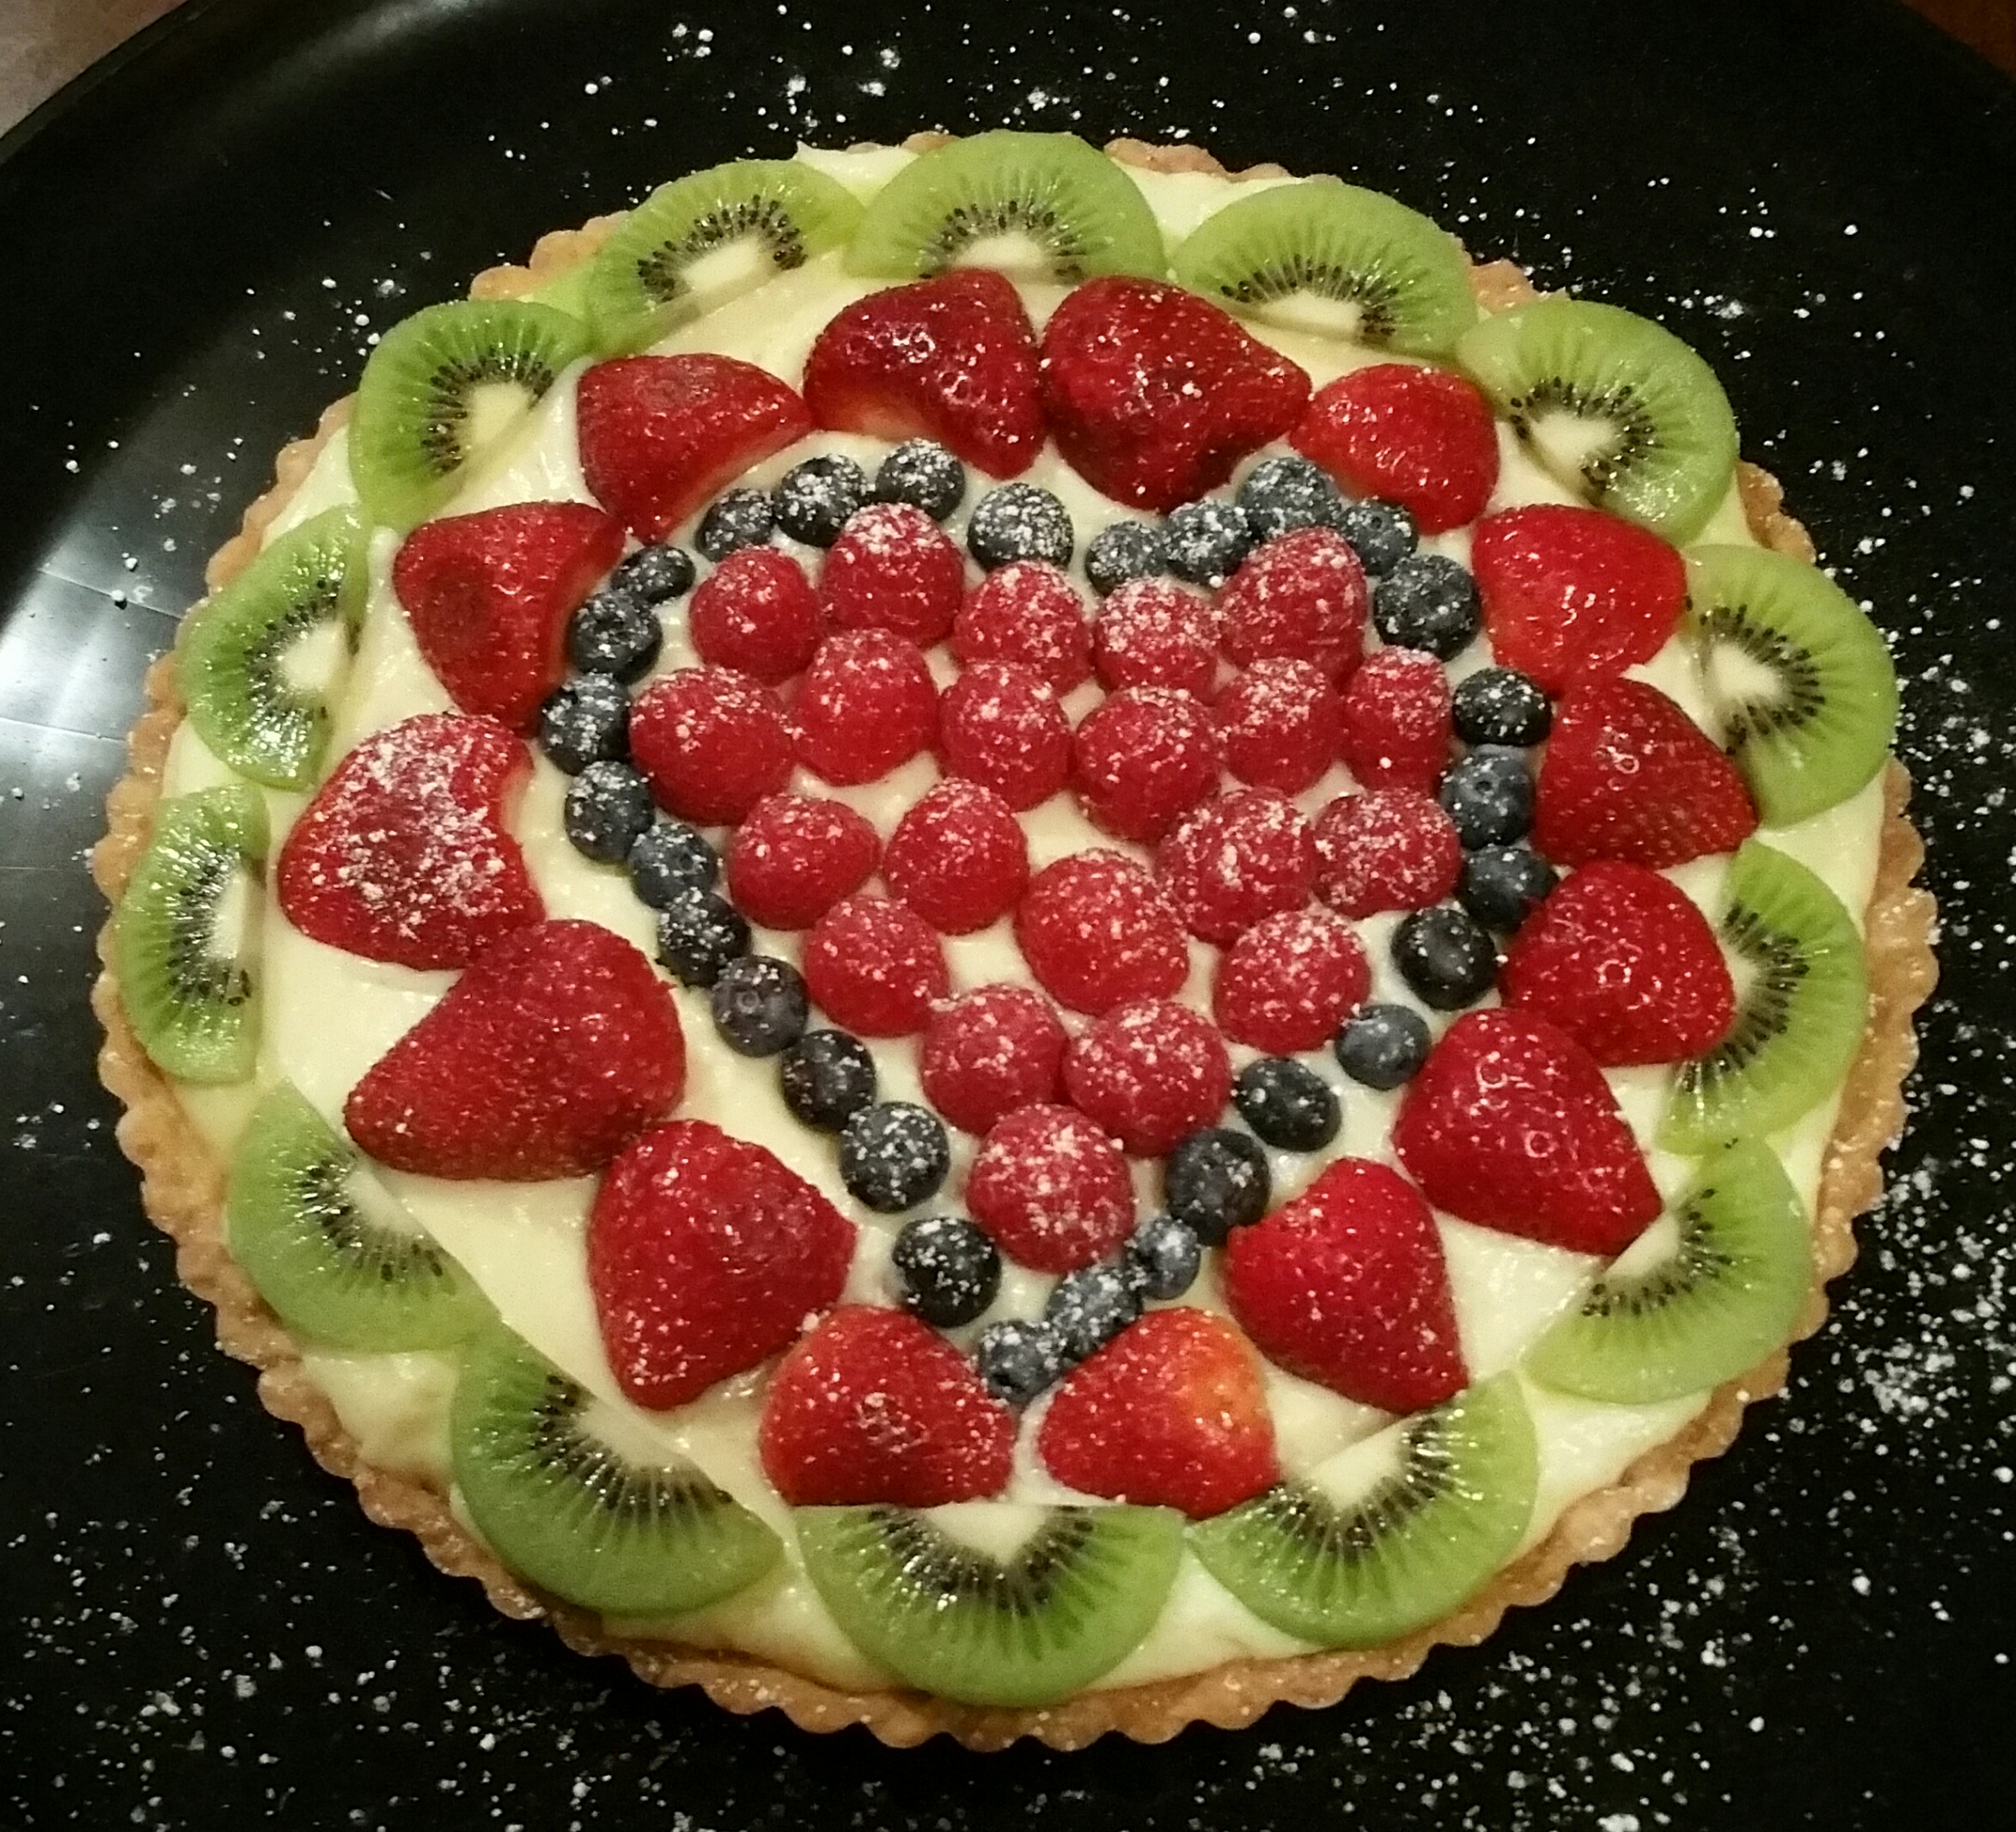
This Fabulous Fruit Tart looks and tastes anything but simple, yet it is so easy to make that it has become my new go-to dessert when company is coming.
If you’re like me, the thought of pie crust that doesn’t come out of a package is daunting. But this is the simplest crust I have ever made, and it has a yummy, buttery cookie flavor. I got the crust recipe from chowhound.com.
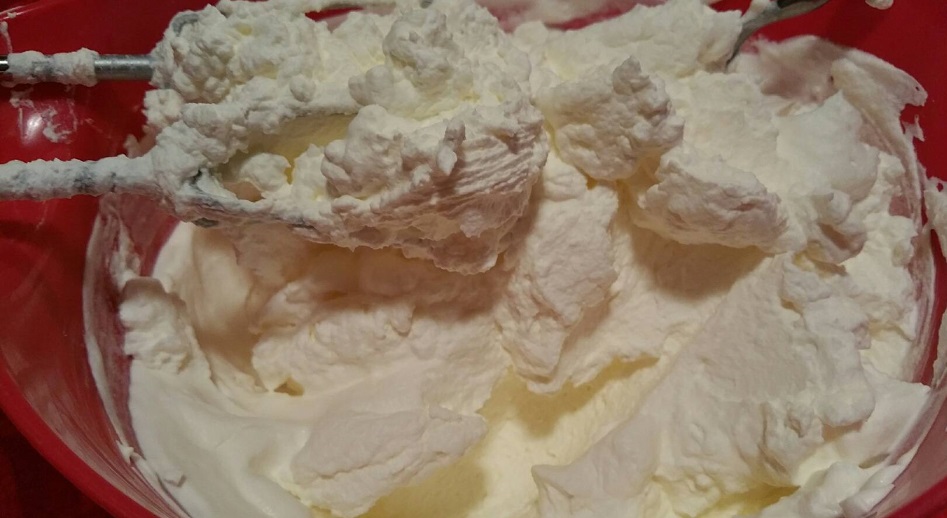
The filling is a light, sweet pastry cream like used in cream puffs, yet thanks to Thomas Joseph of Kitchen Conundrums on the Martha Stewart channel, I now know how simple it can be. Below are my directions, but I recommend you watch his video: http://www.marthastewart.com/1084932/no-fuss-pastry-cream
CRUST:
- 1 stick butter, melted
- 3 tablespoons granulated sugar
- 1/4 teaspoon fine salt
- 1 1/4 cups all-purpose flour
- Stir together melted butter, sugar, and salt. Add the flour and stir just until combined into a soft dough.
- Put the dough in a 9-inch tart pan with a removable bottom. Press the dough evenly across the bottom and up the sides of the pan (I think fingers work best, but you could use a measuring cup).
- Cover the tart shell with plastic wrap and chill in the refrigerator for 30 minutes.
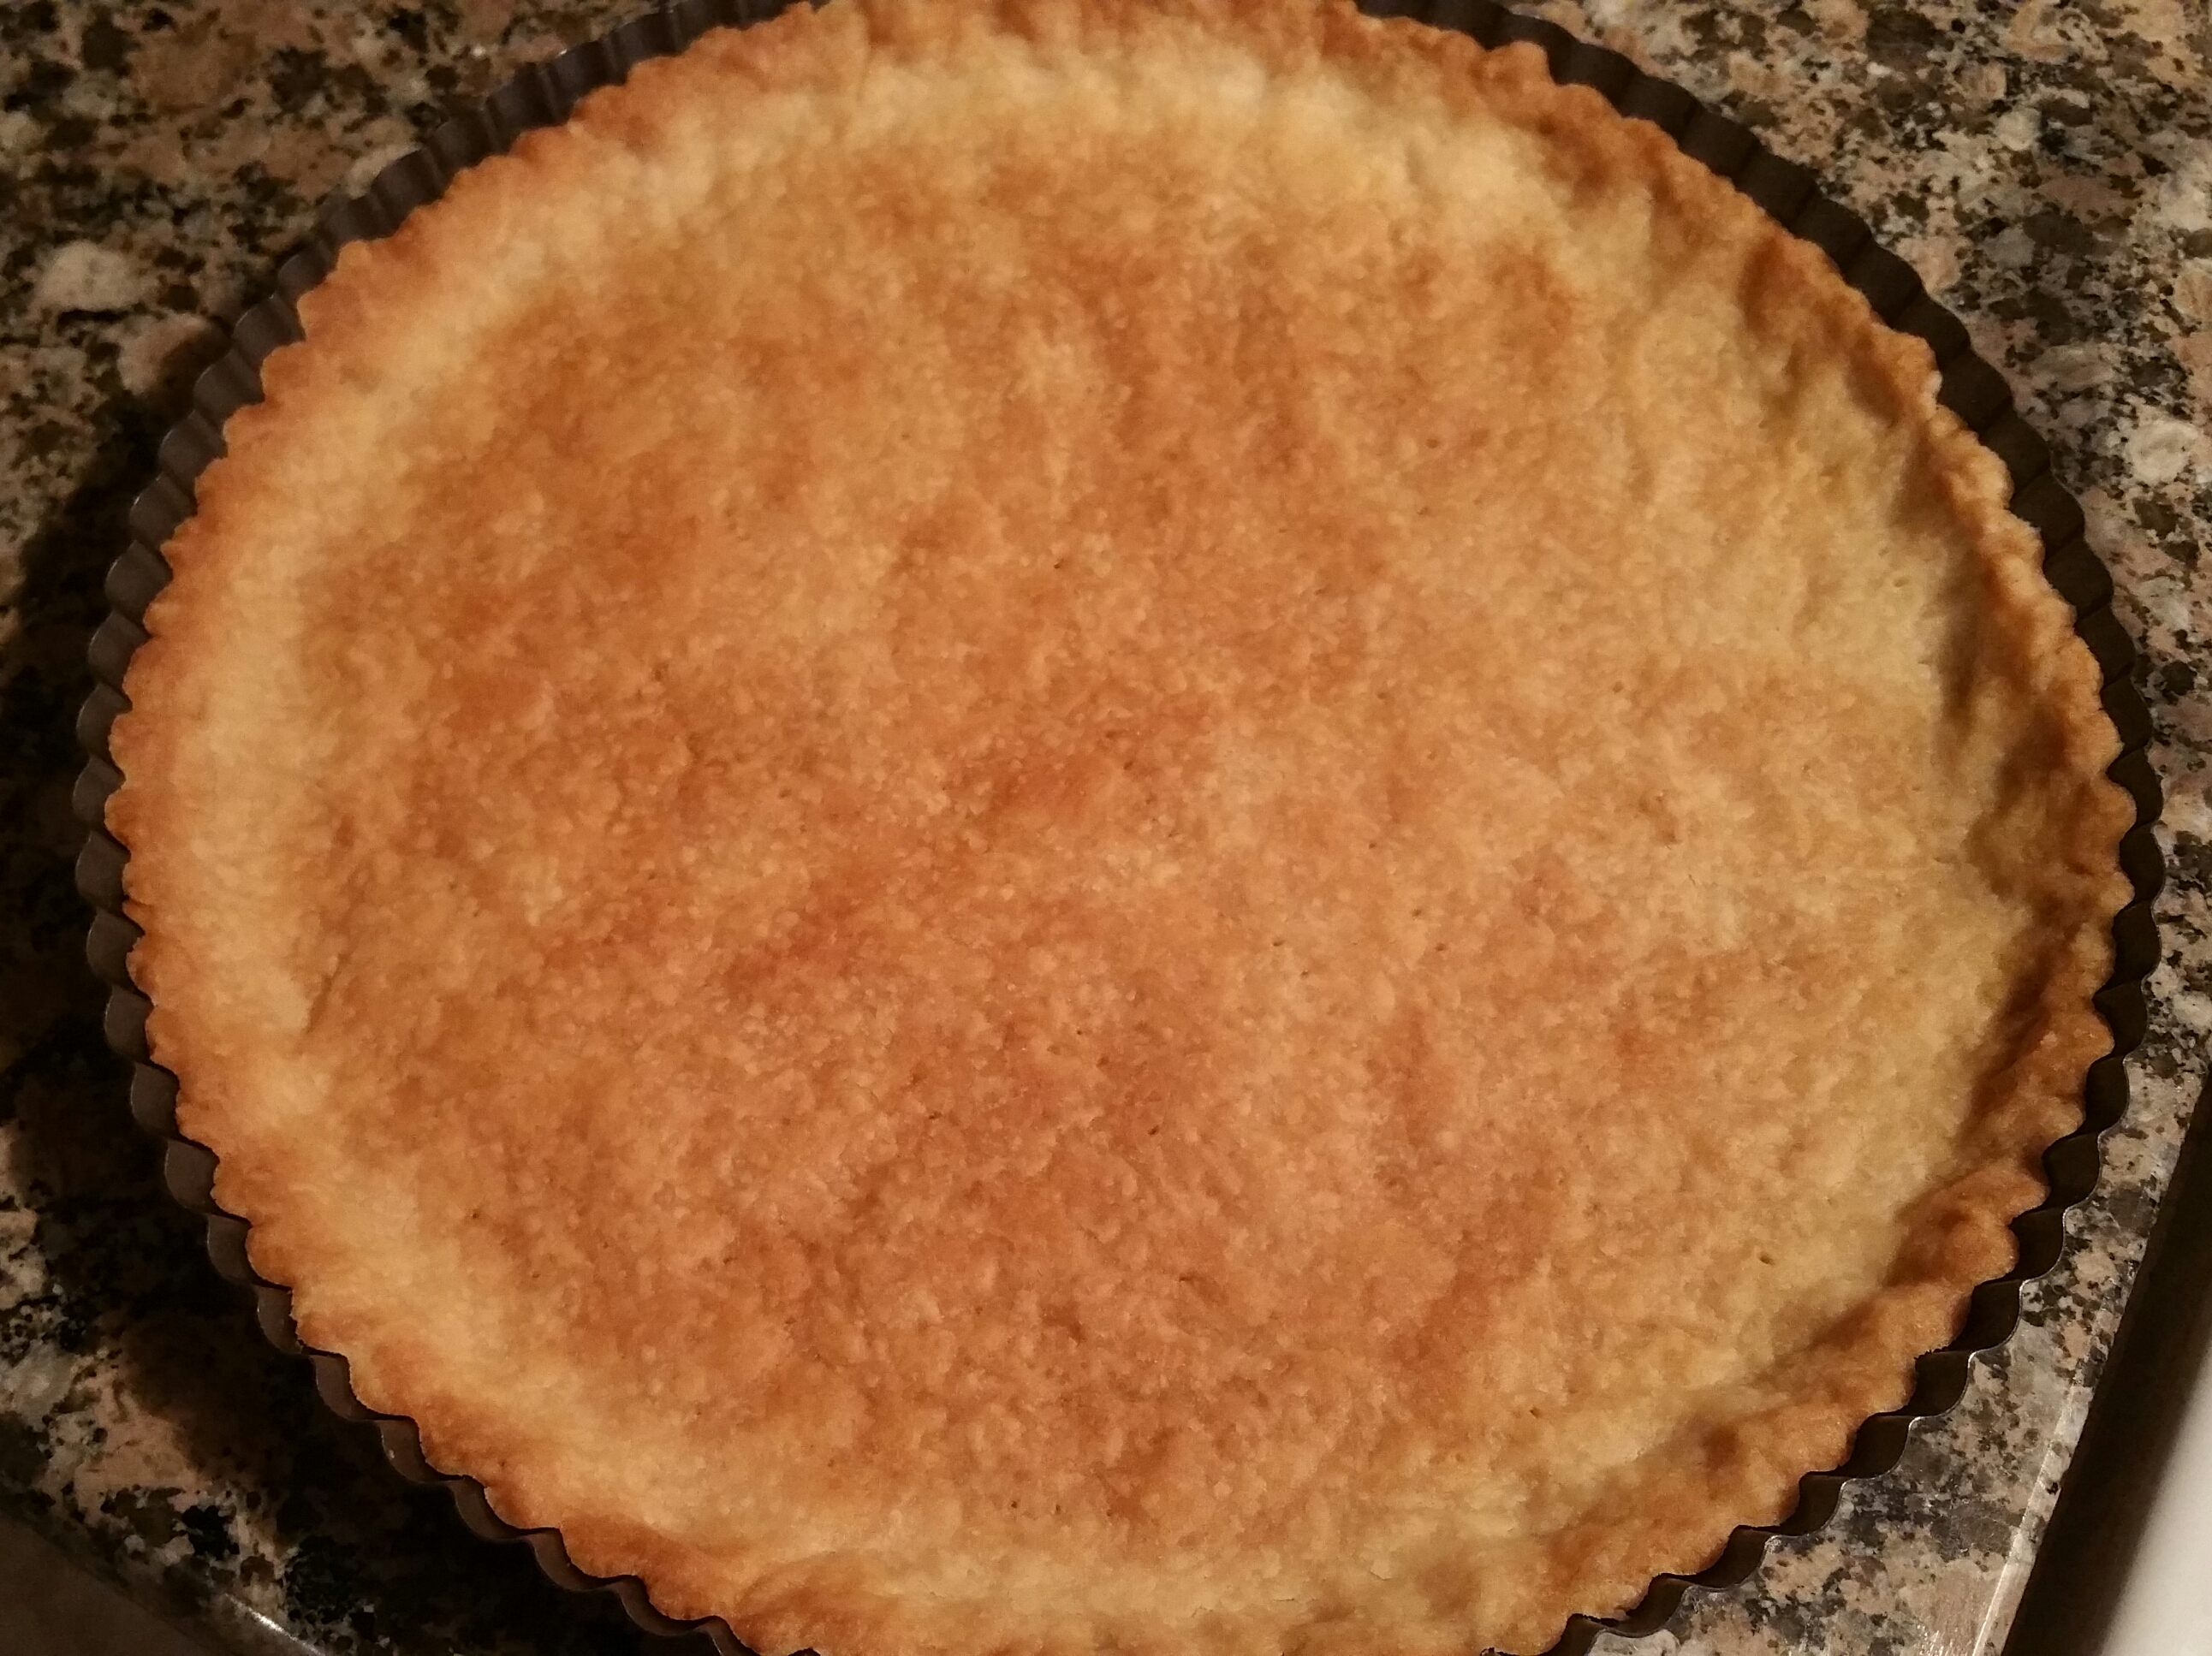
- Once chilled, use a fork to prick the bottom of the crust and bake at 350°F until golden brown, about 20 to 25 minutes.
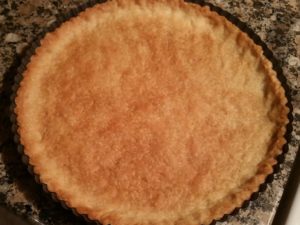
- Cool completely and fill with cream before removing from the pan.
PASTRY CREAM:
- 1/2 cup sugar
- 1/4 cup cornstarch
- Pinch of salt
- 2 cups whole milk
- 4 large egg yolks
- 2 Tablespoons butter
- 1 teaspoon vanilla
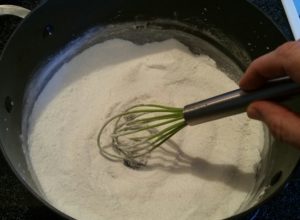
- Whisk sugar, cornstarch and salt in saucepan to be sure there are no lumps.
- Whisk together milk and egg yolks in large measuring cup or pour-spout bowl.
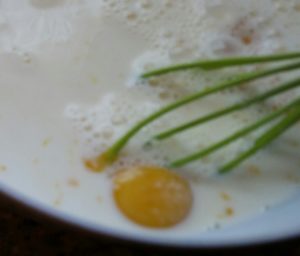
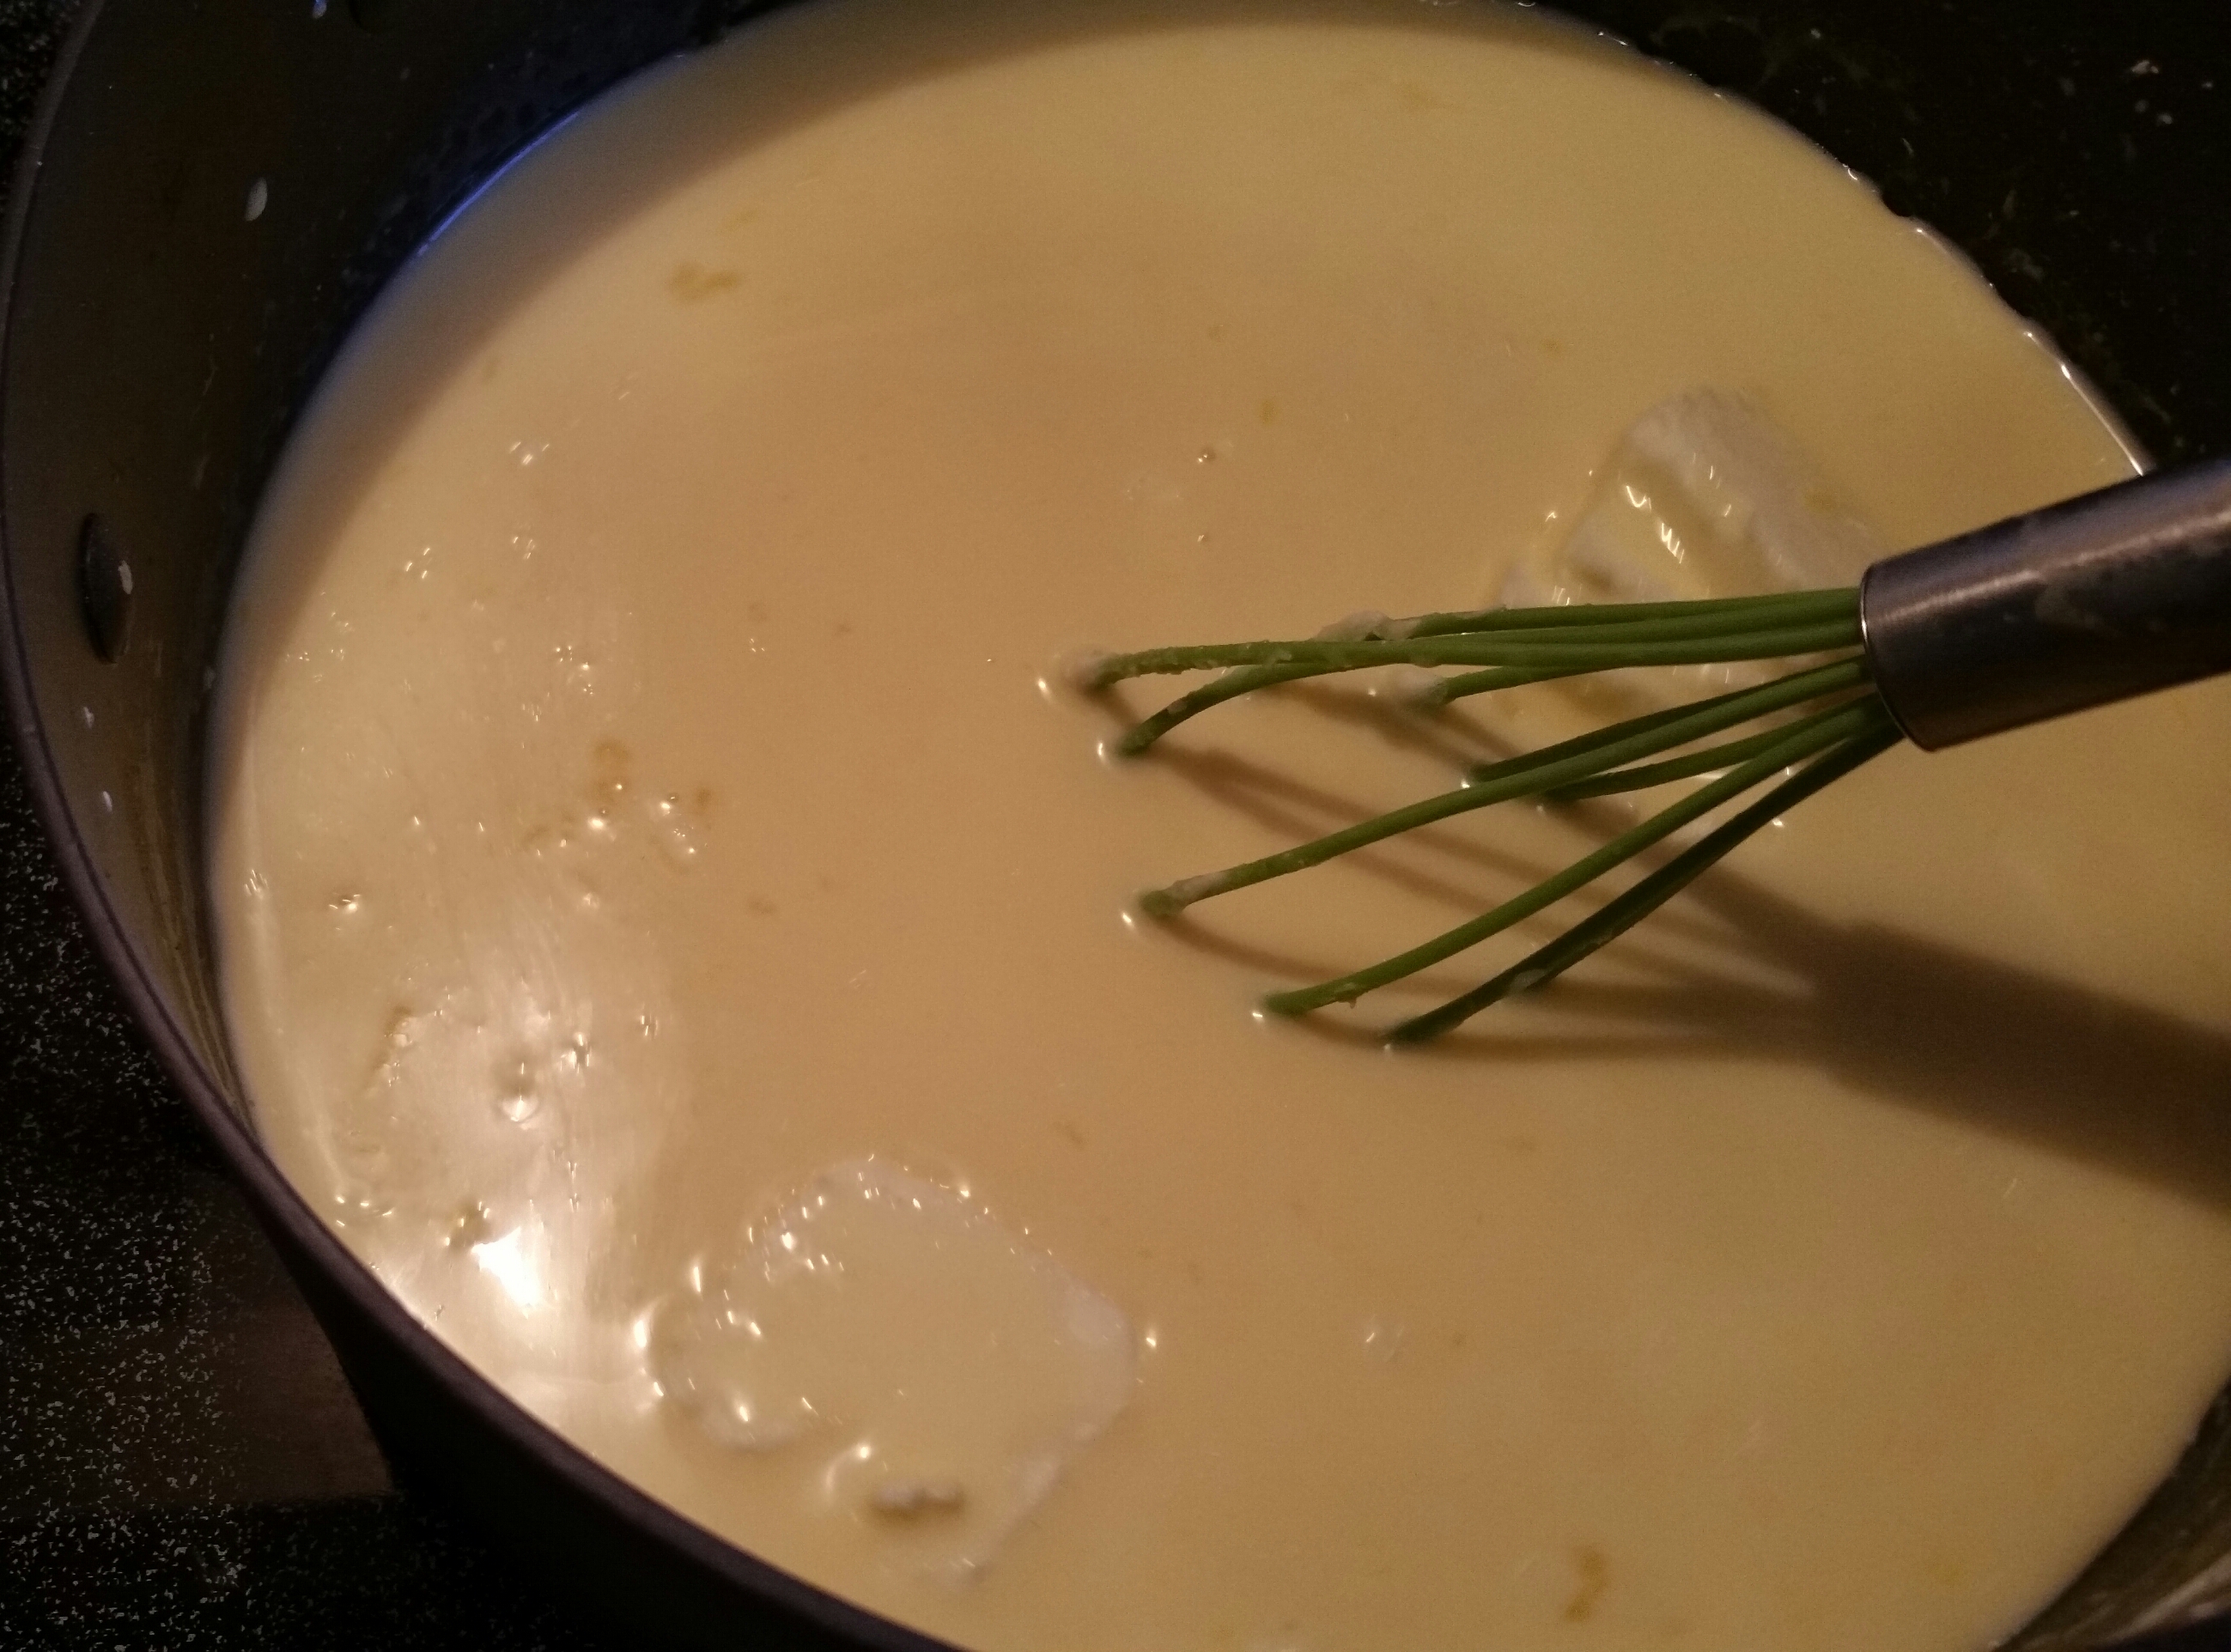
- Add milk/egg mixture and butter to saucepan and cook over medium heat, whisking constantly. Cook until it comes to a rolling boil and let cook 1 minute more.

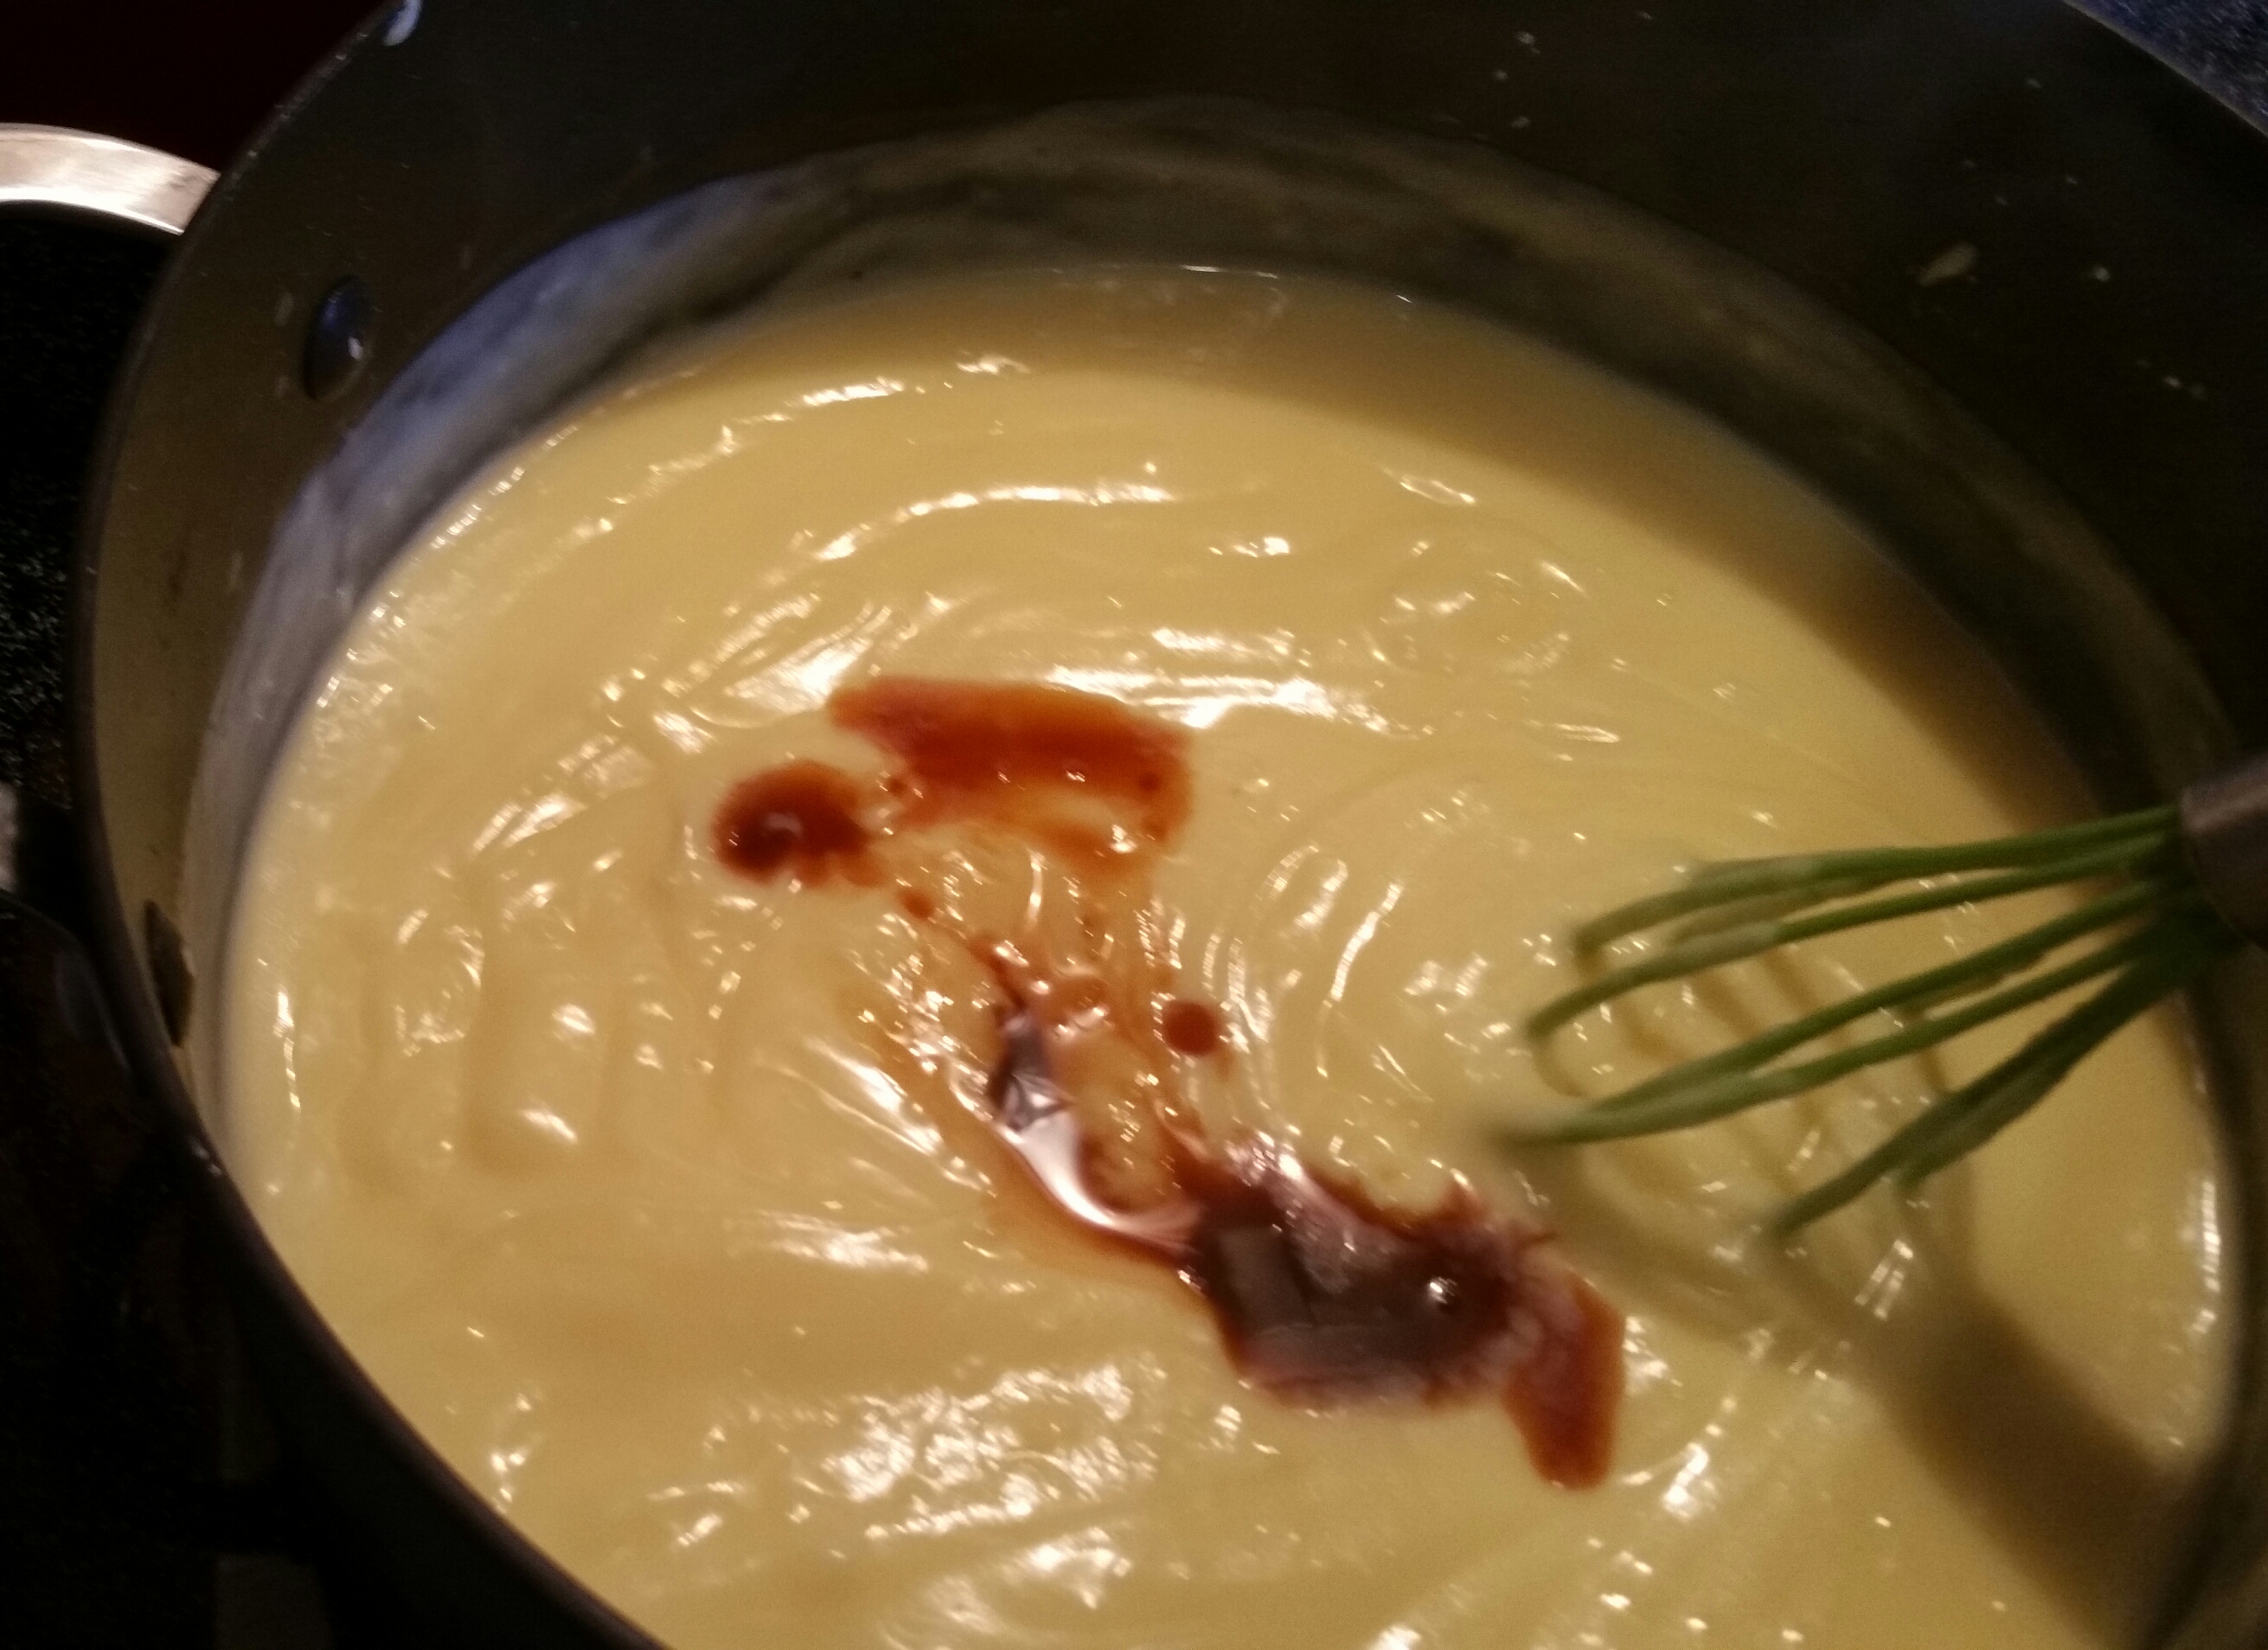
- Remove from heat and stir in vanilla.

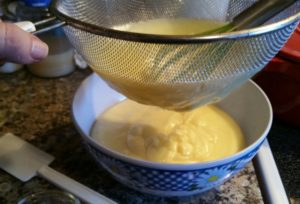
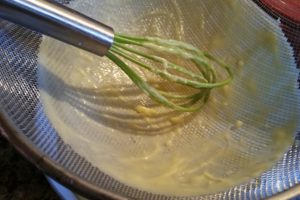
- Pour pastry cream into a sieve over a large bowl, scraping the sieve with a spatula. (This just catches any little bits of egg that might have congealed.)
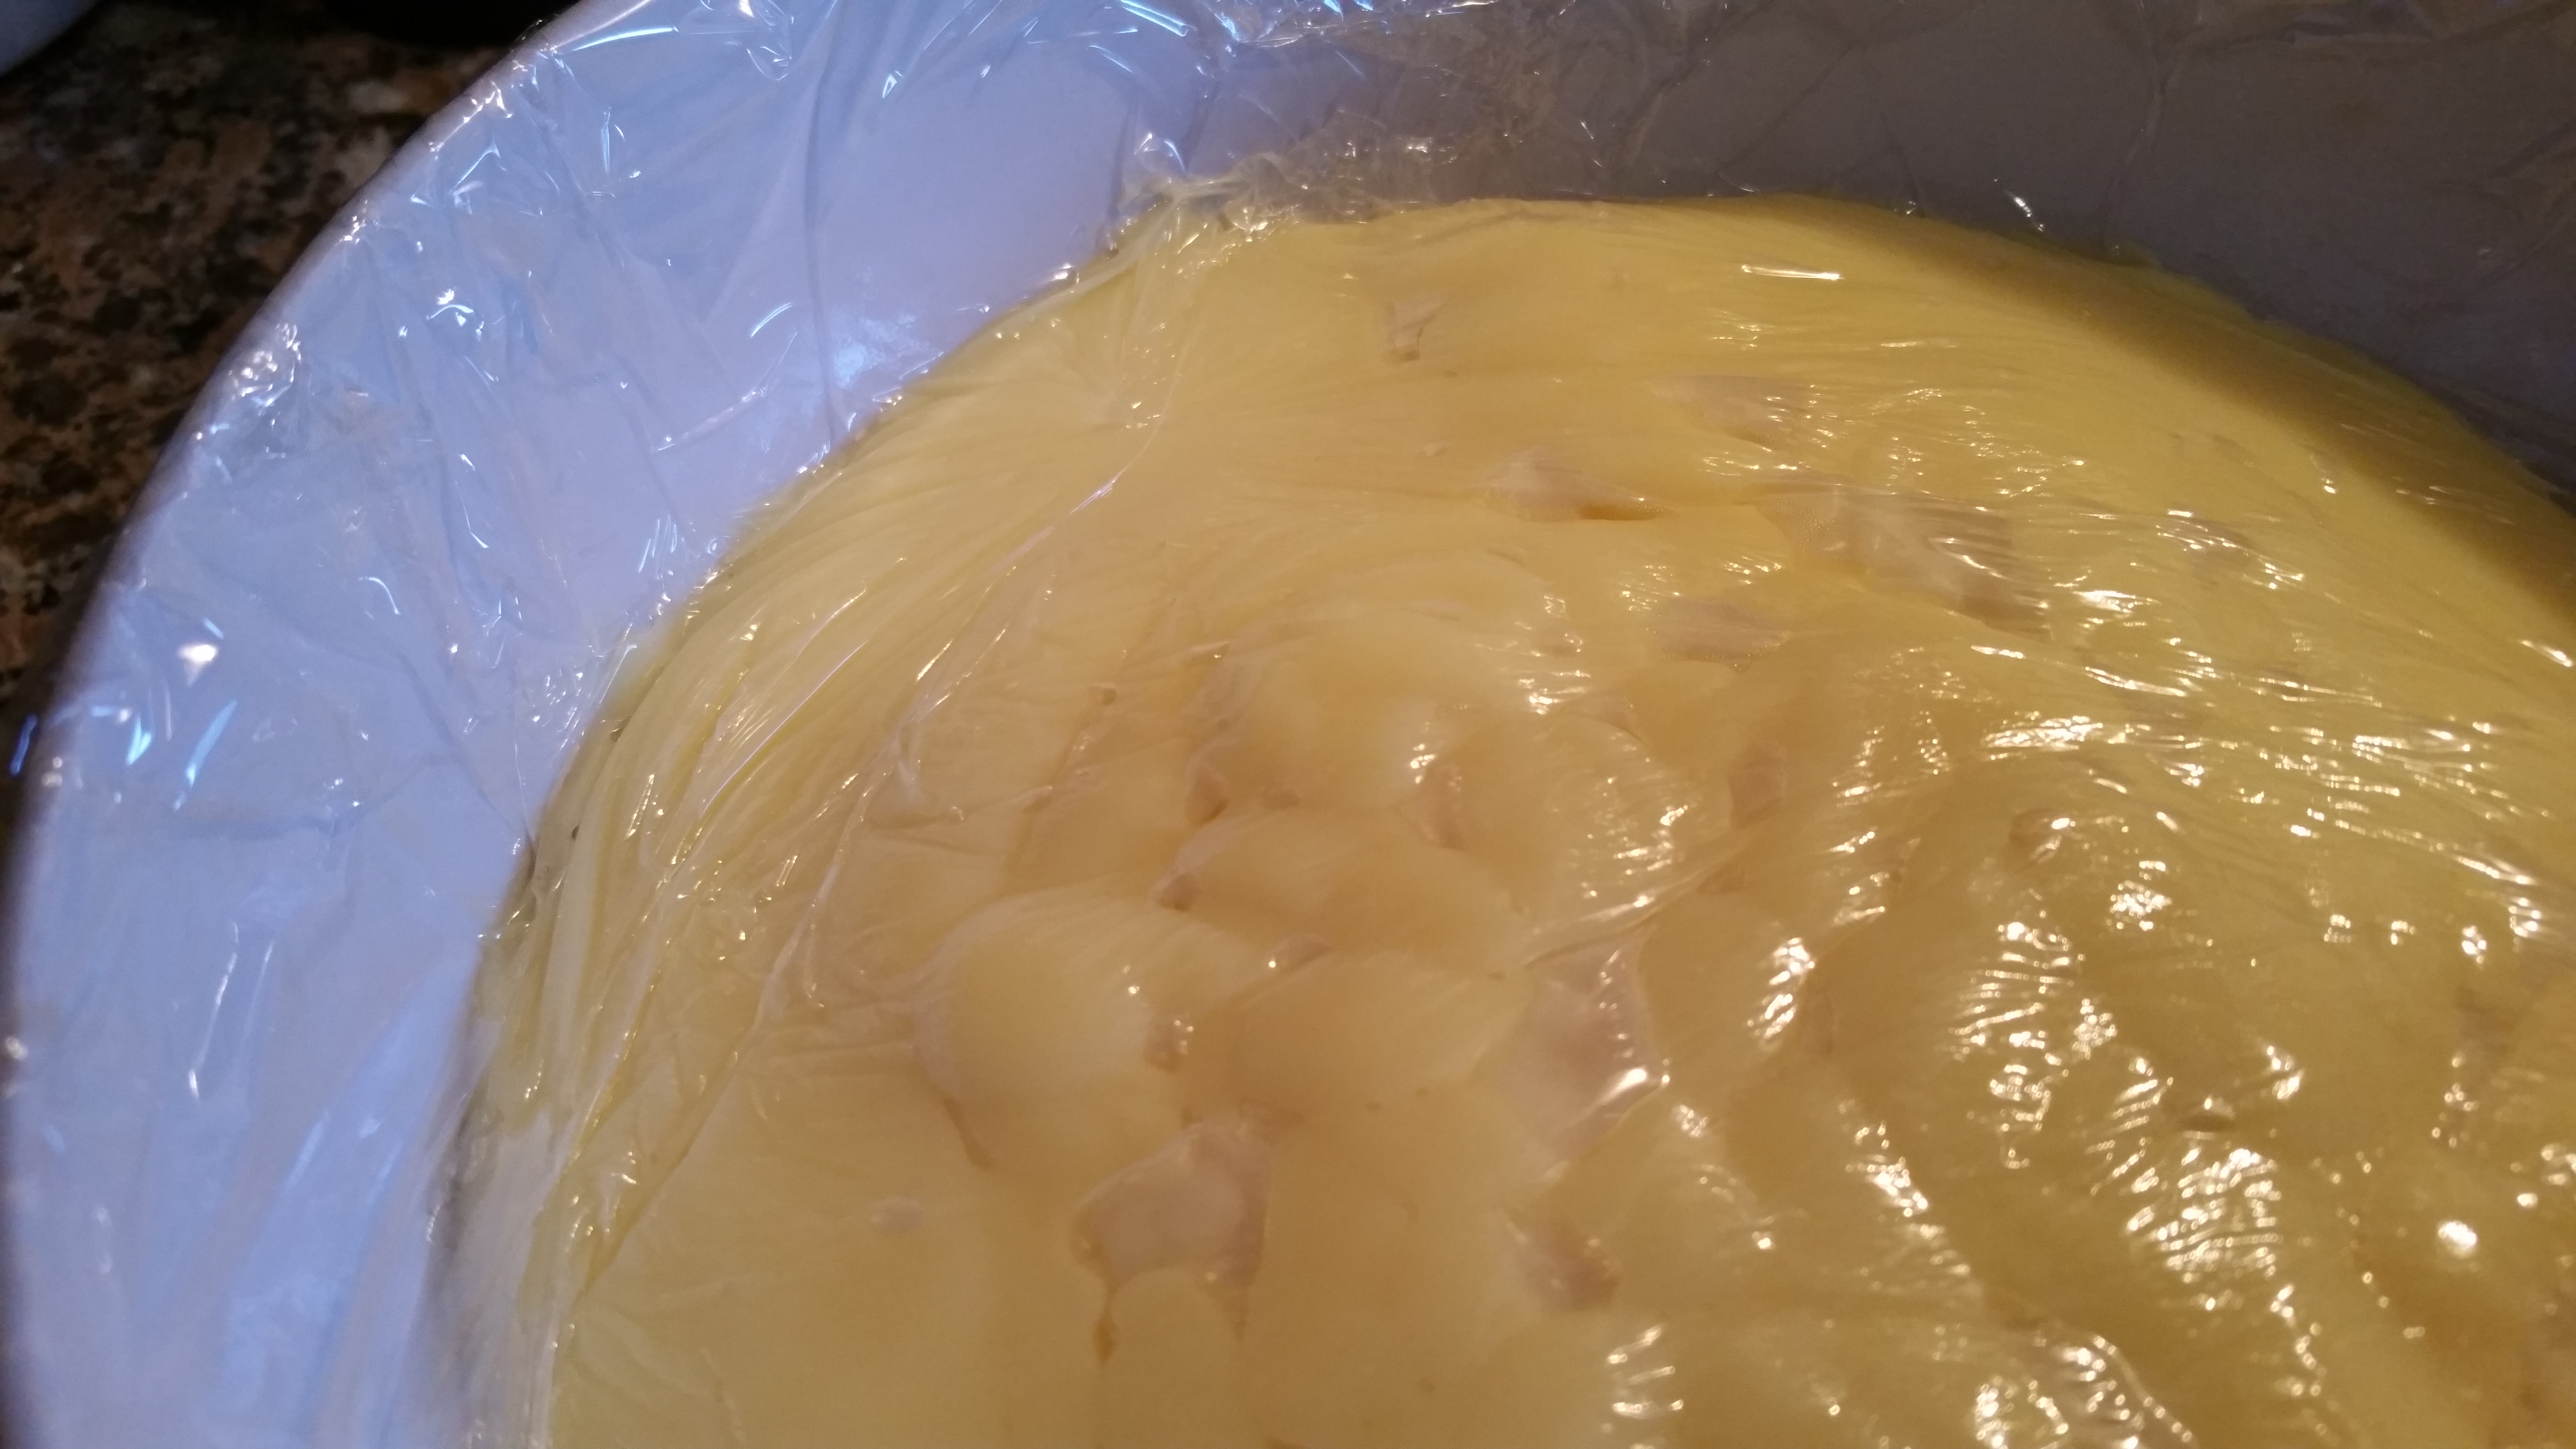
- Cover with plastic wrap being sure to press it directly onto the surface of the cream to prevent a skin from forming as it cools. Refrigerate at least two hours, and up to two days.


MAKING THE TART:
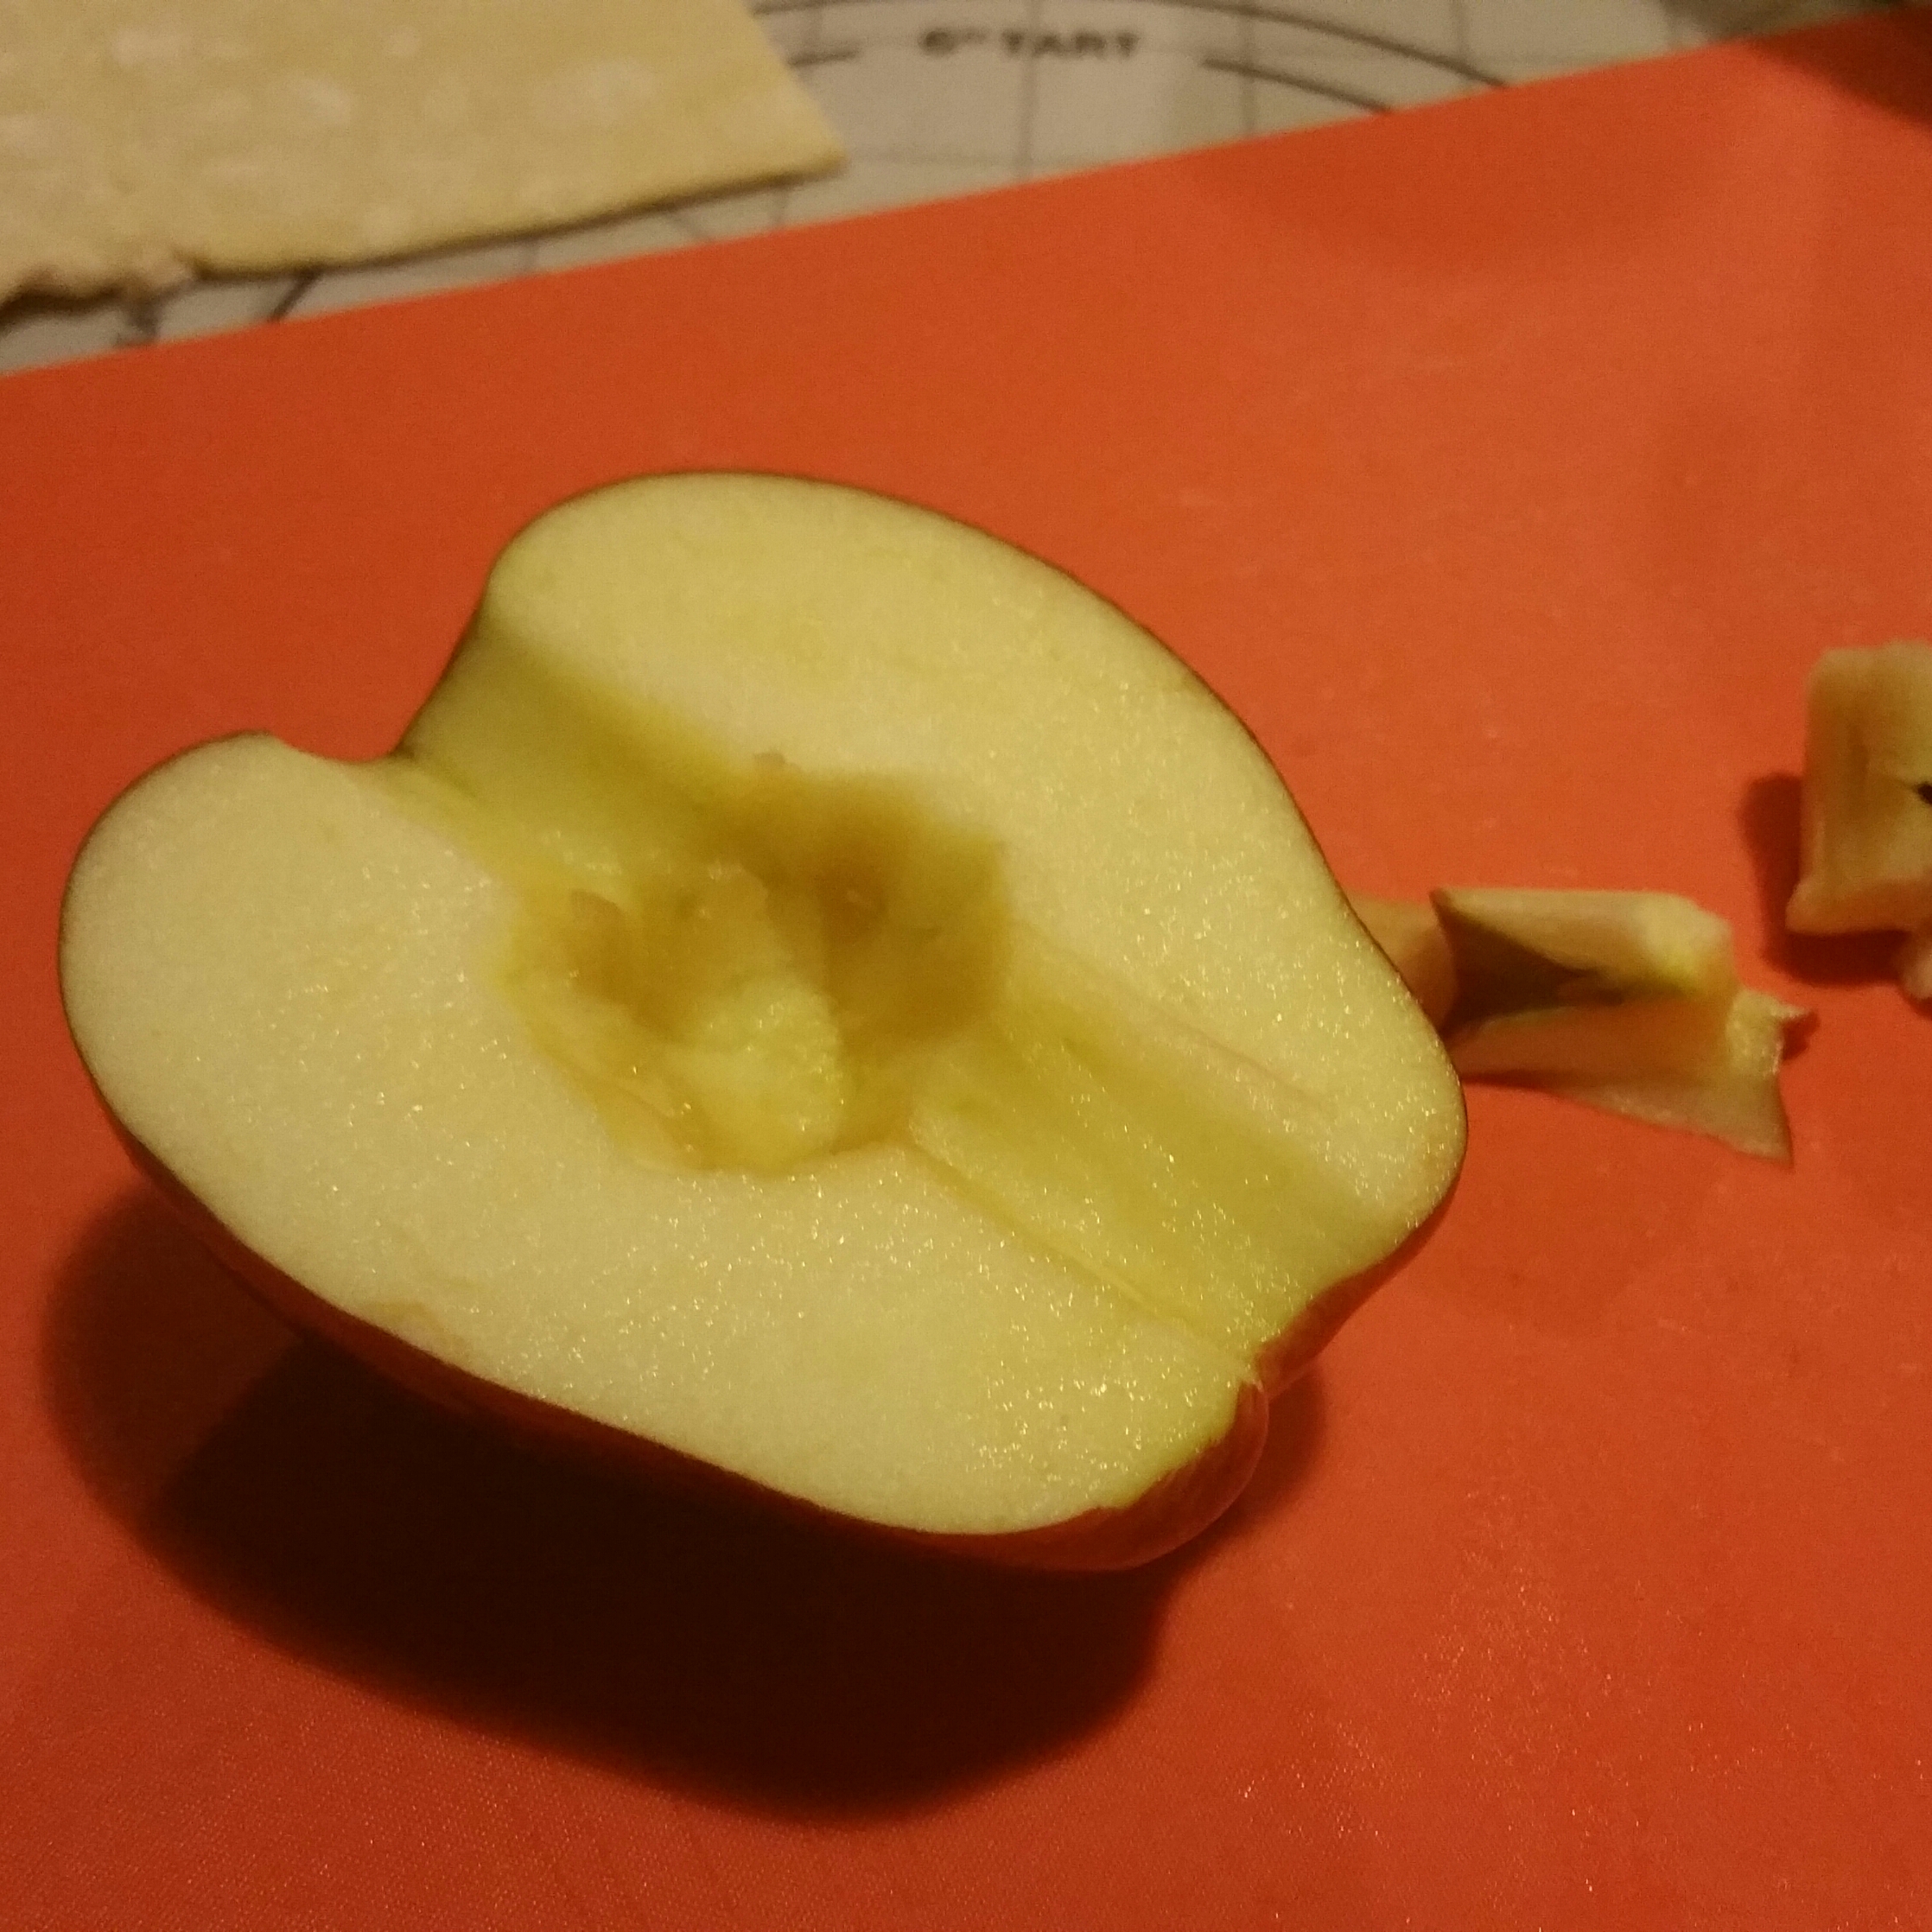
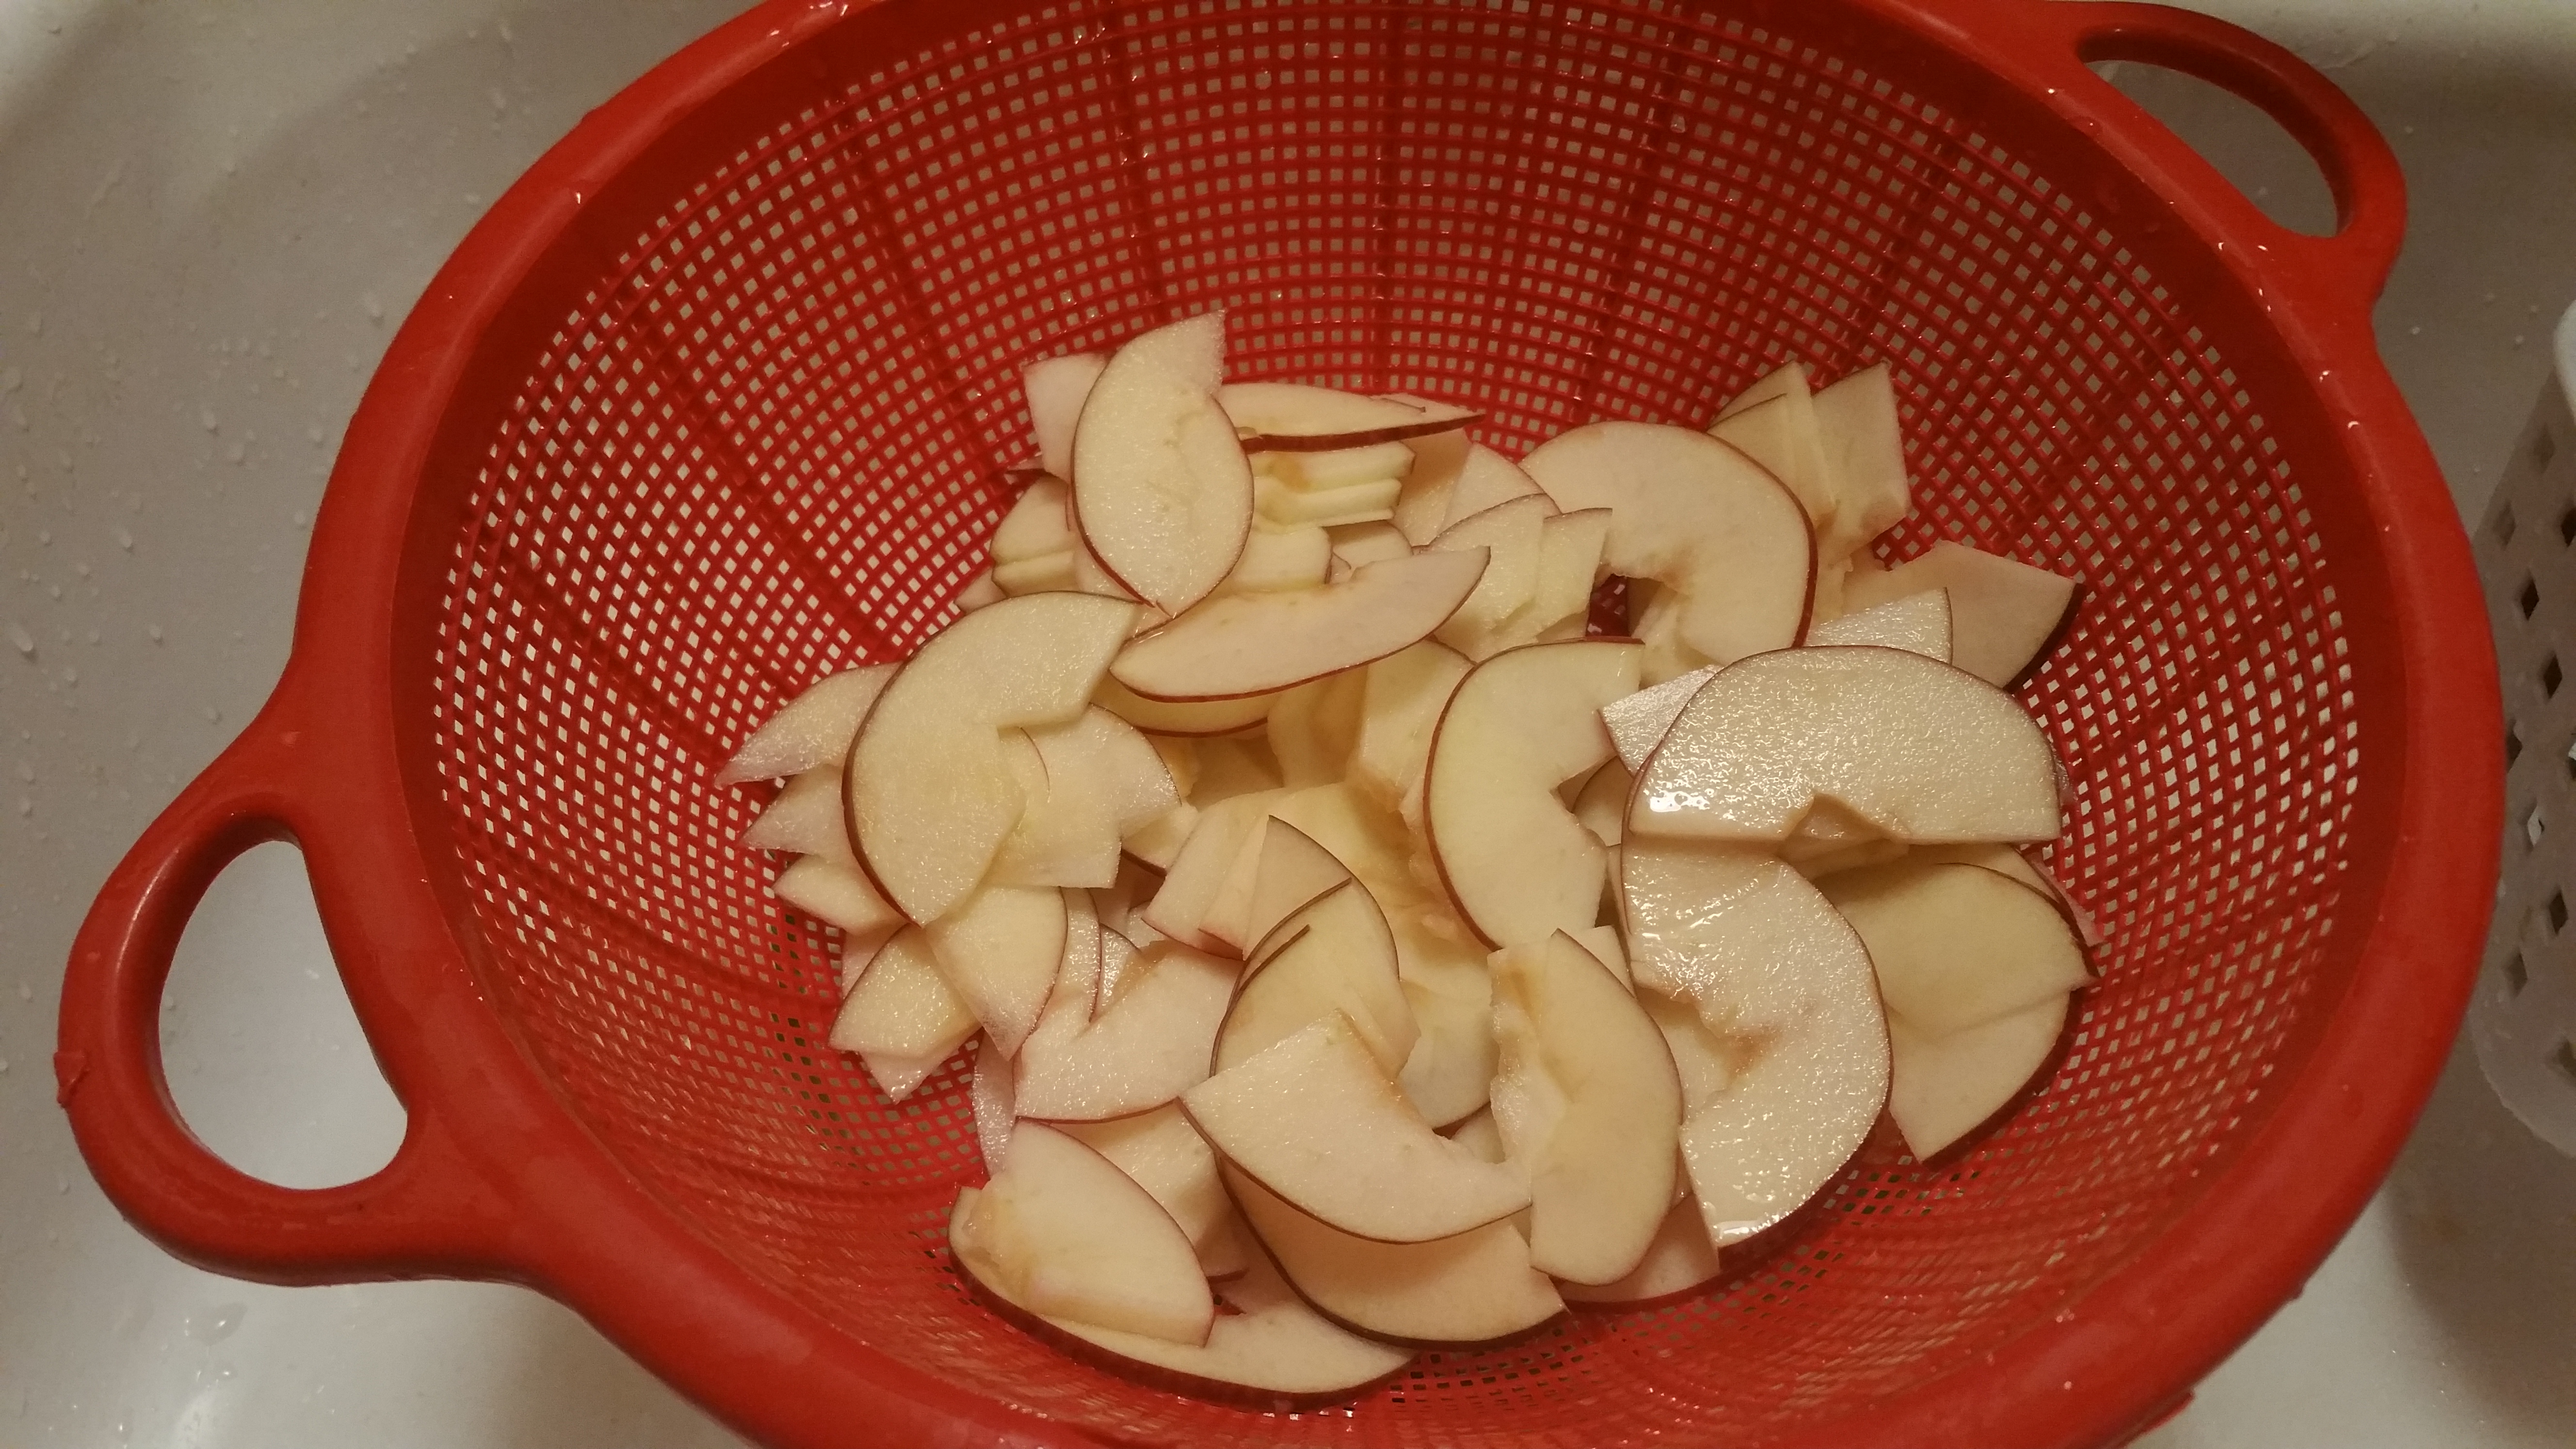
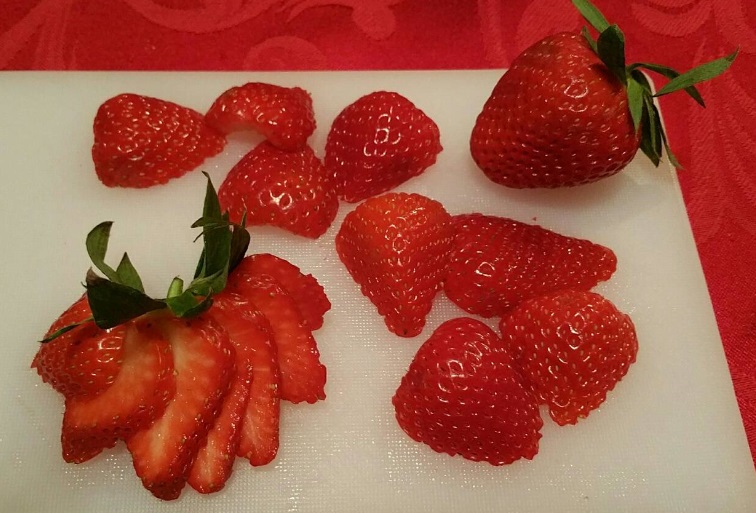
- Fresh fruit, sliced
- Powdered sugar
- Whisk the chilled pastry cream and pour it into the baked tart crust, spreading it smoothly to the edges.
- Lay out fruit slices randomly or in a pattern.
- Dust with powdered sugar.