Tex Mex Strata

20150509_111537-1

Quick, easy, overnight casserole with a wonderful Southwest flavor.

20150508_180957-1

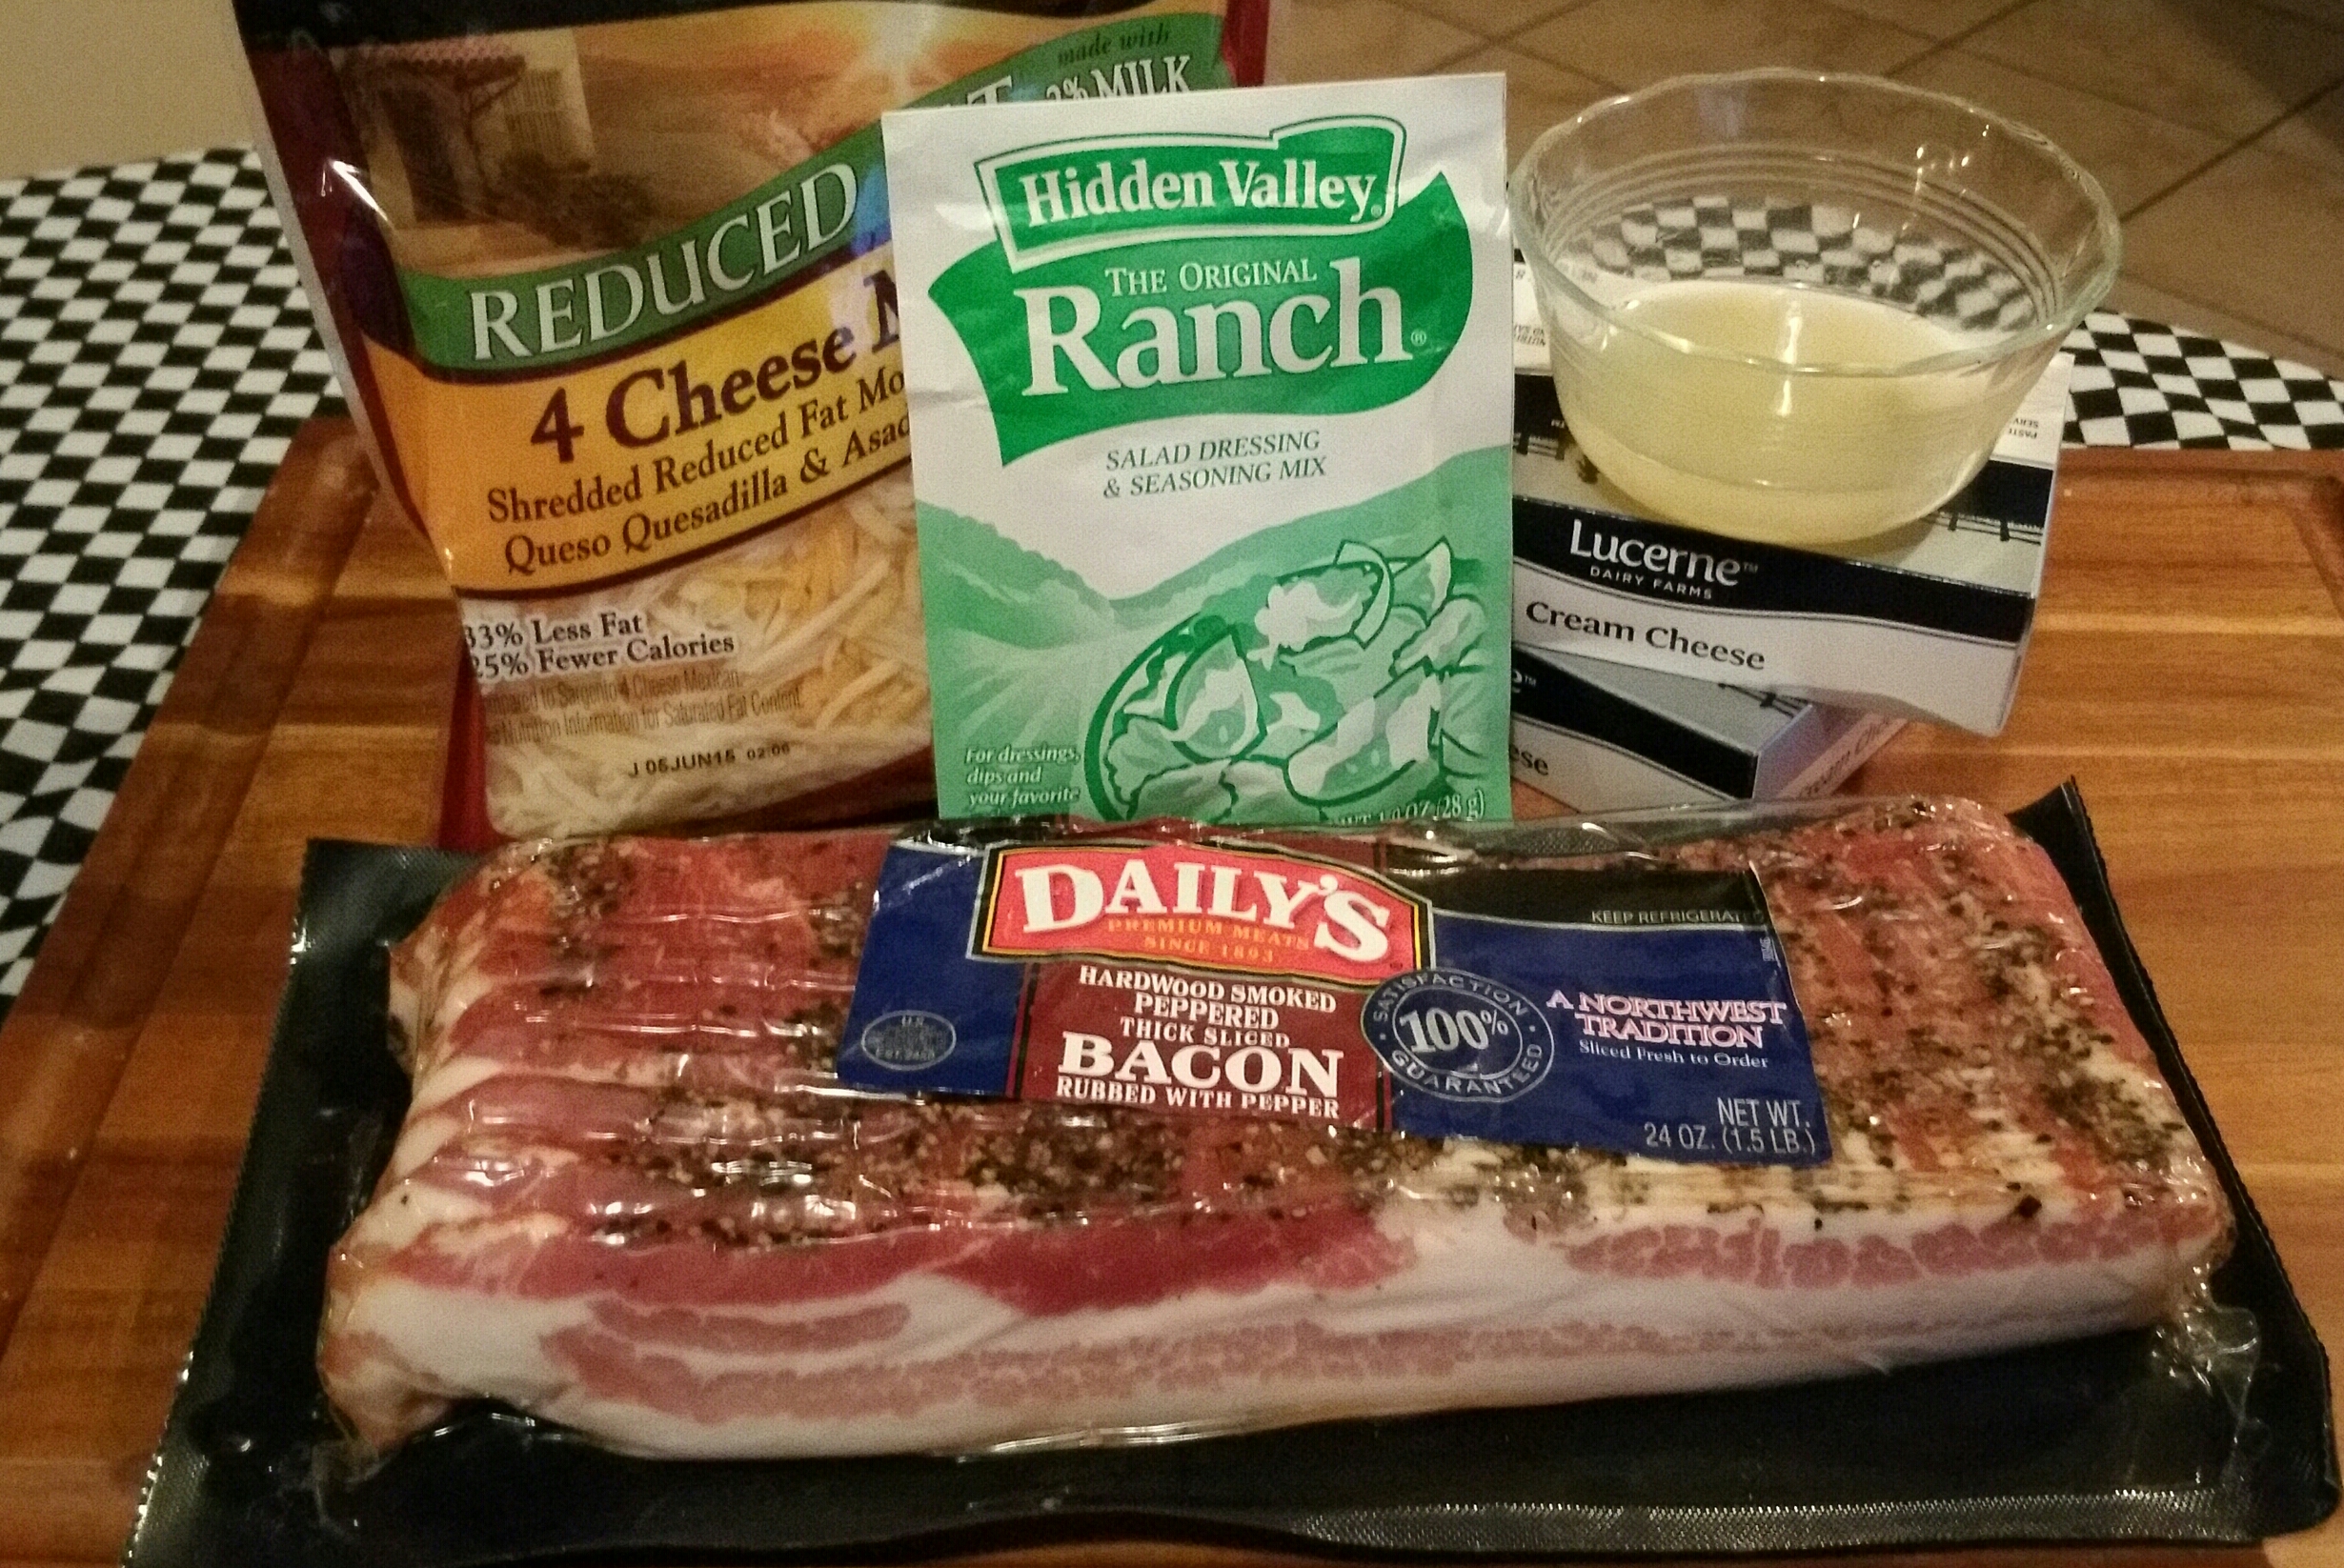
Sauté a pound of sausage, green onions and red pepper in a large skillet over medium heat until sausage is browned, about 8 minutes.  Drain off excess fat.
20150508_183533-1

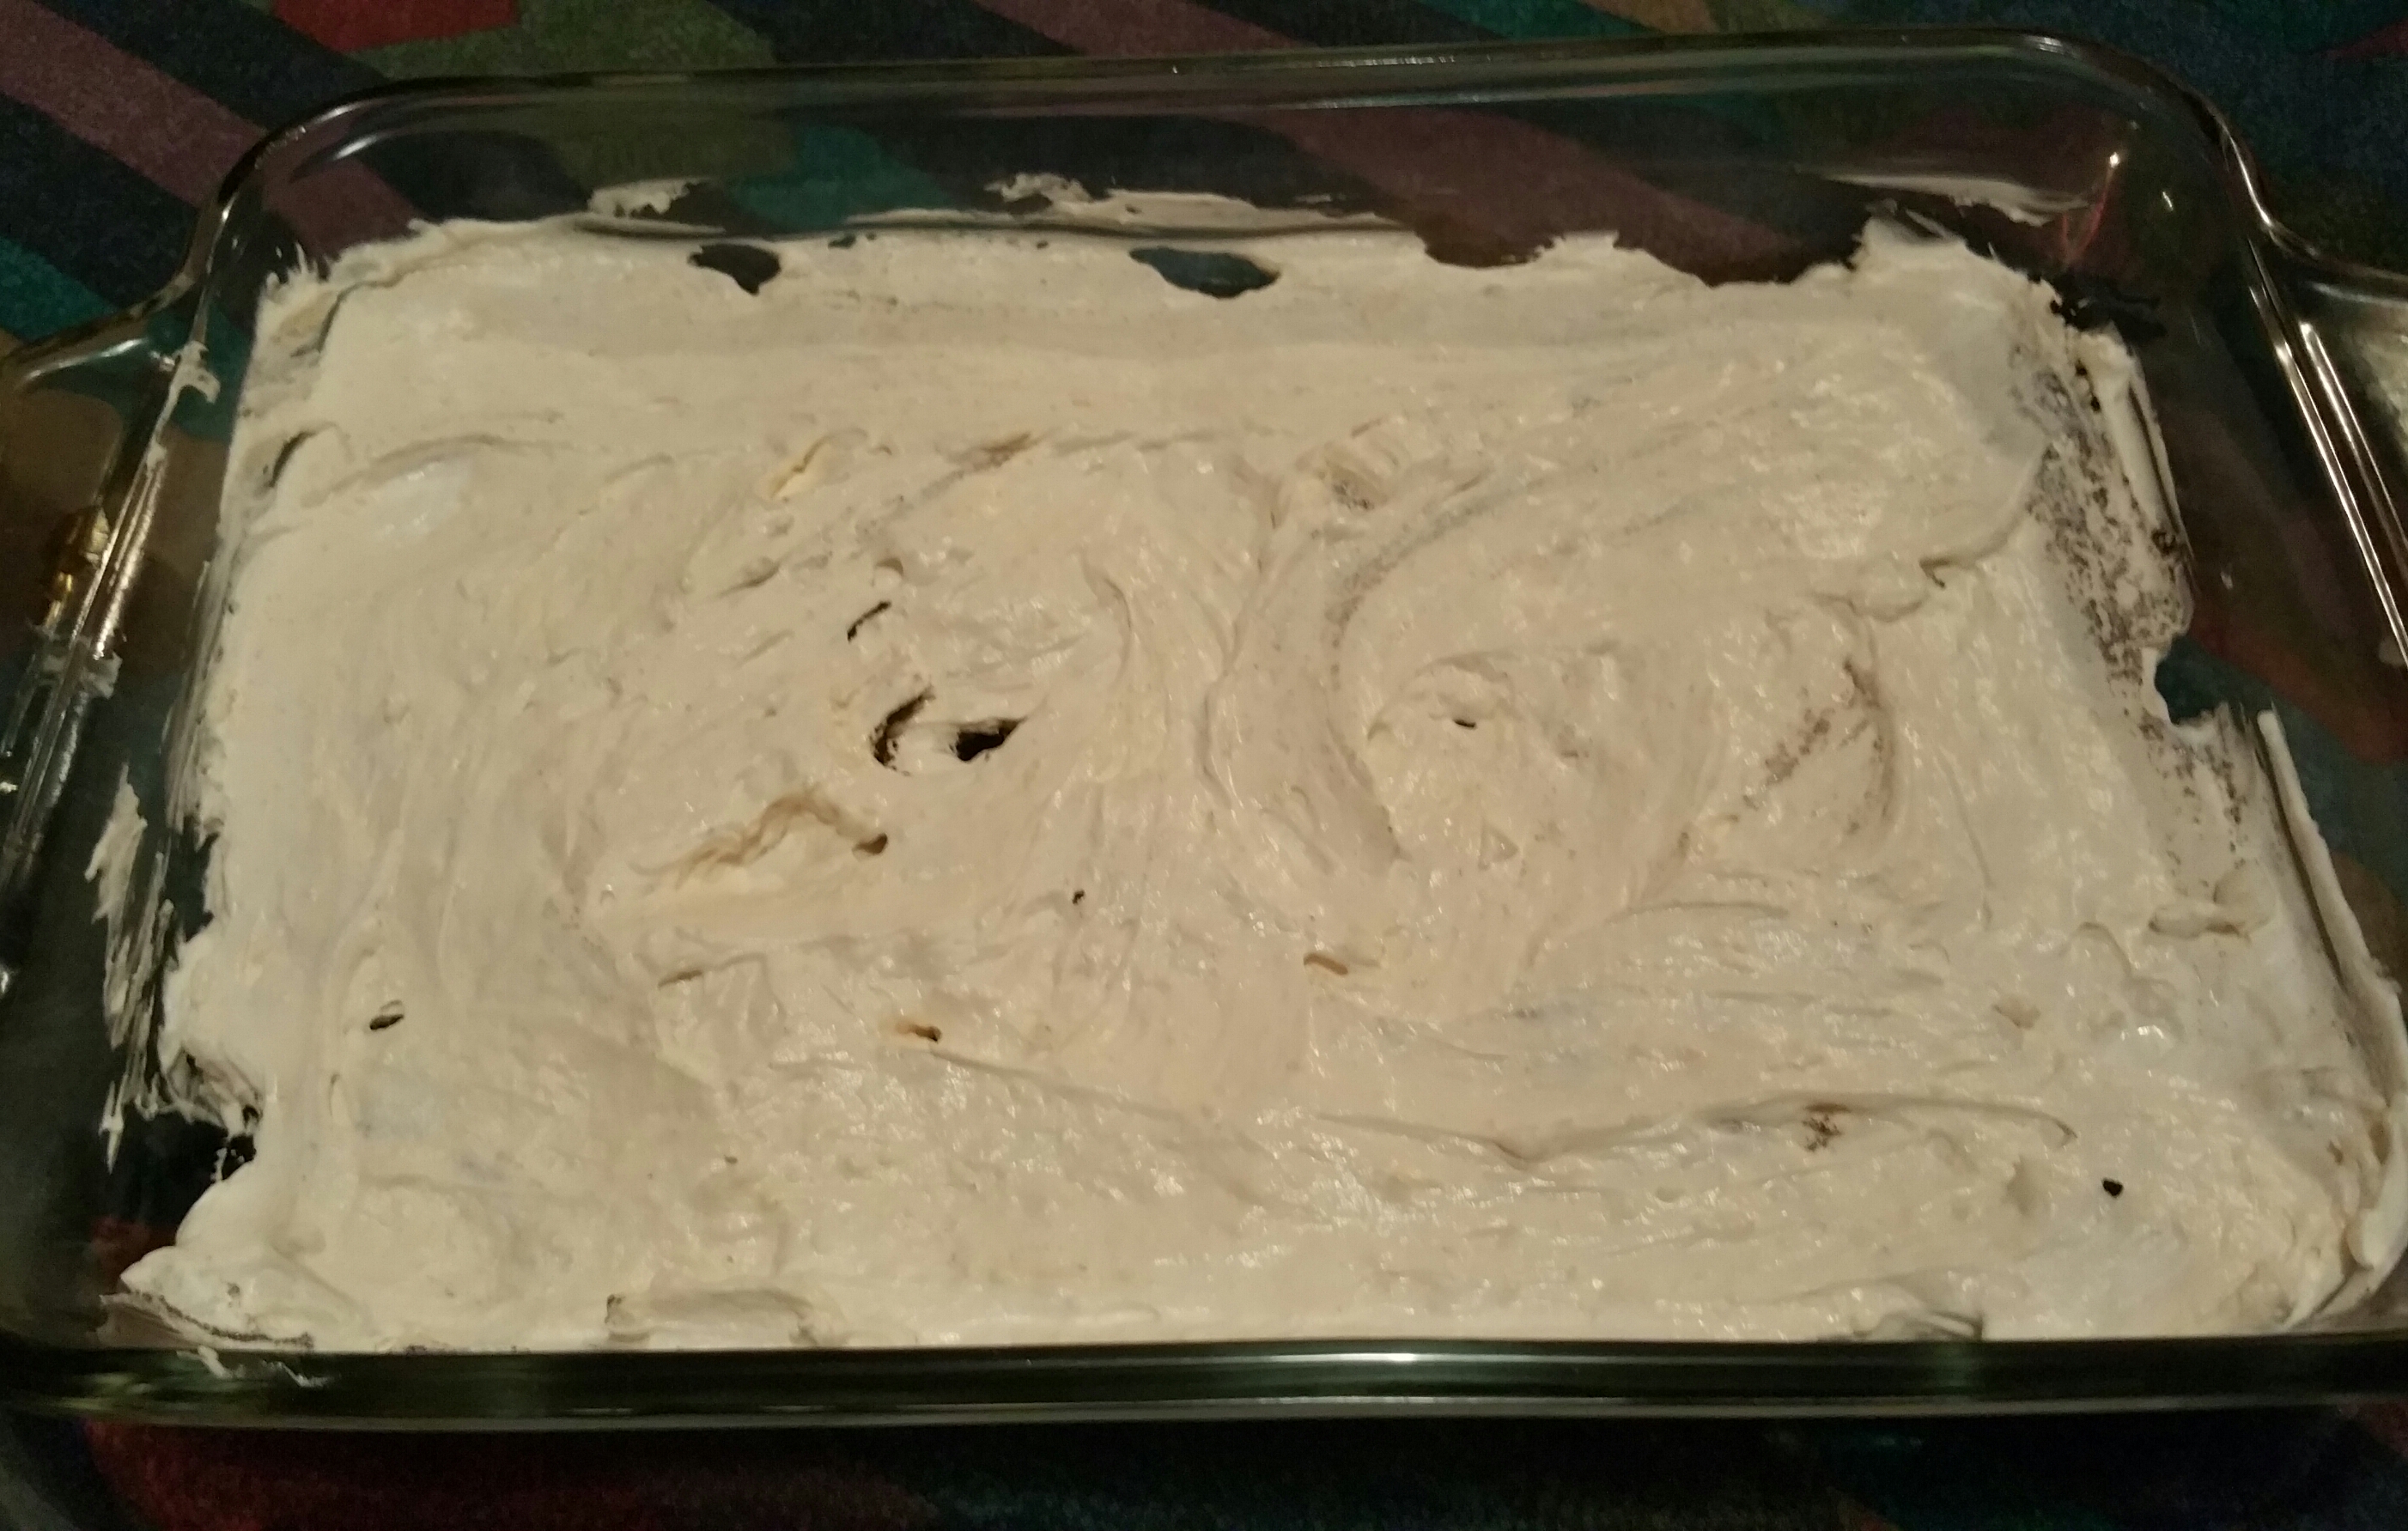
In a 9″x13″ buttered baking dish, layer corn tortillas, half of the sausage mixture,  and a cup of shredded cheese.
20150508_184035-1

Repeat another layer of tortillas, sausage mixture and cheese.
20150508_184254-1

Top with a third layer of tortillas and press down.  Cover with another cup of cheese.

In medium mixing bowl, combine 3 cups of milk, 1/2 teaspoon of salt, a cup picante sauce, a can of diced chilies and 6 eggs.
20150508_183820-1

Pour over the tortillas, cover with plastic wrap and refrigerate at least an hour (up to overnight).
20150508_184749-1

Preheat oven to 325 degrees.  Remove plastic wrap and bake for 40 to 45 minutes.  Let stand 10 minutes before serving.
20150509_111537-1

Printer-friendly recipe:  Tex Mex Strata


Stuffed Chayotes

20150509_111531-1

Such a special Mexican treat — Stuffed Chayotes.  Chayotes are Mexican squash, similar in size and shape to a large avocado, but very hard with a “seam” around the edges.  They make a wonderful shell for stuffing with all kinds of goodies.

This time I stuffed them with onion, red bell pepper, mushrooms, garlic, egg, bread crumbs, cilantro and cheese.
20150508_190810-1-1

First slice the chayotes in half along the seam and remove the seed.  Cover with water and bring to a boil.  Reduce heat, cover and simmer for 12 to 15 minutes, until tender.  Then drain them on a towel.
20150508_191539-1  20150508_204625-1

When cool enough to handle, scoop out the pulp leaving about a quarter inch of the shell all around.  Chop the pulp and let drain (or squeeze out excess moisture with towel).  Set shells in baking dish.
20150508_204857-1  20150508_205318-1

Toast bread and slice into cubes.  Chop pepper, onion and mushrooms, and mince some garlic.
20150508_194241-1   20150508_193020-1

Sauté the peppers, onion, mushrooms and garlic in butter.
20150508_194352-1

Then add the bread crumbs, chayote pulp, egg, cilantro, salt, pepper and a little chicken bouillon.  Combine well and spoon the mixture into the chayote shells.  Cover with cheese (I used parmesan cheese to save on the fat and calories, but a Mexican blend would also be yummy).
20150508_205948-1

This recipe can be made ahead up to this point and refrigerated overnight.  Let stand at room temperature about 30 minutes before baking.

Cover with foil and bake at 350 degrees for about 25 minutes.   Uncover, add more cheese and bake an additional 3 to 5 minutes for the cheese to melt.

Then enjoy!!  These are best served hot, but I like them chilled the next day, too.

Print friendly recipe:  Stuffed Chayotes


Tequila Sunrise

20150517_183038-1

Tequila Sunrise is a perfect cocktail to add to a
Tex Mex Brunch, and it’s so easy to make.

20150517_181618-1

Ingredients:
Tequila                                   Orange Juice
Grenadine syrup              Crushed ice
Fruit for garnish (optional)

First I sliced up some kiwi and
oranges, added some maraschino cherries, and skewered them with some tropical toothpicks.

20150508_212757-1

.

In a large pitcher, I mixed 2 cups tequila and 4 cups orange juice.  Whether you mix per glass or in a larger container, just use twice as much orange juice as tequila.

Then I set out the pitcher, the skewers, ice and the grenadine and made a sign so people knew how to mix it themselves.

20150509_105040-1

Tequila Sunrise Directions

NOTE:    Remember not everyone drinks alcohol, so have a separate pitcher with just orange juice to make Virgin Tequila Sunrises, but be sure to label these very clearly so everyone gets the drink they want.

Salted Caramel Oreo Icebox Cake

20150509_122442-1This cake is so creamy and sweet and pretty and, best of all, simple to make!  It literally took only 15 minutes to put it together.  It needs to sit in the fridge a few hours or overnight, but what a hit it was at the brunch!

20150507_215346-1[1]

First make some coffee, pour it in a bowl to cool.  Then dip Oreo cookies in the coffee and layer them in the bottom of a baking dish.
20150507_222806-1   20150507_222949-1

In a large mixing bowl, combine a three-fourths cup caramel ice cream topping and around 1/2 teaspoon coarse ground sea salt.  Add the salt to taste.  I’m not much of a salt lover, so I went a
little too light (only used about 1/4 teaspoon).   Will add more next time.

Then using an electric mixer, combine the caramel and salt with 12 ounces of softened cream cheese.  Okay, I just have to say, you could stop the dessert right there and it’s already soooooo yummy!  Leave a little extra on the beaters so you get to lick it off.
20150507_221841-1

Fold in three cups of Cool Whip.
20150507_222638-1[1]

Pour half of the caramel cream mixture over the layer of Oreos.
20150507_223510-1

Top that with another layer of coffee-dipped Oreos and cover with the remaining caramel cream mixture.  Then spread one and a half cups of Cool Whip on top of that.  Oooo-wheee!
20150507_224338-1

Refrigerate until set — I prepared it the day before the brunch.  Then, when you’re ready to serve it, top with more Cool Whip if you like (I didn’t) and drizzle chocolate and caramel syrups over the top.  And that’s just what this is — an Over the Top dessert!!
20150509_104558-1

TIP:  I used plastic wrap around the edges of the baking dish when I drizzled the chocolate and caramel syrups over it.  Then I removed the plastic wrap, and my dish was ready to set on the serving table without a mess on the counter or the dish.
20150509_104404

This recipe came from Jocelyn Brubaker’s blog: www.insidebrucrewlife.com.   Check out her website for lots of amazing treats.  And I want to give a should out to Jocelyn because I posted a question about this recipe on her website, and she answered me the same day.  Wow!  Thanks, Jocelyn!

Jocelyn’s recipe calls for an 8″x8″ dish, but I used a 9″x13″ dish and increased the recipe by half.  Mine served 18 women with just enough left over that I got to enjoy another serving that evening.

Printer-friendly recipe:

Bacon Ranch Cheese Ball

20150502_220552-1

A simple cheese ball with the added yum of bacon.

20150502_201410-1-1

Ingredients:
Two 8oz bars of cream cheese, softened
1/2 cup shredded cheese (I use the Mexican cheese blend)
1 tablespoon lemon juice
1 cup crisp cooked bacon, crumbled
1 pkg. Hidden Valley Ranch

Mix in a large mixing bowl, beat the cream cheese until soft and creamy.  Add the lemon juice, shredded cheese, Ranch mix and half of the bacon and mix thoroughly.20150502_214701-1

Form the mixture into a ball and roll it in the remaining bacon pieces.  This part is REALLY messy, and my only suggestion is that, if you are taking pictures of the process, you should have someone else available to hold the camera.  I did not and so had to keep stopping to wash my hands off, dry them, take the next picture and start again, only to have my hands completely covered in sticky cheese a moment later.

Actually, if you don’t like to get messy, you could simply put the dip in a shallow serving dish and just put the bacon pieces on top.20150502_215731-1     20150502_215914-1

This can be made up to three days ahead, just cover and refrigerate.  Serve with crackers, pretzels or crudités.

20150502_220552-1

Fresh Fruit Bouquet

20150411_111108-1

I love when simple things are impressive.  So easy to make a fruit bouquet.  Just get a variety of fruit, slice or use cookie cutters to create a variety of shapes, put them on wooden skewers and poke into some type of base.

In this case, I used a V-shape decorating tool to cut a watermelon in half to create the base.
20150411_080726-1

I used red and green grapes in various patterns on the skewers.20150411_081207

And I used flower shape and heart shape cookie cutters on slices of pineapple.
20150411_081001-1

That’s it.  Truly simple.  And you can use Google images to find tons of ideas for designs.
20150411_111141

Scrambled Eggs in Hash Brown Cups

20150411_111121-1

What do you get when you combine hash browns, scrambled eggs with veggies, shredded cheese and silicone baking cups?  A really yummy colorful brunch treat.

These silicone baking cups are wonderful.  Nothing sticks to them.  So easy to use and clean up, plus they come in such fun colors. (See Amazon link in side column.)

1.  Line each silicone cup with frozen shredded hash brown potatoes, pressing onto bottoms and up the sides.  Bake at 400 degrees for 15 to 20 minutes until light golden brown.  (Begin checking at 10 minutes if using thawed hash browns.)20150411_073146-1     20150411_080545-1

2.  Whisk together eggs, milk and salt.  For 24 silicone cups, I used 18 eggs, one-half cup of milk, and a pinch of salt.

3.   Sauté your vegetables in a little butter and/or olive oil.  I used spinach and mushrooms, but just chop up whatever vegetables you have on hand and toss them in.

4.  When vegetables are nearly done (tender and slightly browned), pour in egg mixture, cooking and stirring until eggs are thickened and almost dry.

5.  Spoon eggs and veggies into the hash brown cups and sprinkle with shredded cheese.

6.  Bake three to five minutes until cheese is melted.

20150411_111108-1-2-1

Printer-friendly recipe:  Scrambled Eggs in Hash Brown Cups


Not Yo’ Mama’s Banana Pudding

20150411_022043-1

True Confession: 
I didn’t adapt this recipe in the least.  Took it straight from Paula Deen’s website.  In fact, I can’t imagine a single way to improve upon it.  It is easy to make and such a hit at parties.  Personally I can ONLY make it when I’m taking it to a party or I’ll eat every ounce if home alone with it.

You can get the recipe on Paula Deen’s website:
http://www.pauladeen.com/not-yo-mamas-banana-pudding.  But since you’re already here, I’ll go ahead and share the recipe with you myself.

20150411_014327-2

1.  Line a 9″x13″ baking dish (or in my case, a large glass bowl) with Pepperidge Farm Chessman Cookies.
20150411_015011-1

2.  Then slice six to eight bananas and spread those across the cookies.
20150411_020159-1

3.  In one mixing bowl, mix 2 cups milk and a 5oz box of French Vanilla Jello Instant Pudding Mix.    In another mixing bowl, mix 8oz softened cream cheese and one can of sweetened condensed milk.  (You see what makes this banana pudding so incredible?)
20150411_020702-1

4.  Fold a 12oz container of whipped topping into the cream cheese mixture.  Then fold the pudding into that mixture.
20150411_021304_006-1    20150411_021408-1

5.  Refrigerate until ready to serve, which hopefully won’t be long!

20150411_021927-1

Printer-friendly recipe:  Not Yo’ Mama’s Banana Pudding


Bacon Wrapped Asparagus

Bacon Wrapped Asparagas clipped

Ummmm… bacon…

Man-oh-man! Easy and delish!  Only two ingredients (three or four if you add spices).

20150411_064049

1.  Trim the tough ends off the asparagus.

2.  Cut bacon strips in half.

3.  Wrap half a bacon strip around each asparagus spear.  I had planned to secure with toothpicks but didn’t have any and found that the bacon stuck just fine on its own.


4.  Sprinkle spices to taste.  I just use garlic.

20150411_065846-1

5.  Bake at 450 degrees for 15 to 20 minutes, until the bacon is done to your liking.  Simple as that.

Note:  By the time the bacon pleased me, the asparagus looked overcooked, but it was absolutely delicious and a big hit at my brunch.  My son suggested baking it at 350 for 15 minutes and then using the broiler for a minute or two to see if that helps crisp the bacon without overcooking the asparagus.  He’s such a gem.  I’ll try that next time.

20150411_111108-2

Printer-friendly recipe:  Bacon Wrapped Asparagus

Rainbow Roasted Vegetable Skewers

Skewers on Baking Sheet

What a colorful way to serve roasted veggies.  Depending on what’s in season, you can use cherry tomatoes… red, orange, yellow and green bell peppers… yellow and green zucchini… yellow and orange squash… red onions… purple potatoes… any veggie you like really.

When using wooden skewers, be sure to soak them in water a few hours or overnight so they don’t burn in the oven or on the grill.Skewers Soaking

Cut vegetables into various sizes depending on how quickly they will cook (potatoes and butternut squash take longer to cook than bell peppers and zucchini).  Put the cut veggies into a plastic food storage bag, pour in olive oil and salt and pepper, seal and shake until evenly coated.  Then put the sealed veggies in the fridge for at least two hours (overnight is fine).
Veggies and Oil

Arrange the veggies onto the skewers in colorful patterns.  Cook on a barbeque grill or bake in a 450 degree oven until tender and nicely browned.  They need careful monitoring because the time can vary so much depending on the combination of vegetables used.  As long as they don’t burn, I think roasted veggies taste better the longer they are cooked, but that’s my preference.  You may like yours crunchier.
Skewers on Platter
They taste best when served hot, but even cold roasted veggies are yummy.