Category Archives: Desserts

Simple Christmas Candy

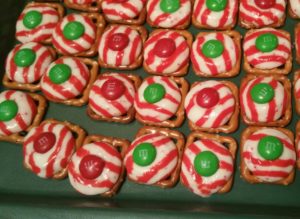
This yummy, colorful Christmas candy is simple to make but
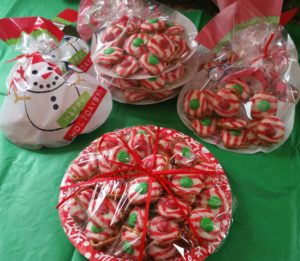
oh-so-hard to stop eating.  Put 10 or 12 in a holiday treat bag for a perfect gift, or bring a plateful of them to a party.  Do NOT expect any leftovers to bring home.

Ingredients:
Hershey’s Peppermint Kisses (or any flavor)
Mini pretzel squares
Red and green M&Ms

Directions:
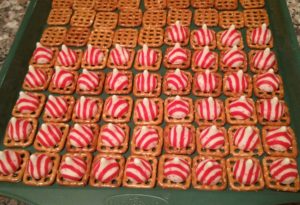
Lay out pretzels on baking sheet.  Put one kiss on each pretzel.  Bake at 200° for 5 minutes, until kisses are shiny and soft but not runny.  Immediately put an M&M on the center of each kiss and press down lightly.  Let them cool (I refrigerate for a little while so they get firm).

Fabulous Fruit Tart

Heart Fruit Tart

This Fabulous Fruit Tart looks and tastes anything but simple, yet it is so easy to make that it has become my new go-to dessert when company is coming.

If you’re like me, the thought of pie crust that doesn’t come out of a package is daunting.  But this is the simplest crust I have ever made, and it has a yummy, buttery cookie flavor.  I got the crust recipe from chowhound.com.

The filling is a light, sweet pastry cream like used in cream puffs, yet thanks to Thomas Joseph of Kitchen Conundrums on the Martha Stewart channel, I now know how simple it can be.  Below are my directions, but I recommend you watch his video:  http://www.marthastewart.com/1084932/no-fuss-pastry-cream

CRUST:

  • 1 stick butter, melted
  • 3 tablespoons granulated sugar
  • 1/4 teaspoon fine salt
  • 1 1/4 cups all-purpose flour
  1. Stir together melted butter, sugar, and salt.  Add the flour and stir just until combined into a soft dough.
  2. Put the dough in a 9-inch tart pan with a removable bottom. Press the dough evenly across the bottom and up the sides of the pan (I think fingers work best, but you could use a measuring cup).
  3. Cover the tart shell with plastic wrap and chill in the refrigerator for 30 minutes.
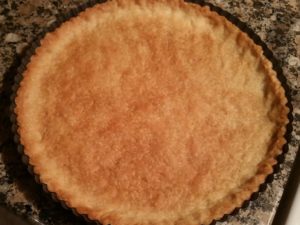
  4. Once chilled, use a fork to prick the bottom of the crust and bake at 350°F until golden brown, about 20 to 25 minutes.
    Tart Crust
  5. Cool completely and fill with cream before removing from the pan.

PASTRY CREAM:

  • 1/2 cup sugar
  • 1/4 cup cornstarch
  • Pinch of salt
  • 2 cups whole milk
  • 4 large egg yolks
  • 2 Tablespoons butter
  • 1 teaspoon vanilla
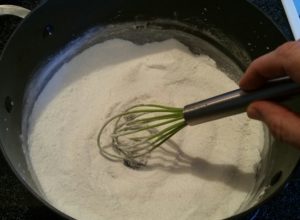
  1. Whisk sugar, cornstarch and salt in saucepan to be sure there are no lumps.
    Sugar & Cornstarch
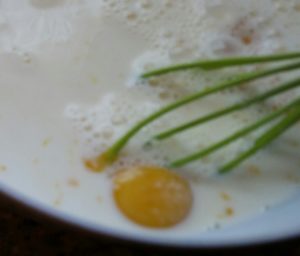
  2. Whisk together milk and egg yolks in large measuring cup or pour-spout bowl.
    Whisk egg yolks and milk
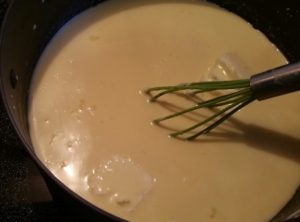
  3. Add milk/egg mixture and butter to saucepan and cook over medium heat, whisking constantly.  Cook until it comes to a rolling boil and let cook 1 minute more.
    Cooking pastry cream
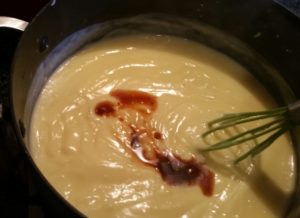
  4. Remove from heat and stir in vanilla.
    Vanilla
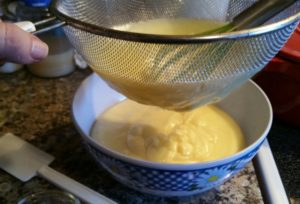
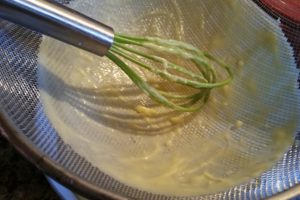
  5. Pour pastry cream into a sieve over a large bowl, scraping the sieve with a spatula.  (This just catches any little bits of egg that might have congealed.)
    Sieve 1  Sieve 2
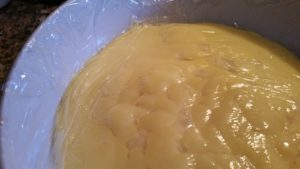
  6. Cover with plastic wrap being sure to press it directly onto the surface of the cream to prevent a skin from forming as it cools.  Refrigerate at least two hours, and up to two days.
    Pastry Cream

MAKING THE TART:

  • Fresh fruit, sliced
  • Powdered sugar
  1. Whisk the chilled pastry cream and pour it into the baked tart crust, spreading it smoothly to the edges.
  2. Lay out fruit slices randomly or in a pattern.
  3. Dust with powdered sugar.
    Fruit Tarts for Peace

Pineapple Dream

image

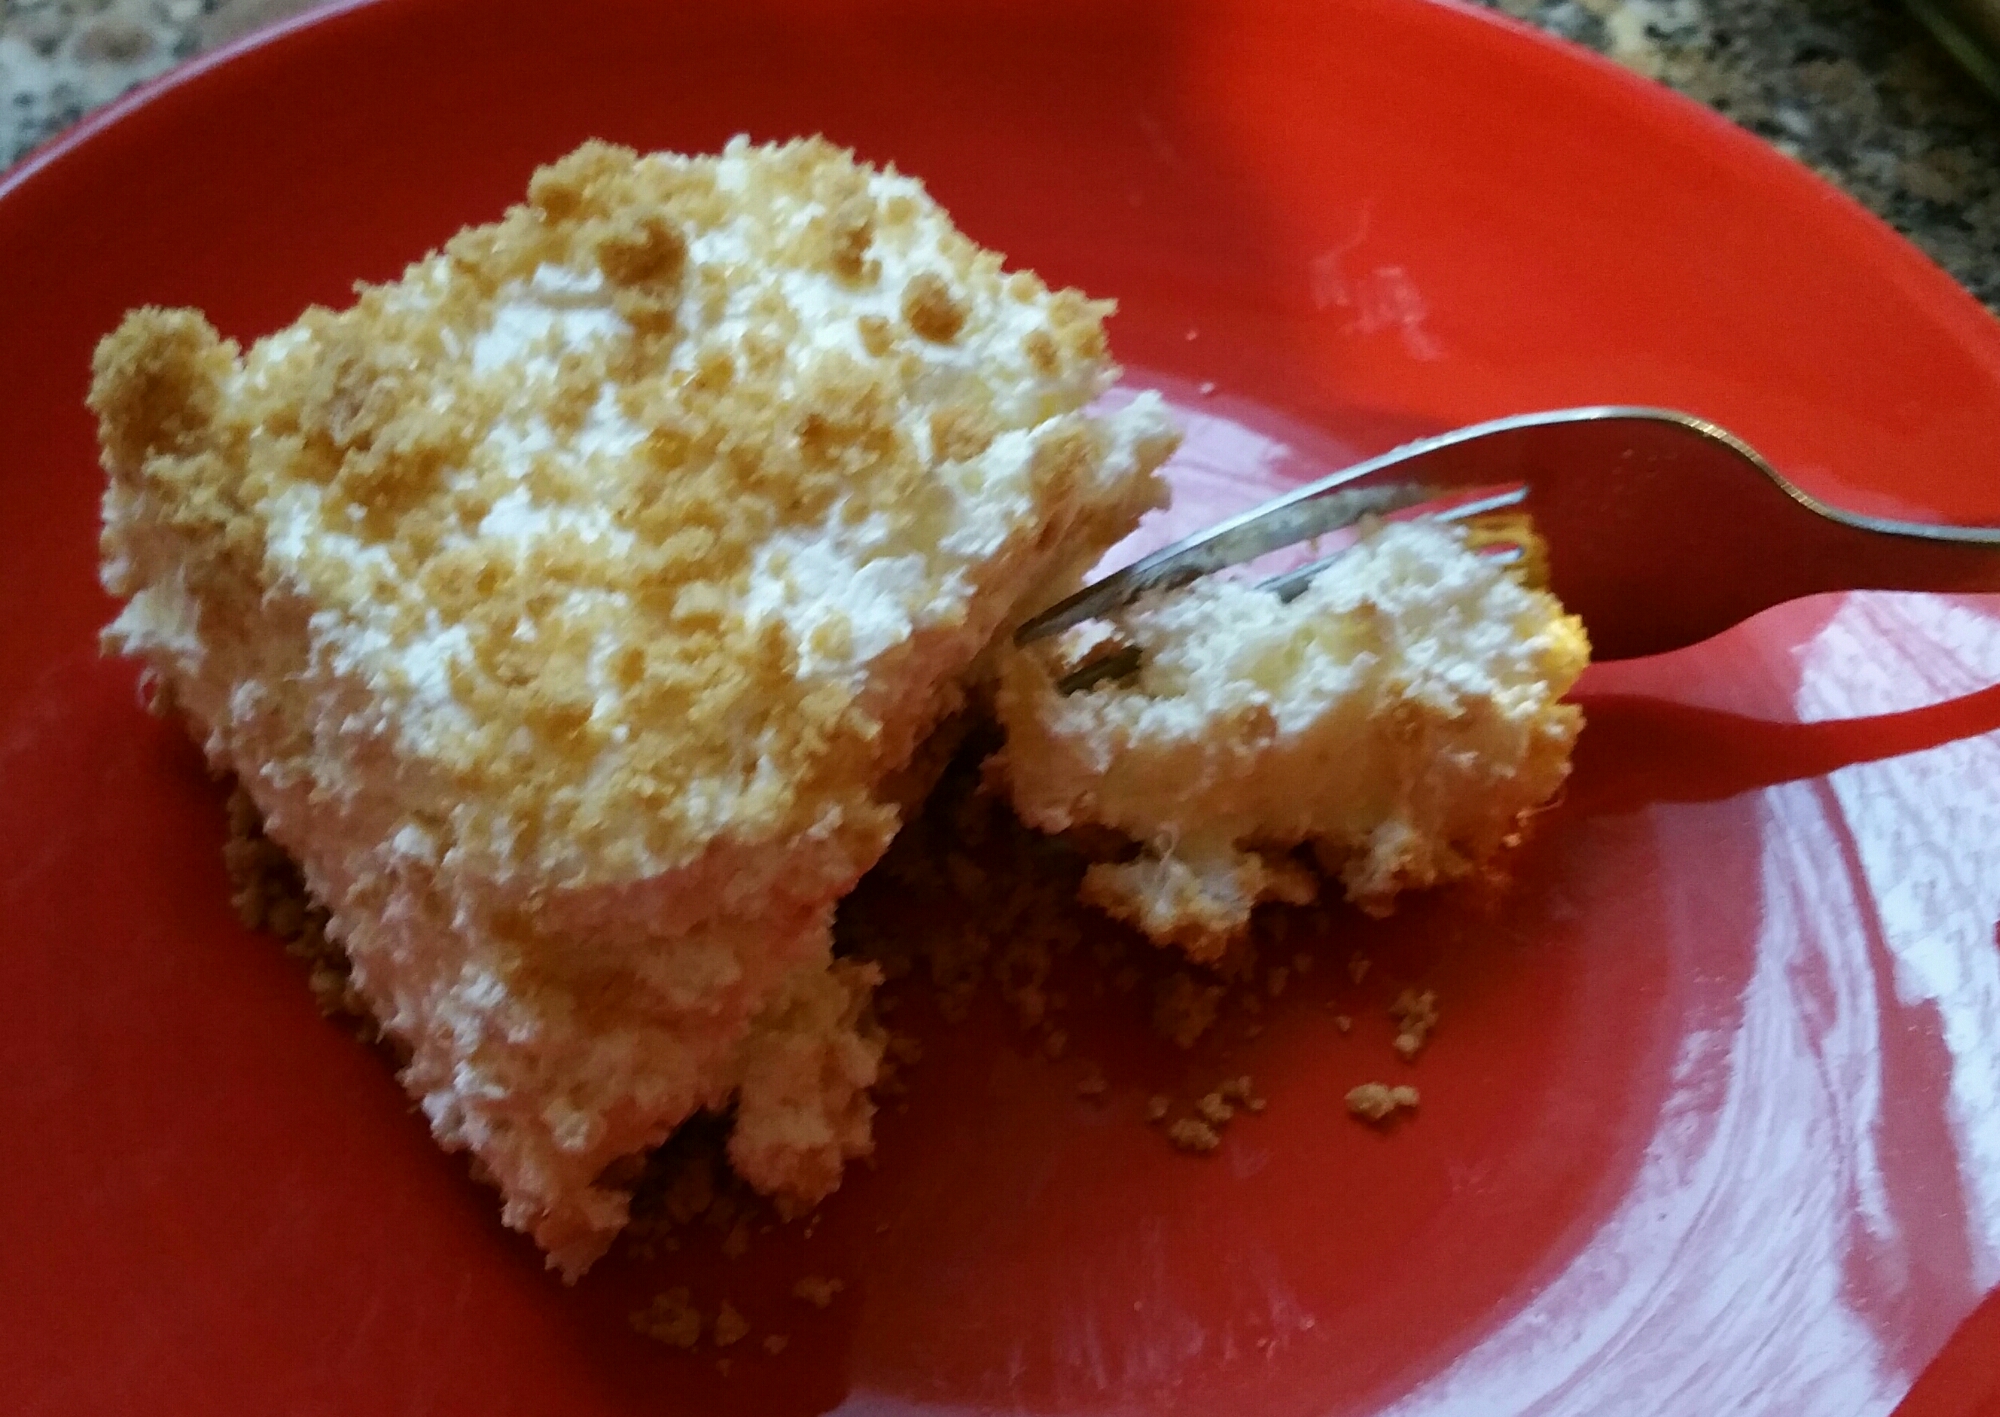
Pineapple Dream is just that… a dream.  Light and creamy and easy to make.

image

Ingredients:
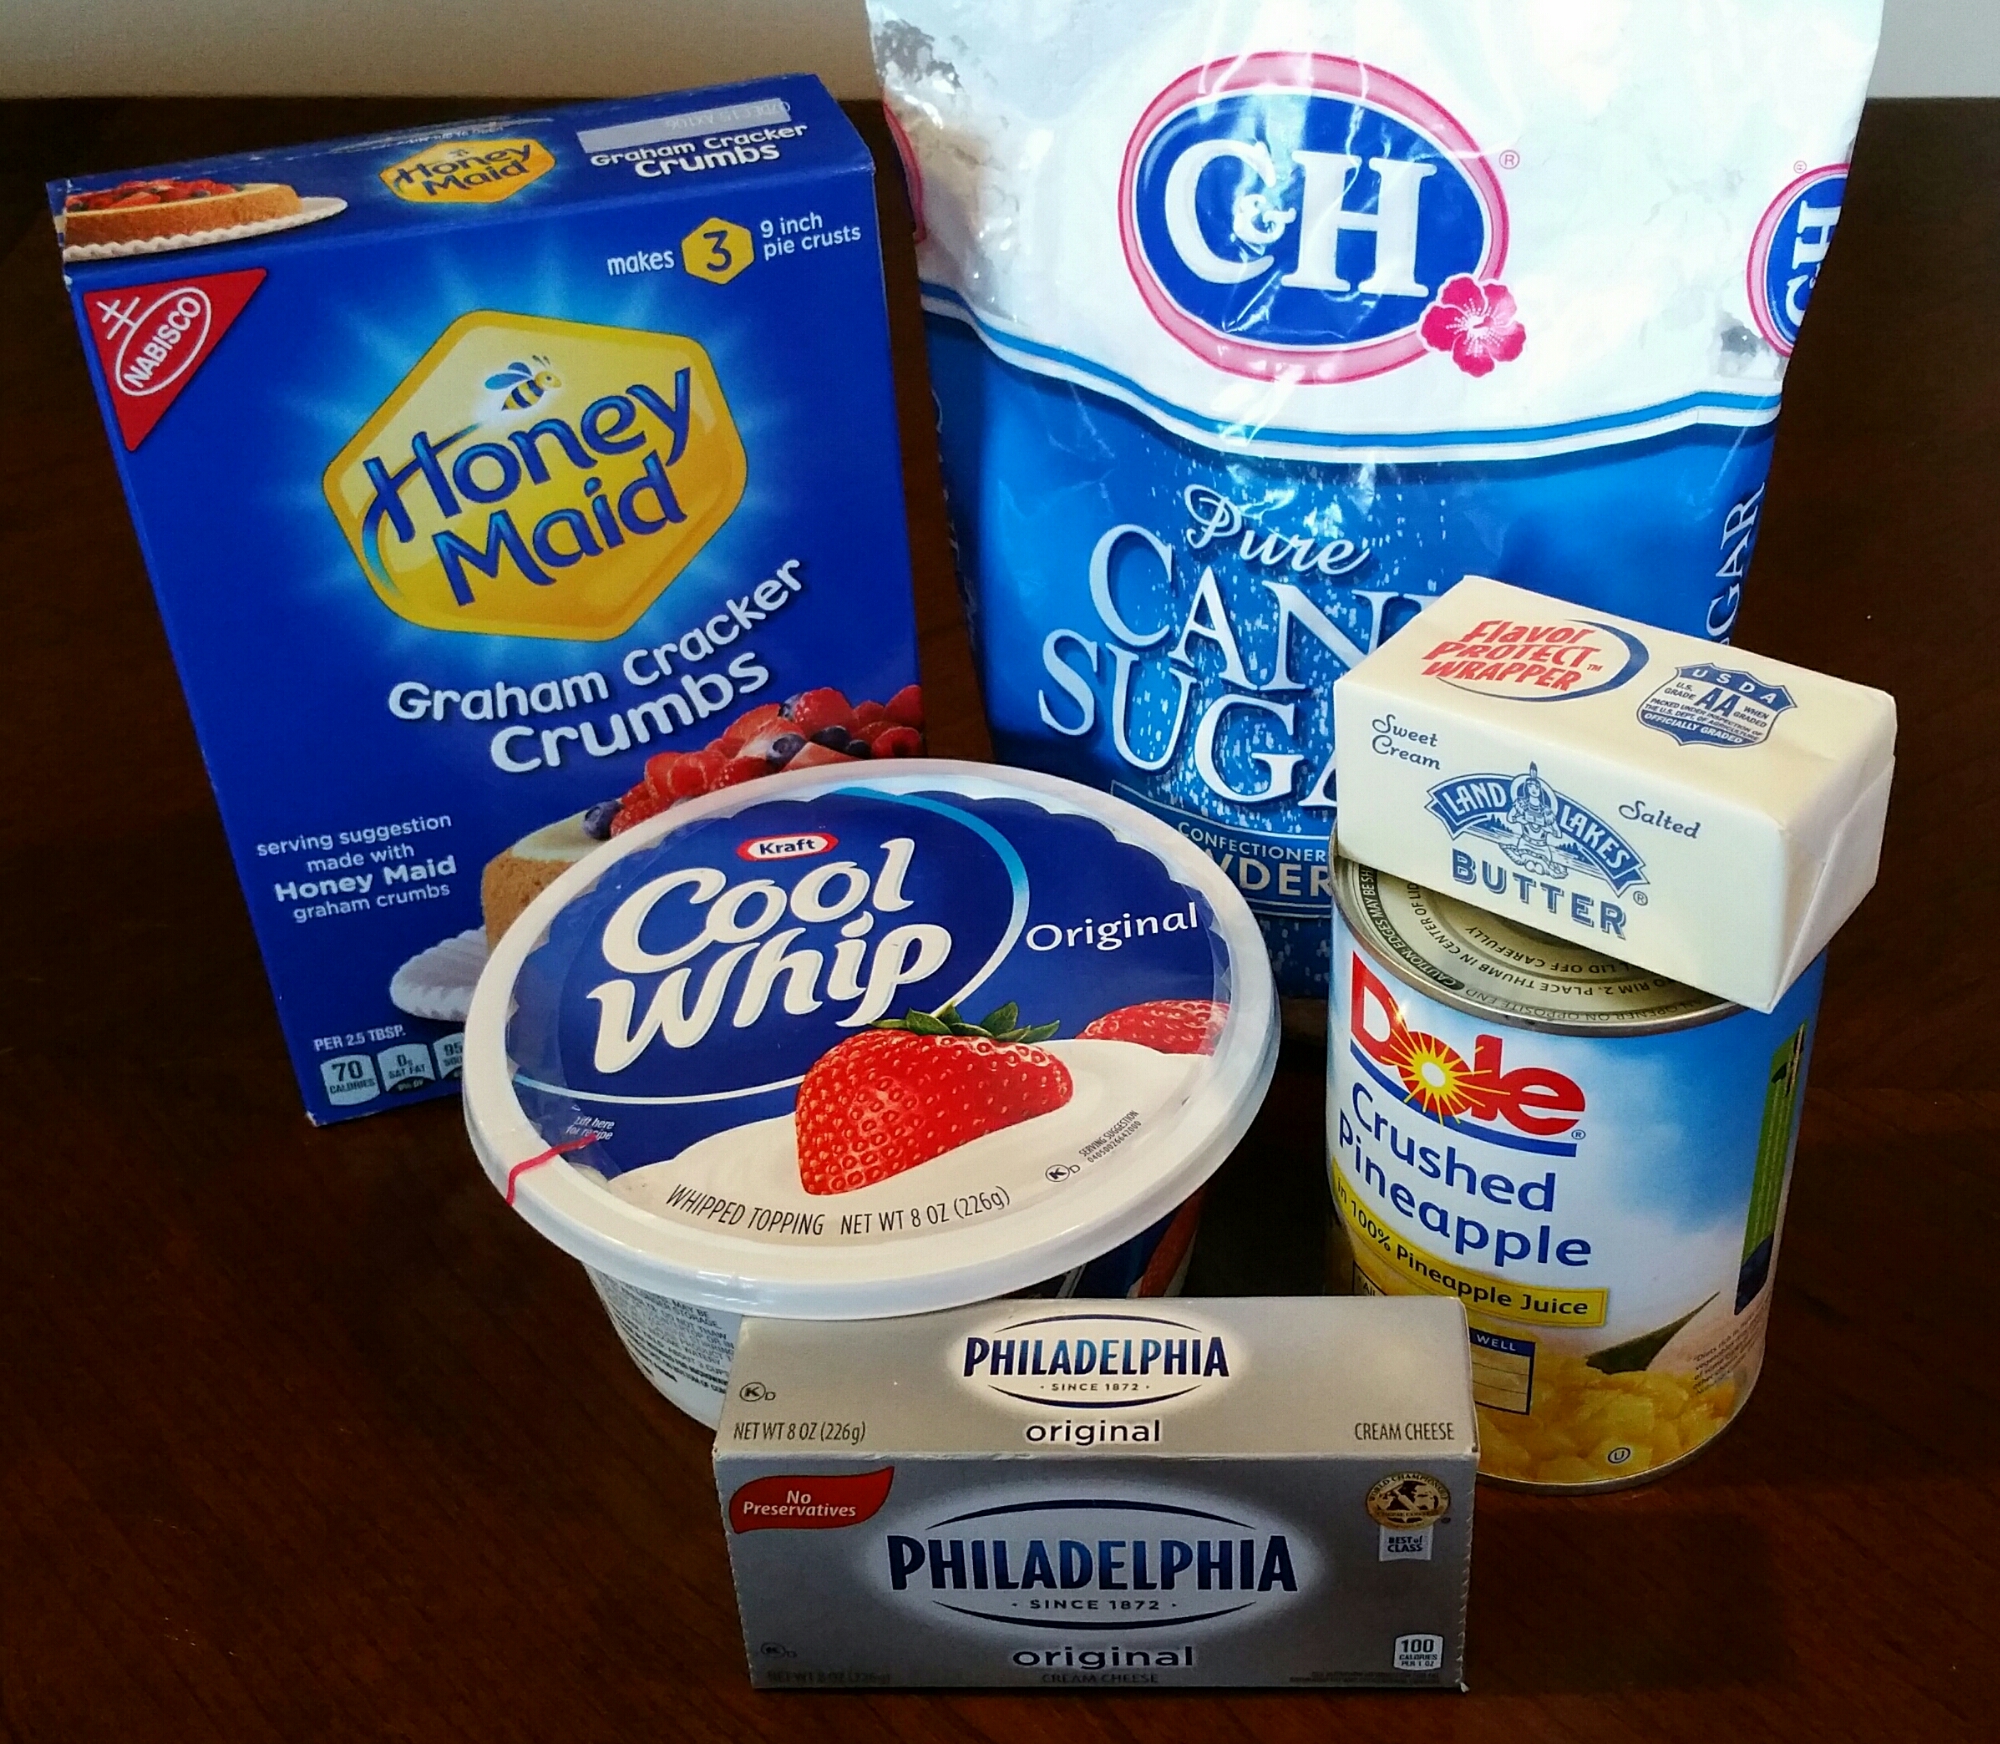
2½ cups graham crumbs
½ cup butter, melted
½ cup butter, softened
4 oz cream cheese, softened
2 cups powdered sugar
8 oz Cool Whip
20 oz crushed pineapple, drained well.

  1.  Preheat oven to 300 degrees.

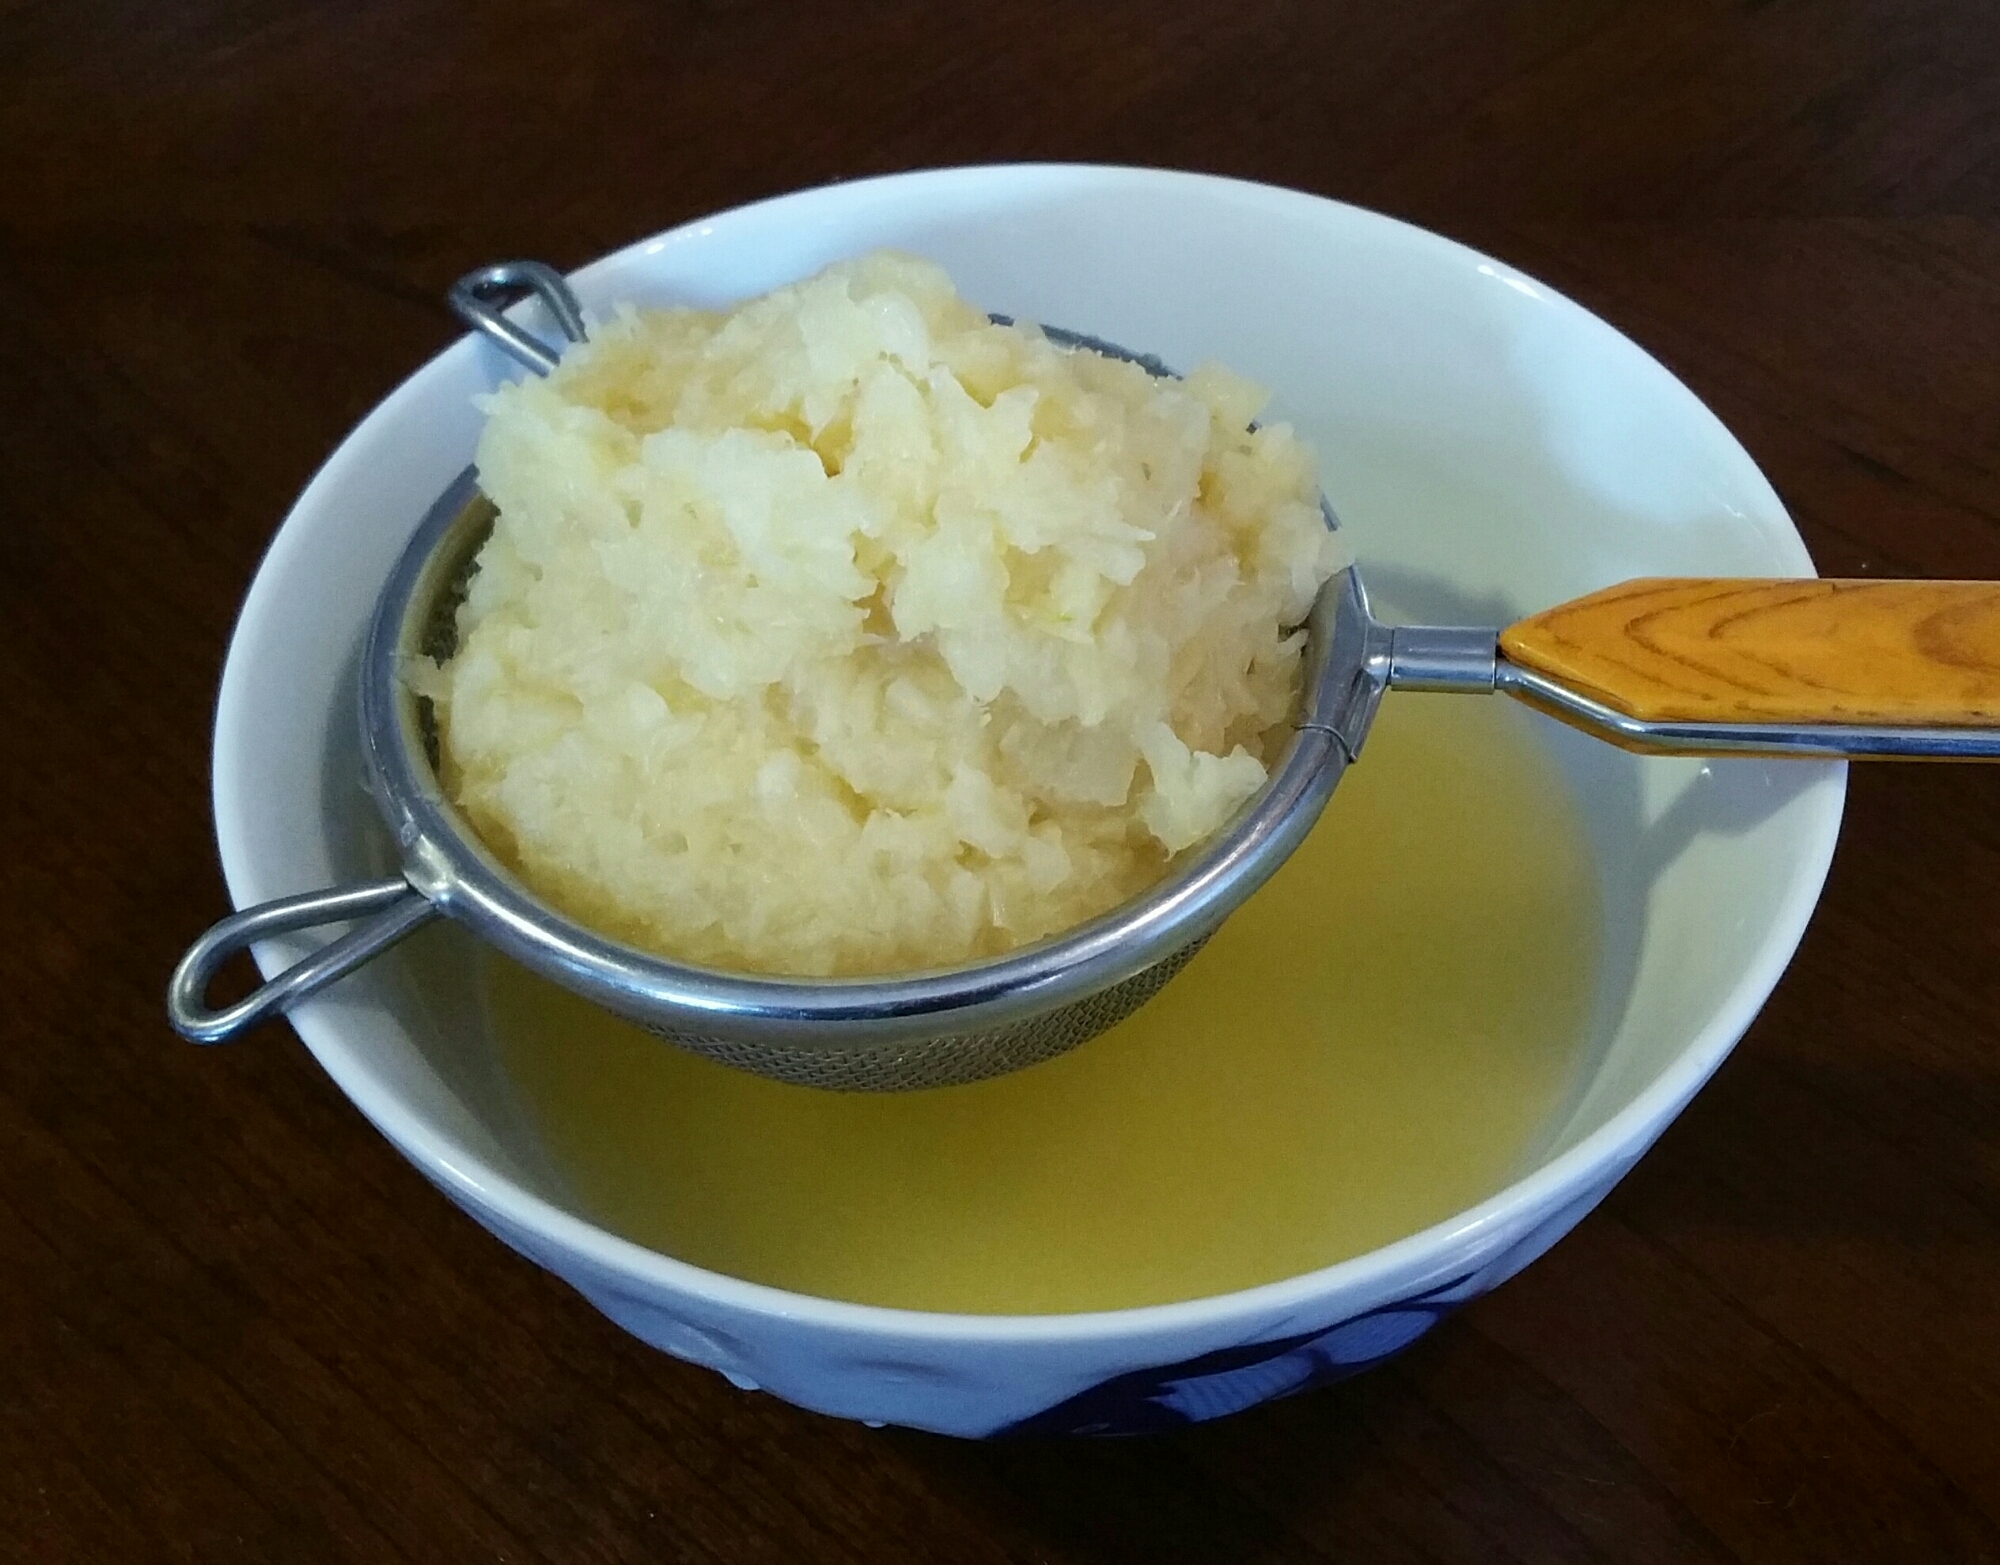
2.  Drain the pineapple, reserving the juice to drink or use in another recipe.
image

3.  Melt ½ cup (1 stick) of butter and stir in the graham crumbs.  Press into a 9″x9″ square baking dish and bake for 8 to 10 minutes.  Let cool completely.

4.  Beat the cream cheese and ½ cup (1 stick) of butter until creamy.  Beat in powdered sugar, one cup at a time.

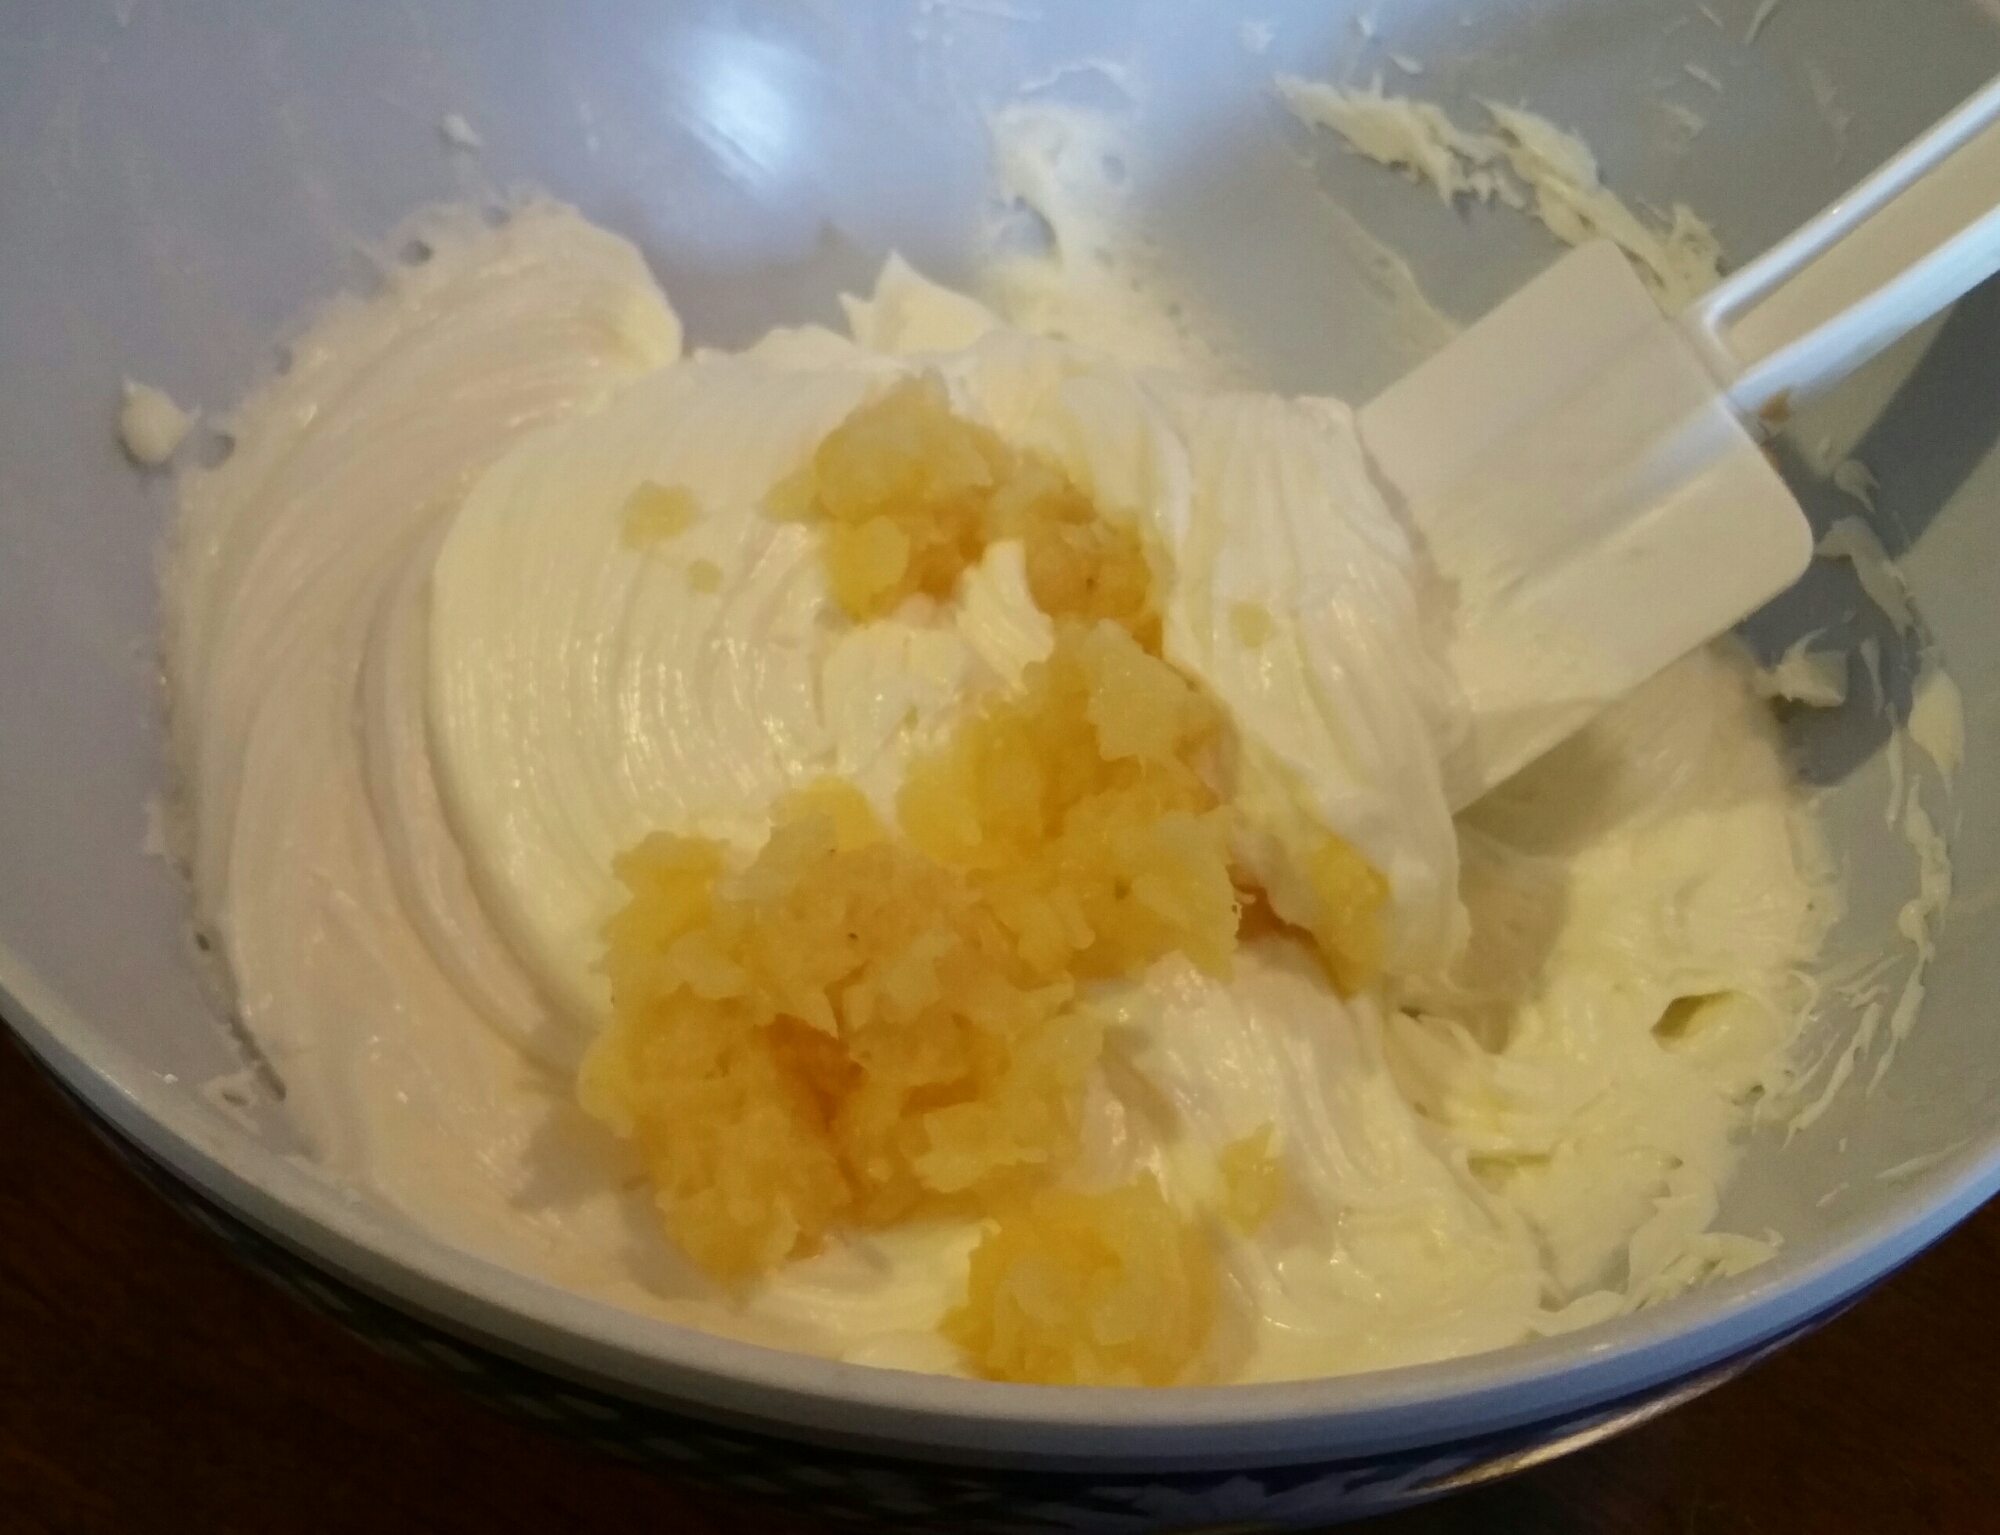
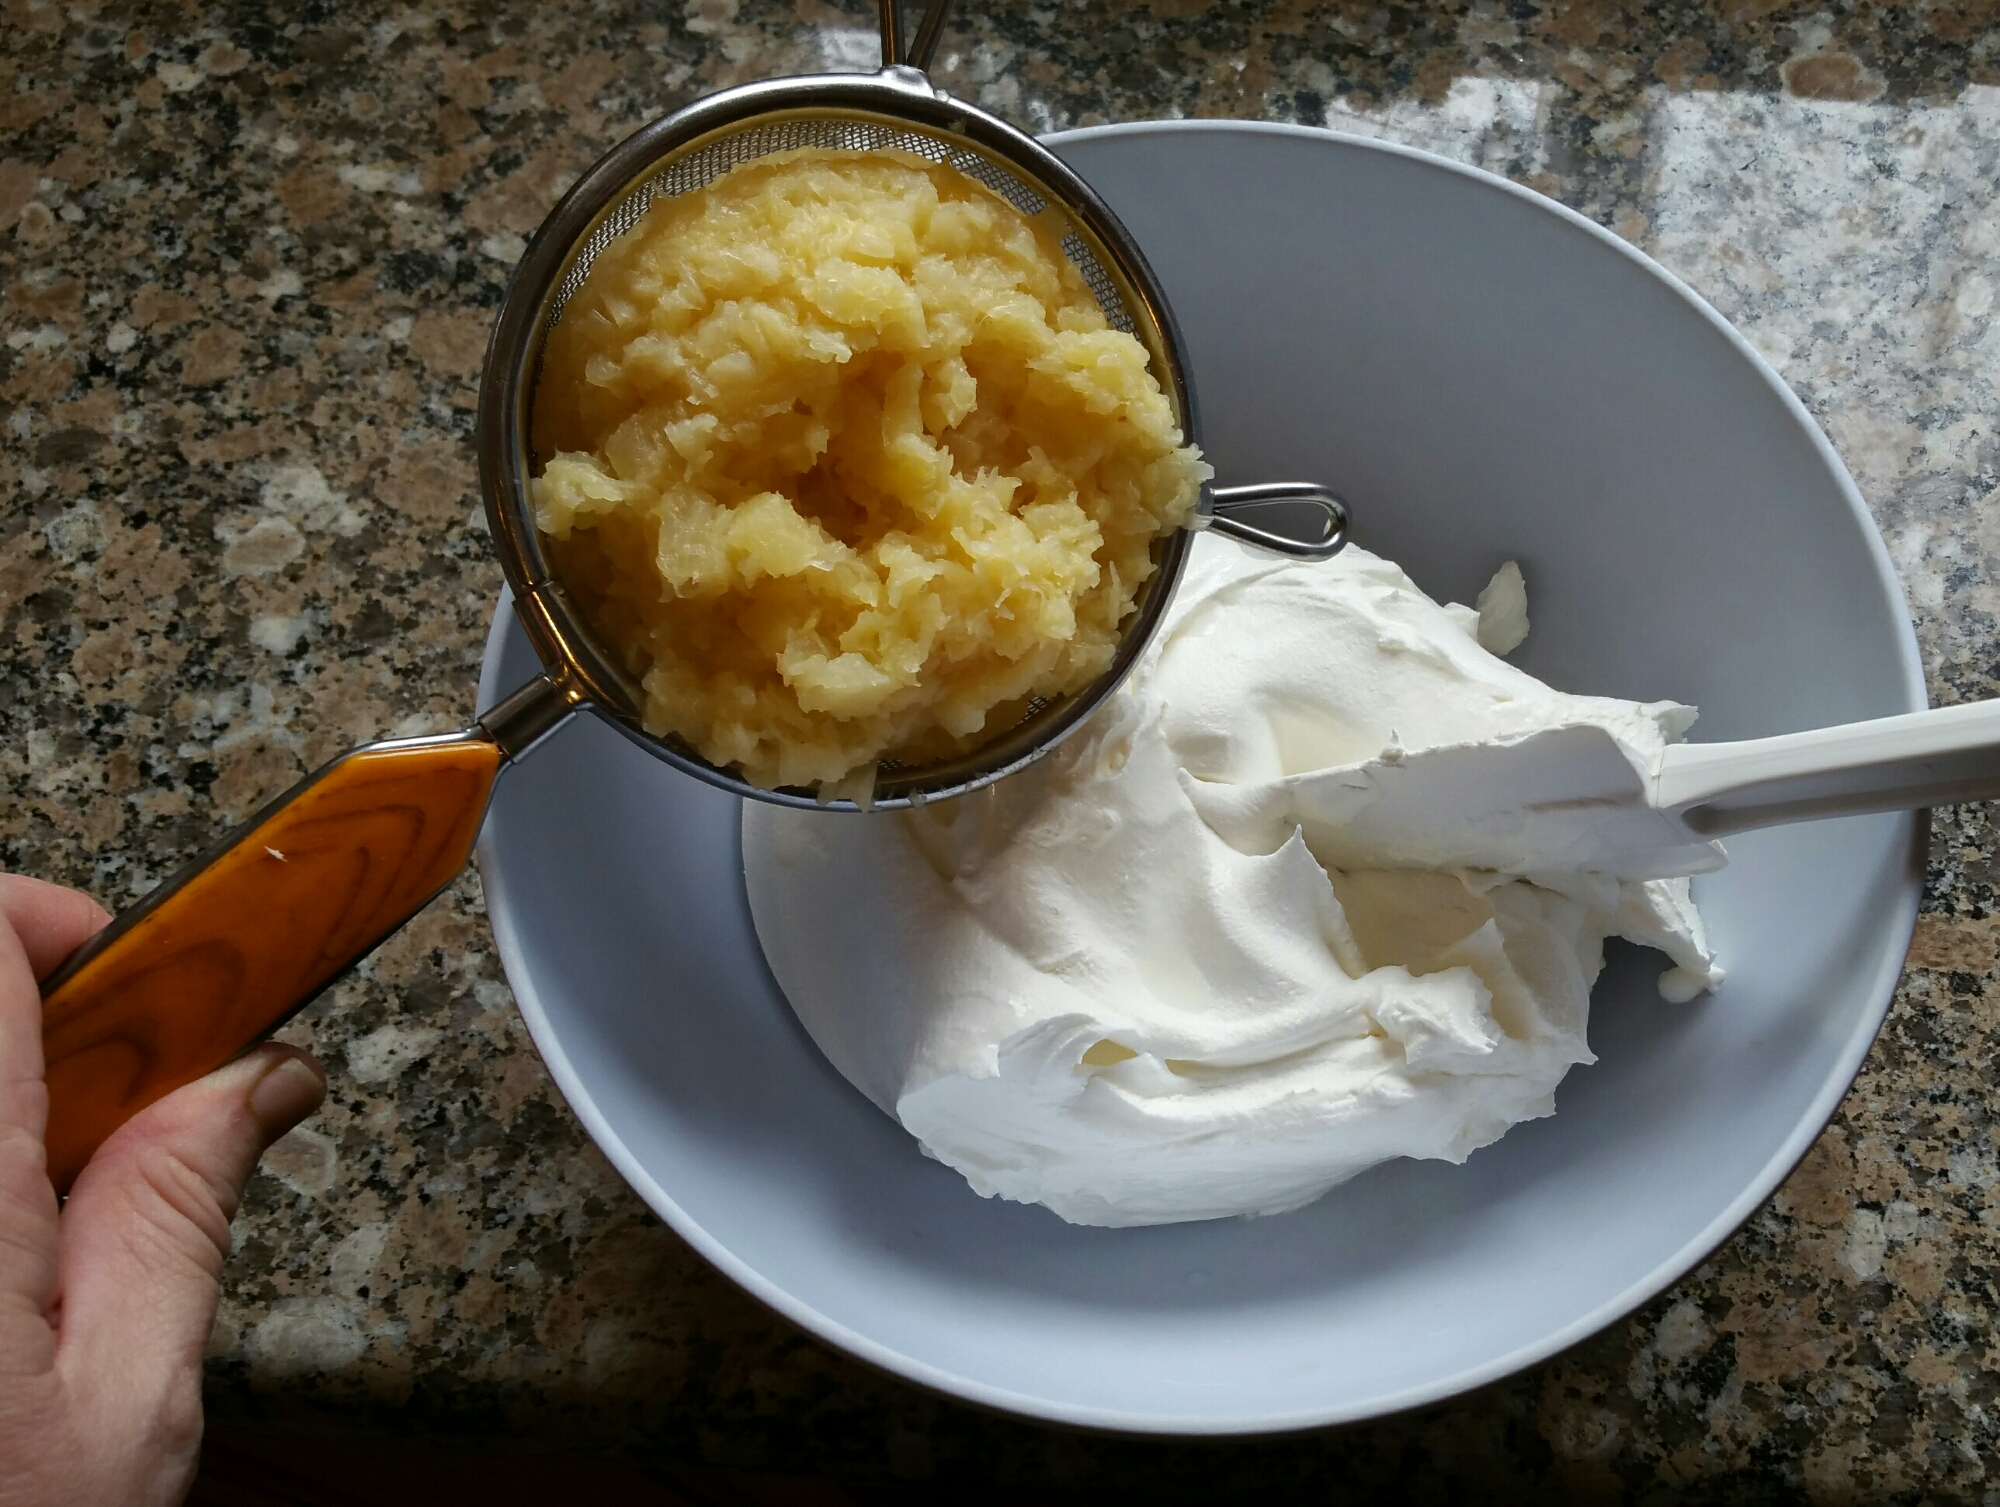
5.  Stir a large spoonful of the drained pineapple.
image

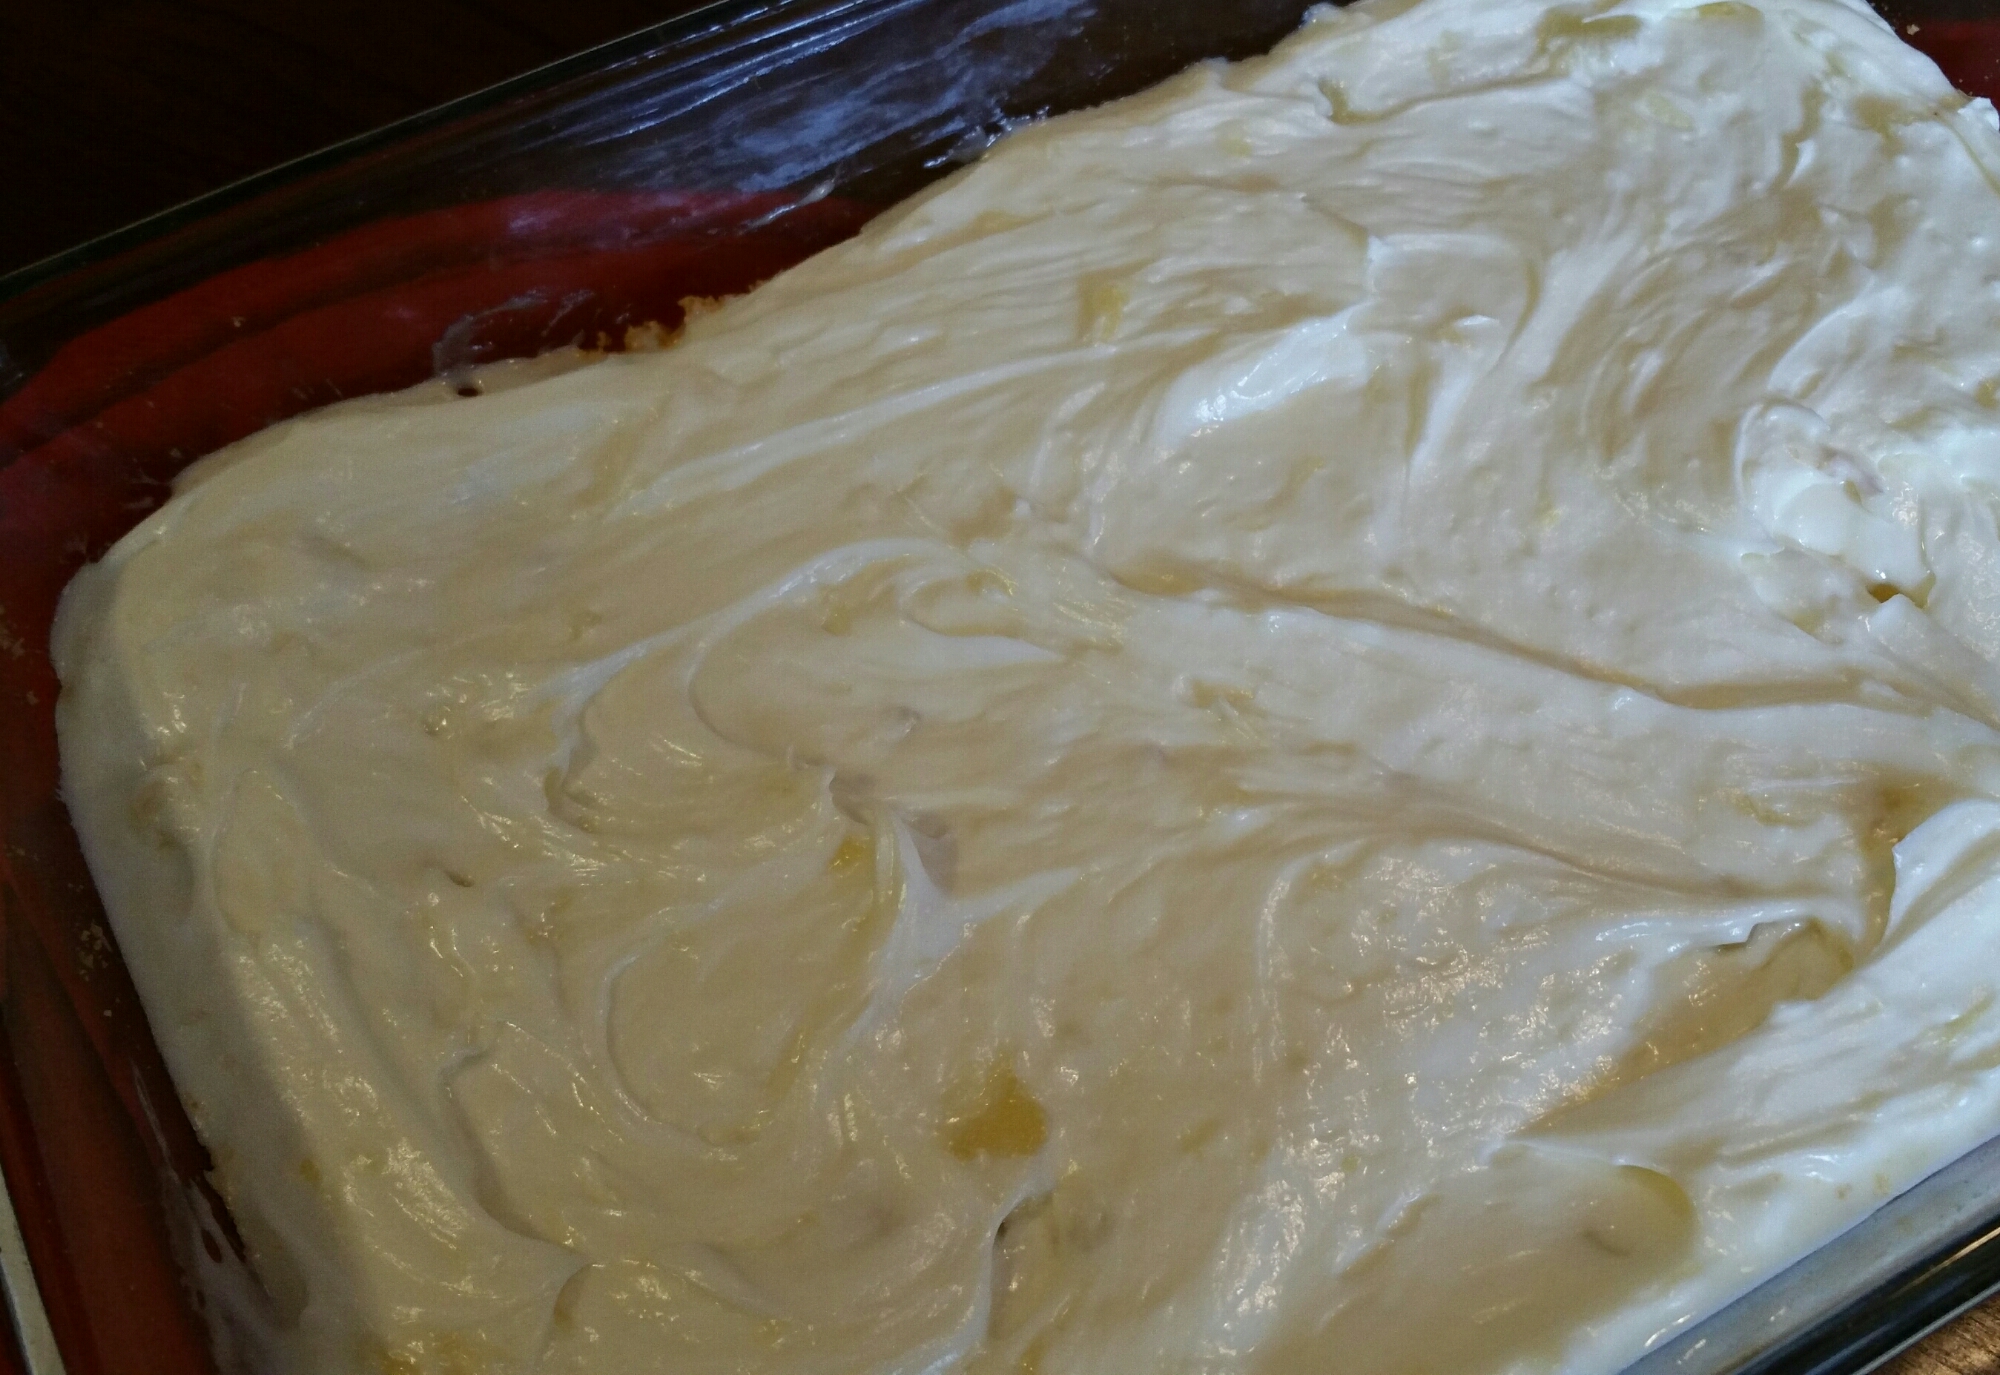
6.  Spread the cream cheese mixture evenly over the baked graham crust.
image

7.  Fold remaining pineapple into Cool Whip and spread evenly over the cream cheese mixture.image

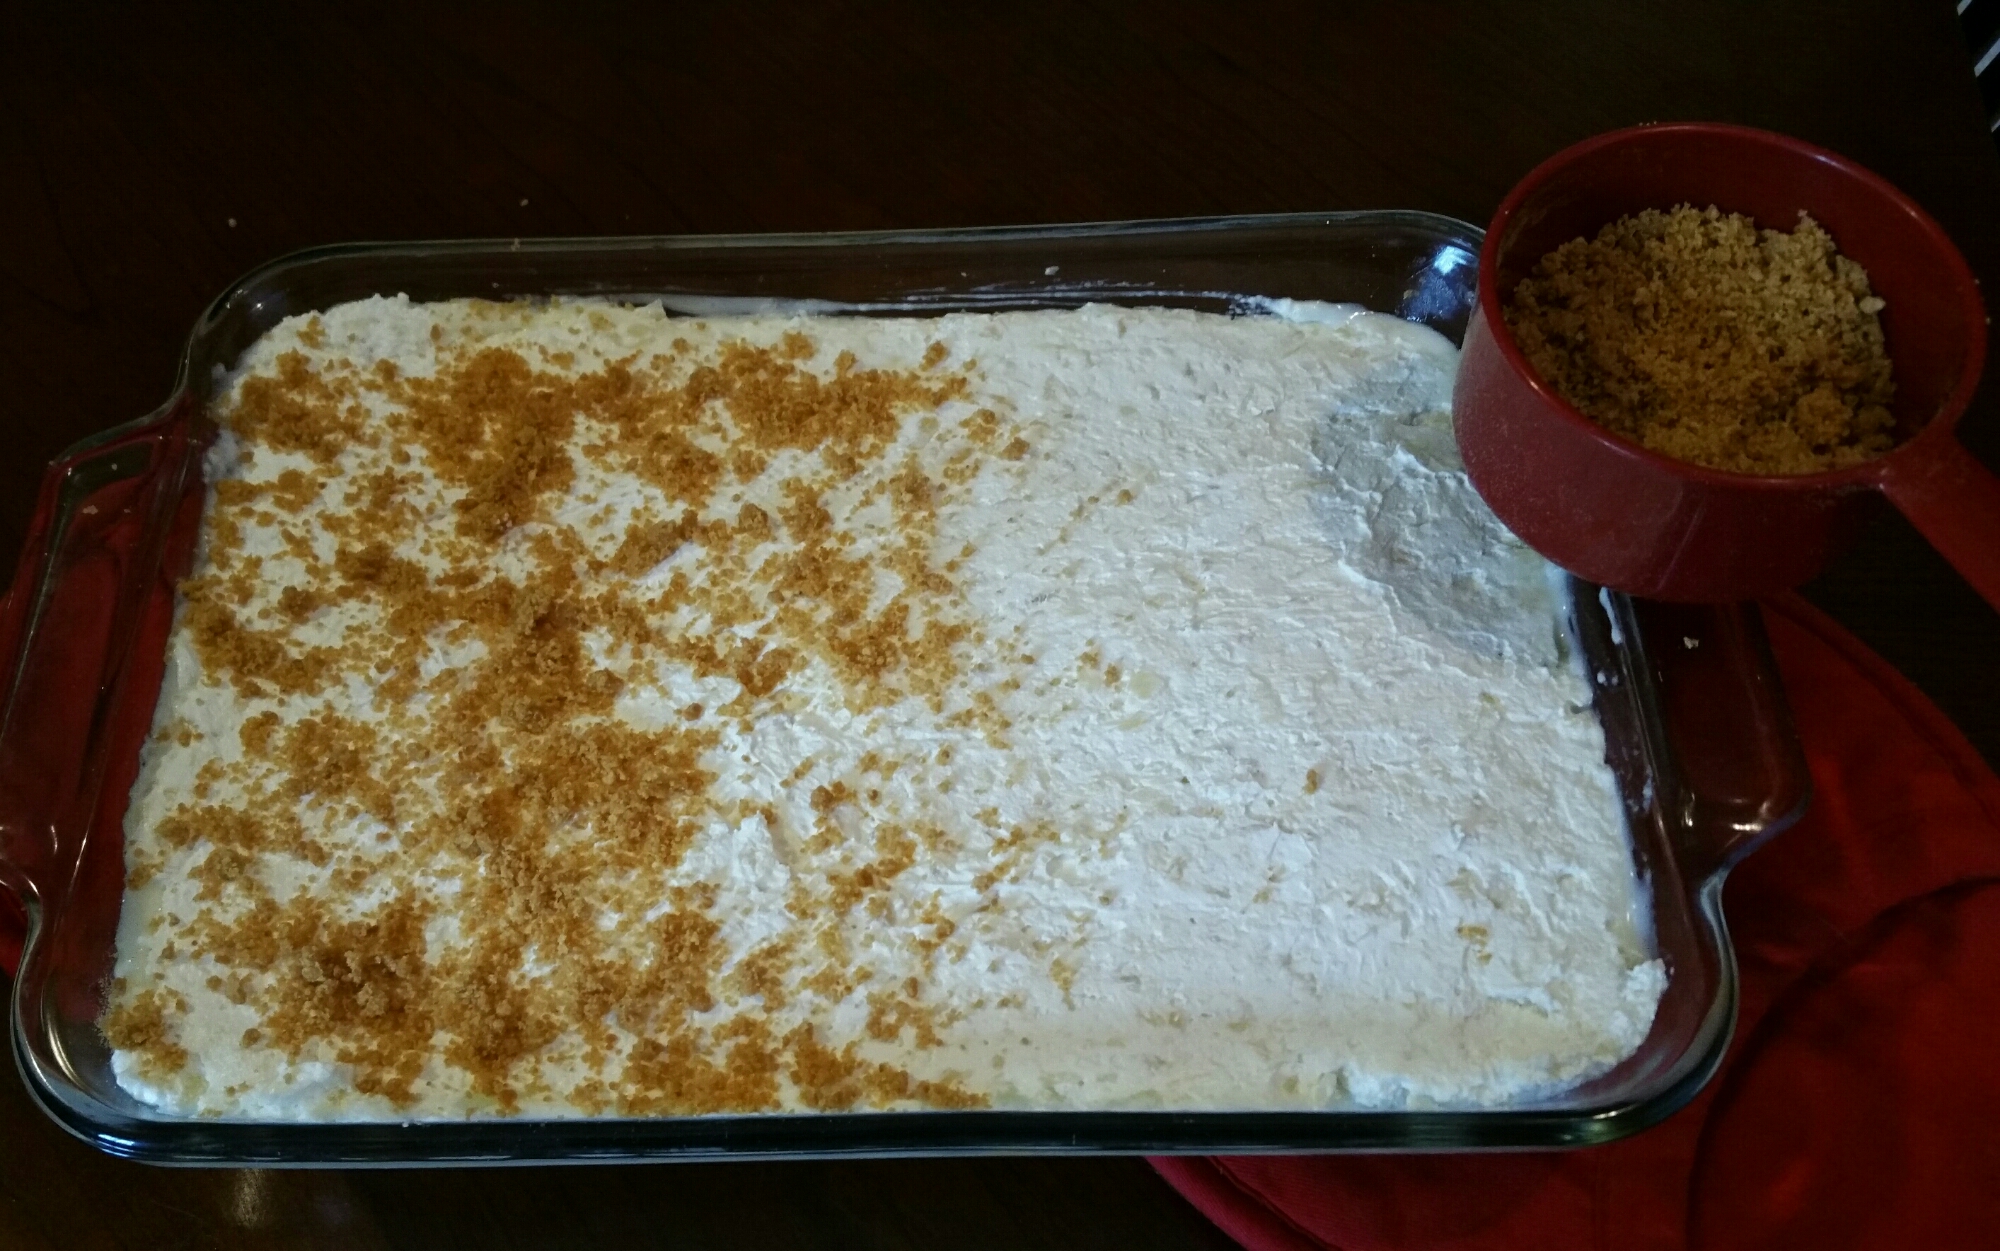
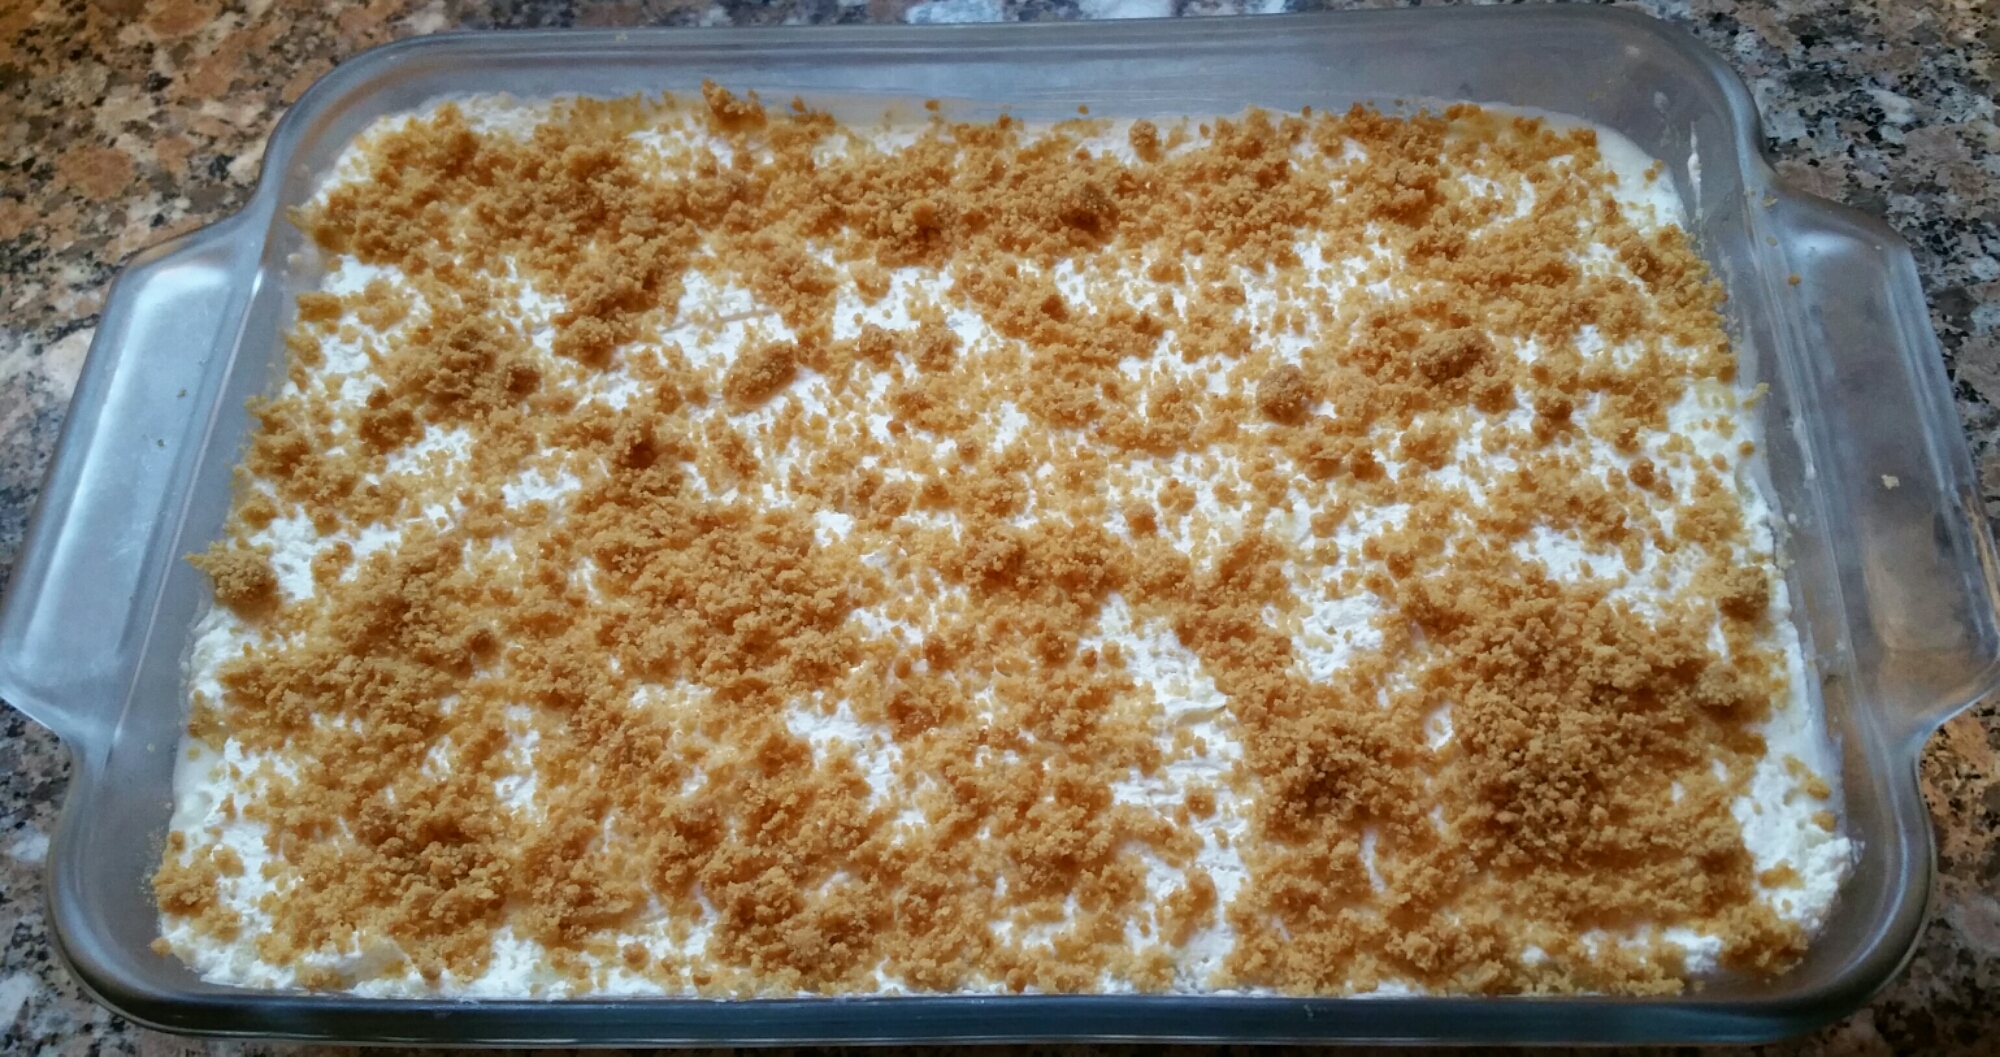
8.  Sprinkle remaining graham cracker mixture on top.image

9.  Cover with plastic wrap and refrigerate at least four hours.image


Boston Cream Bites

20160228_140322

Such a simple, yummy and impressive dessert!  This recipe is from BettyCrocker.com.

Ingredients:
1 box Betty Crocker SuperMoist French vanilla cake mix
1 cup water
1/3 cup butter, softened (I substituted coconut oil)
3 eggs
1 cup vanilla pudding
1 cup semisweet chocolate chips
3/4 cup whipping cream

Directions:

1.  Preheat oven to 350 degrees.  Grease and flour 48 mini muffin cups.

2.  Combine cake mix, water, butter (or coconut oil) and eggs and mix until smooth.  Spoon batter into muffin cups — do not overfill, just below rim.

3.  Bake 8 to 10 minutes or until they spring back when touched lightly.

4.  Once they are completely cool, slice off the top of each cupcake.

5.  Spoon 1 teaspoon pudding onto the bottom half of each cupcake.  Cover with top half.
20160228_134911-1

6.  Melt chocolate chips and whipping cream together (60 seconds in microwave or use a double boiler on stovetop).  Stir until smooth.

7.  Spoon chocolate mixture on top of each cupcake.

Store in refrigerator up to three days.  Prepare for lots of OOs and AHs.


Fudge Brownie Hearts with Fresh Raspberry Cream

Brownies - Final 2

These brownies were a hit at my Valentine’s brunch and are so
simple to make.

You can make brownies from scratch if you like, but I think some of the box mixes out there are as good as any brownies I’ve tasted and certainly a lot simpler to make.  And you can make your own icing from scratch, too, but I chose the simpler path of using canned
frosting.  Below I’ll explain how I used fresh raspberries in the creamy frosting and share with you some tips for creating these special Valentine’s brownies.

Ingredients:
Fudgy brownies (from the bakery, box mix or from scratch)
Buttercream frosting (canned or freshly made)
1 cup of fresh raspberries

Directions:

  1.  Line a 13″x9″ pan with foil so the edges hang over the sides.  Spray with cooking spray.

2.  Bake the brownies, following the box instructions or your own recipe.

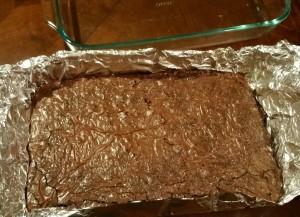
3.  Let them cool completely. Lift the brownies out of the pan using the excess foil.
20160202_200639-1

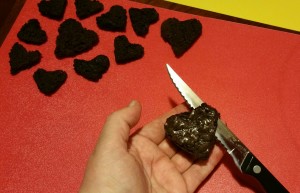
4.  Use heart-shaped cookie cutters to cut out the brownies.
Brownies - foil 3

5.  Slice each brownie in half horizontally and lay the bottom half on the serving tray.
Brownies - 5

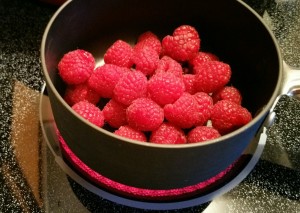
6.  In a small saucepan, add the raspberries and cook over medium heat until the raspberries begin to break down, about 5 minutes.
Brownies 6

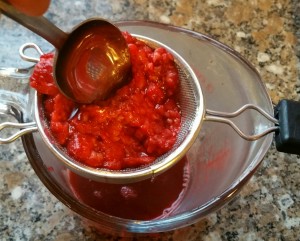
7.  Put the raspberries into a strainer and press out the juice.  Let the juice cool.
brownies - 7

8.  Stir the raspberry juice into the buttercream frosting, and put into a pastry bag with a small tip.  Pipe the frosting onto the bottom half of each heart brownie.
brownies - 10

9.  Put the top half of each brownie on top of the corresponding iced bottom half.
Brownies 9

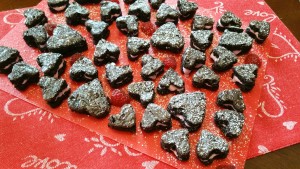
10.  Sprinkle with powdered sugar.
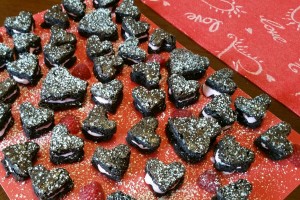
Brownies - Final

Baked Apple Roses

20151118_212714-1
This is an impressive and beautiful dessert.  Yummy, too, especially when served warm with a scoop of vanilla bean ice cream!

Does it qualify as a Simple Brunch Idea, though?  Well, technically it’s simple (as in, five ingredients and very few steps), but definitely not easy.  Especially the first time you try it.  I recommend that you watch the YouTube video before attempting it yourself.  Maybe you’ll see something in it that I missed.
Rose Shaped Apple Baked Dessert by Cooking with Manuela:  https://www.youtube.com/watch?v=5rGrwvEjZIQ

Here’s the way I made this recipe, as well as a few of the lessons I learned along the way.
20151118_194209-1
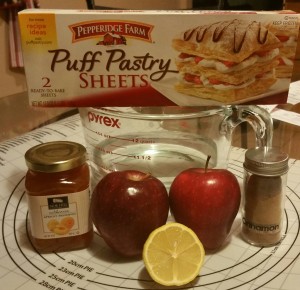
Ingredients:

2 red delicious apples
½ a lemon
1 sheet of puff pastry, thawed
Apricot preserves
Cinnamon

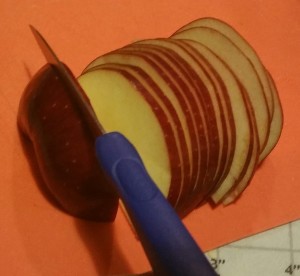
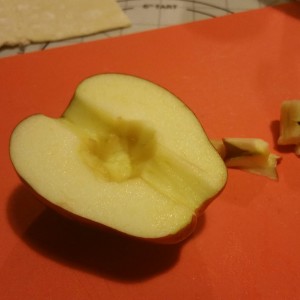
Core the apples and slice into VERY thin slices.  (Lesson one:  the
thinner the slices, the easier to roll).
20151118_194832-1    20151118_194954-1

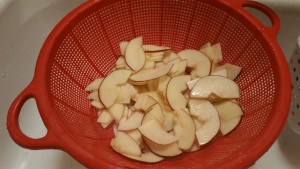
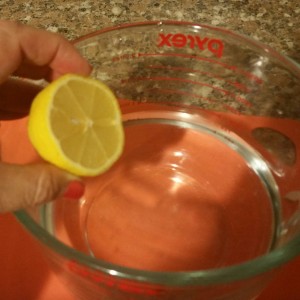
Put the apple slices in a bowl of water and add the juice of half a
lemon.  Microwave for about 3 minutes.  (Lesson two: be sure they are soft.  See the picture further down of what happens when they are not pre-cooked enough.)
20151118_194333-1   20151118_200419

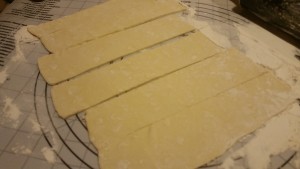
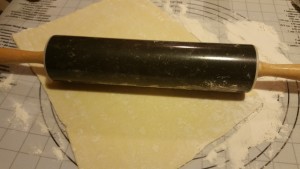
On a floured surface, unfold the puff pastry and use a rolling pin to stretch it slightly.  Cut the sheet into six strips.
20151118_200028

20151118_200120

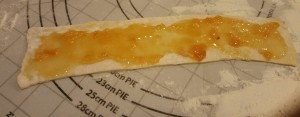
Spread a spoonful of the apricot preserves on a strip of the pastry.  (Lesson three: Don’t spend extra on high quality preserves.  The one I bought had big chunks of apricot, which makes for a delicious topping on toast, but didn’t spread well for this recipe, so I had to remove the chunks, wasting much of it.) 
20151118_200645-2

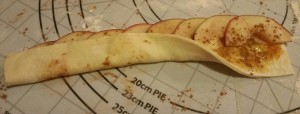
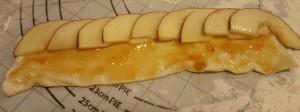
Lay the apple slices over the top half of the dough, overlapping them.
20151118_200946-1-1

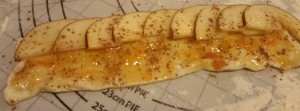
Sprinkle generously with cinnamon and fold the bottom half of the dough up over the apple slices.
20151118_201010-1

20151118_202817-1-1-1

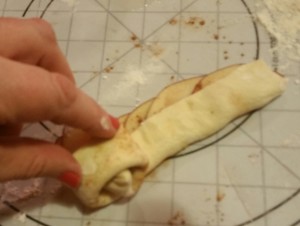
Okay, here’s the tricky part!!  Beginning at one end, roll the apple-filled pastry up being careful to keep the apples from slipping out.
20151118_202853-2

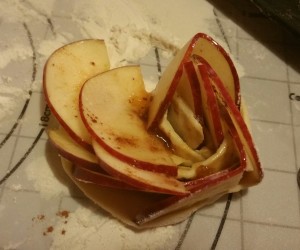
Here’s what happens when your slices are too thick and not soft enough.  It simply won’t roll.
20151118_201238-1

I put the remaining apple slices back into water and into the microwave for two more minutes and tried it again.  (Lesson four: practice makes perfect)  You can see the progression in the photo below.  The next two I rolled up (bottom row) were better, but still too stiff and thick.  For the ones in the top row, I used thinner slices that were also softer, and each one got better as I was practicing (left to right in picture).  So hopefully the next batch I do will all come out looking like my final rose.
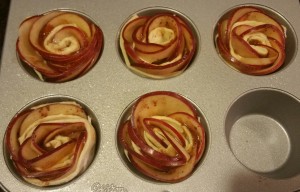
20151118_202936-1

Bake at 375 degrees for 40 to 45 minutes, checking carefully since ovens vary.

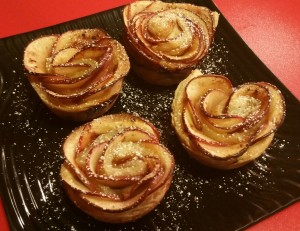
(Lesson five:  run a knife around the edge to loosen the entire apple rose before lifting it out of the pan.  The edge of the first one stuck to the pan, and the rose just unwrapped as I lifted it out — that’s why there are only four roses pictured on the plate.)
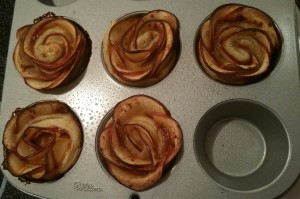
20151118_211357-1

Please leave your comments, especially if you have tips on how to make this better or easier.


Personal Pumpkin Pie

20151113_223607-1
A fun and mess-free way to serve pumpkin pie — personal pumpkin pies, baked in a muffin tin.

20151113_125404-1

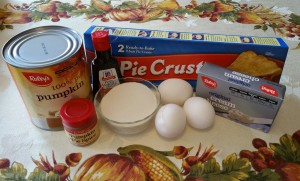
Ingredients:
2 refrigerated ready-to-roll pie crust
½ cup sugar
8 oz. cream cheese, softened
1 cup canned pumpkin
1 teaspoon vanilla
3 eggs
1 teaspoon pumpkin pie spice
Whipped cream, optional


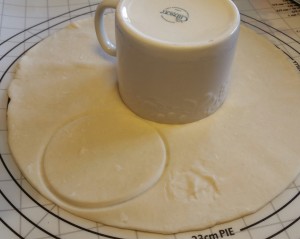
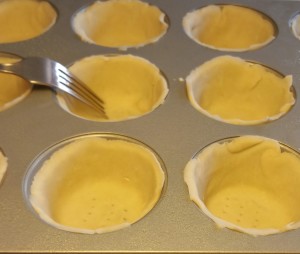
1.  Roll out dough. Use a 4-inch round cup or bowl to cut out 12 circles. Place each circle in a greased muffin tin. Press into the bottom and the sides of the muffin tin.  Use a fork to score the bottom so the crust doesn’t bubble up while baking.
20151113_135747-1   20151113_142006-1

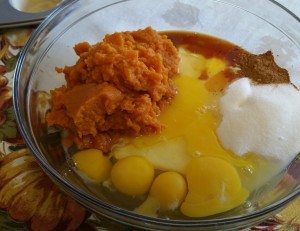
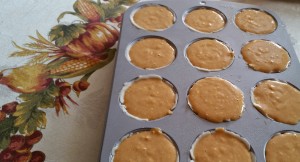
2.  Mix sugar, pumpkin, vanilla, eggs, cream cheese and pumpkin spice until smooth.
20151113_143735-1

3.  Pour the pumpkin filling into each muffin tin, filling to the rim.
20151113_145619-1

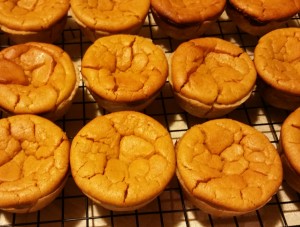
4.  Bake for 15 minutes at 425 degrees. Turn the heat down to 350 degrees and bake another 25 minutes or so, until a toothpick inserted in the center comes out clean. Let cool on a wire rack for at least an hour for the pumpkin filling to set.
20151113_223333-1

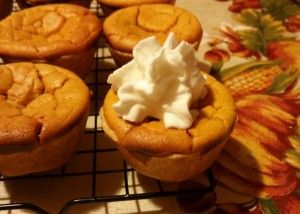
Serve with a dollop (or two) of whipped cream.

Ghostly Brownies

20151021_065600-1

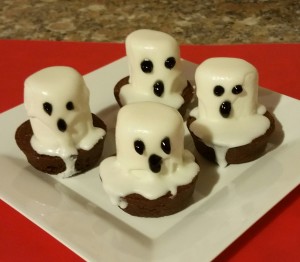
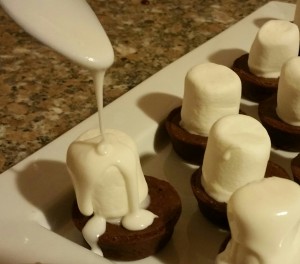
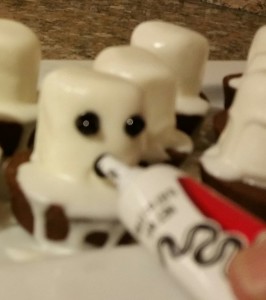
These ghostly brownies are simple, yummy and cute.  Getting the faces to look exactly as you want is a little tricky, though, but the drippy faces seemed to add to the spookiness (at least that’s what I told myself).

20151010_105854-1

You can make your own brownies and icing, of course, but I go for the simple.  I bought brownie bites from the grocery store and used Betty Crocker Classic White canned frosting, and they were yummy.

  1. Put brownie bites on serving platter.
  2. Put frosting in the microwave for about 15
    seconds to make it runny.
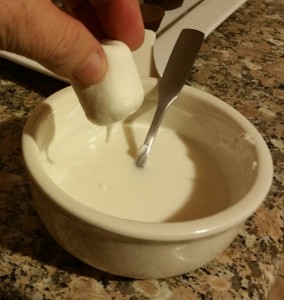
  3. Dip a large marshmallow into the icing and set it on top of a
    brownie.
    20151021_062556-1
  4. Drizzle a spoonful of the icing over the marshmallow, allowing it to run down over the sides.
    20151021_062905-1-1
  5. Use black frosting gel to add eyes and a mouth.20151021_064756-1


Toasted Coconut Almond Meringues

20150808_112043-1

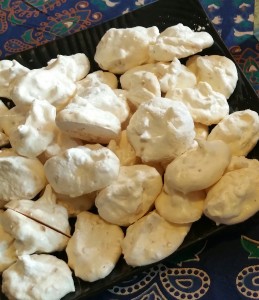
Toasted coconut adds a wonderful flavor and crunch to these lightly sweet cookies – Toasted Coconut Almond Meringues.

For basic meringes, simply mix 3 egg whites and 3/4 cup sugar until stiff peaks form.  Drop by spoonfuls onto a cookie sheet and bake at 200 degrees for 2 hours.   That’s it.  But with a few simple additions, you can create a wide variety of flavors.  This is one of my favorites.

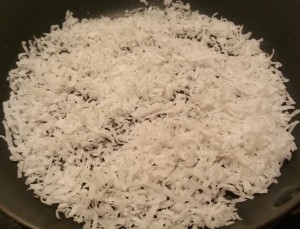
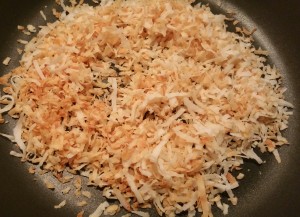
1.  In a dry saucepan over medium heat, toast coconut until golden brown, stirring frequently, about 5 minutes.
20150807_213625-2   20150807_214504-1

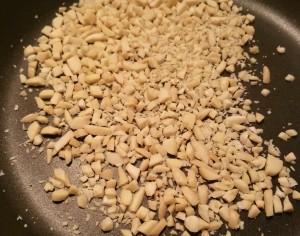
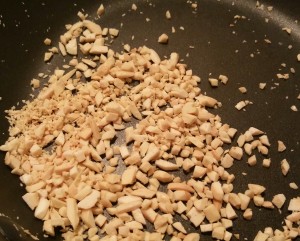
2. In the same way, in a dry saucepan over medium heat, toast finely chopped almonds until golden brown, about 2 to 4 minutes.
20150807_215001-1    20150807_215635-1

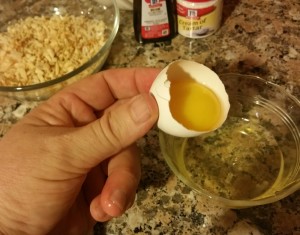
3.  Separate egg whites from yolks.  Here’s a helpful YouTube video for four simple ways to separate eggs.  https://www.youtube.com/watch?v=jqGTyqk0G50
20150807_221308-1

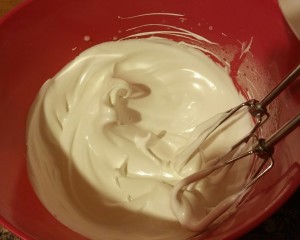
4.  Add cream of tartar to the egg whites and beat on medium speed until soft peaks form.  Continue beating and add sugar one tablespoon at a time until stiff peaks form.
20150807_223509-1

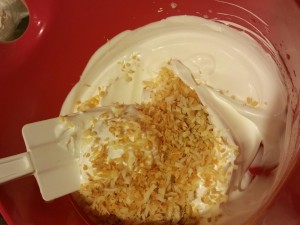
5.  Stir in almond extract and beat 30 seconds.  Using a spatula, fold in coconut and almonds.
20150807_223733-1

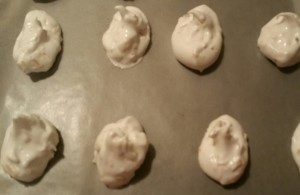
6.  Spoon into a pastry bag with a wide tip and pipe the meringue into 1½ inch cookies onto a parchment-lined baking sheet, one inch apart.
20150807_224646-1

7.  Bake at 200 degrees for 2 hours.  Cool on wire rack for 15 minutes and then remove cookies from the pans.  Leave them to cool completely.

8.  Store in an airtight container for up to five days.  If cookies are chewy, heat in 200 degree oven for 10 minutes.

Recipe: Toasted Coconut Almond Meringues

Ingredients: 
3 large egg whites
1/4 teaspoon cream of tartar
3/4 cup sugar
1/2 teaspoon almond extract
1/2 cup toasted finely chopped almonds
1/2 cup toasted shredded coconut

Strawberry Blondies

Recipe - Blondies - Sliced

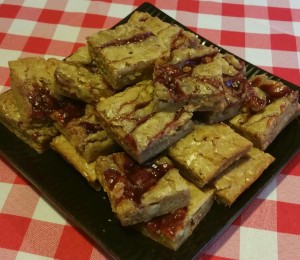
Bar cookies are so easy to make, and these Strawberry Blondies
offer a sweet change from chocolate chip.

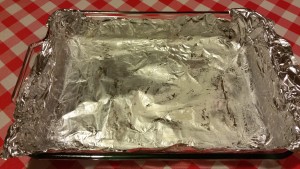
1.  Preheat the oven to 350 degrees.  Line a baking dish with foil, leaving an overhang on two edges, and butter it well.Recipe - Blondies - Buttered Foil

2.  In a microwave-safe bowl, melt butter with brown sugar, about 1 minute in the microwave.  Stir in the vanilla extract and the egg.

3.  Whisk together the flour, salt, and baking powder in a small bowl.  Stir into the butter mixture.  Stir in the butterscotch chips and walnuts.

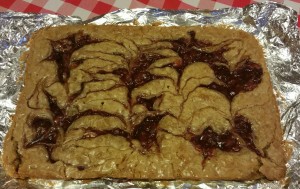
4.  Pour batter into the foil-lined baking dish and spread evenly.  Drop dollops of jam on top and swirl with a knife.
Recipe - Blondies - Whole

5.  Bake at 350 degrees until set, about 20 to 25 minutes.  Let cool 15 minutes on a rack, then lift out the foil and transfer the blondies to the rack to cool completely.  Remove the foil and cut into bars.

Ingredients:
4 tablespoons of butter
1 cup packed brown sugar
1½ teaspoons of vanilla
1 egg, slightly beaten
¾ cup flour
½ teaspoon salt
¼ teaspoon baking powder
¼ cup butterscotch chips
¼ cup chopped walnuts
3 tablespoons strawberry jam

Print recipe:  Strawberry Blondies